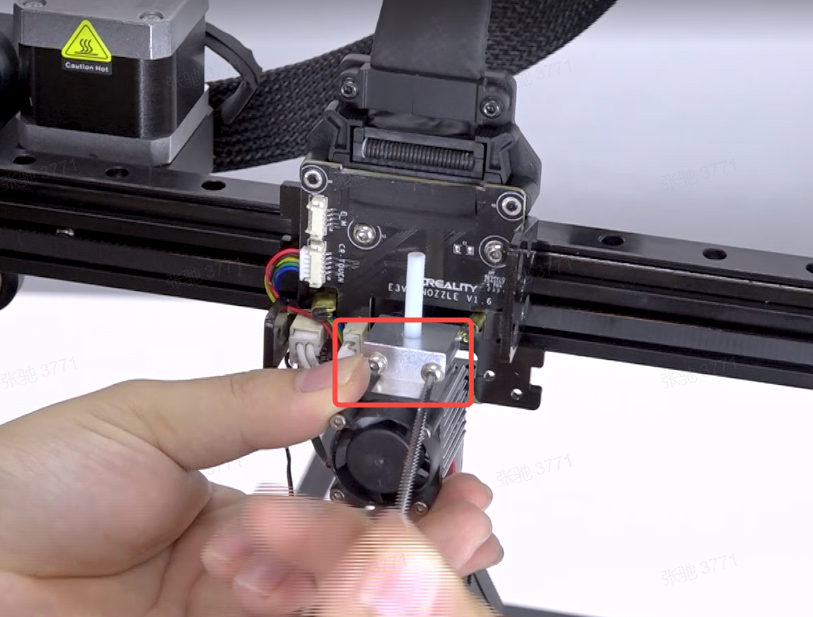
This article provides a comprehensive guide to troubleshooting several common issues with the Creality Ender 3 V3 KE 3D Printer, including problems with OTA online upgrades, hot end clogging after ABS printing, filament feeding issues, and leveling problems.
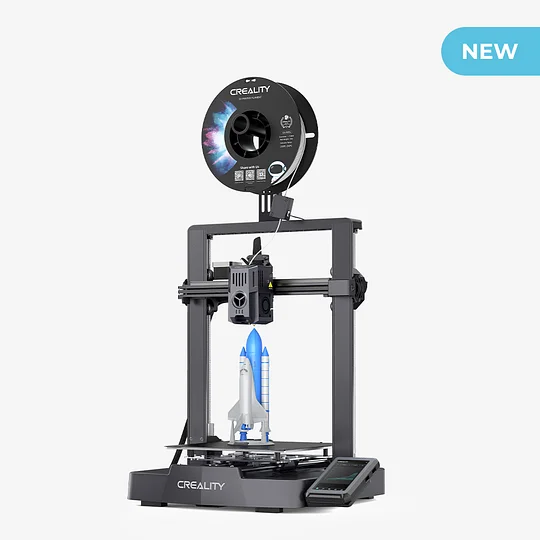
Smarter and Faster for 3D Printing: Best Under£300
Featuring ultra-smooth motion and a stable steel linear rail on the X-axis for precision. Its "Sprite" Direct Extruder enables 300℃ high-temperature printing and ensures smooth filament feed. The improved design minimizes vibration and provides a faster, more intuitive printing experience with an impressive speed of 500 mm/s and acceleration of 8000 mm/s², ensuring efficient, high-quality output.
Now, let's get started.
Y-Axis Motion Anomaly Sound Troubleshooting
1. Phenomenon Description
Abnormal noise during the movement of the Y-axis.
2. Cause Analysis
2.1 Abnormal noise caused by the nozzle scraping the model during filling.
2.2 Improperly connected motor wires, leading to abnormal motor noise.
2.3 The belt is too loose.
3. Troubleshooting and Solution
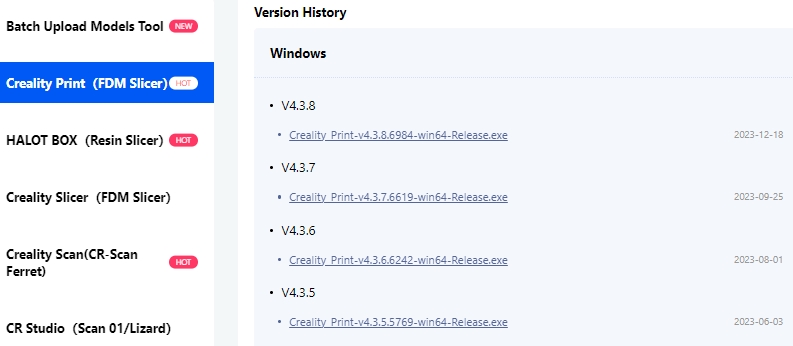
3.1 Use the default parameters in the latest slicing software to print or select the zigzag fill default parameters. (The latest version of slicing software can be downloaded)
3.2 Re-adjust the Y-belt. (+ illustration)
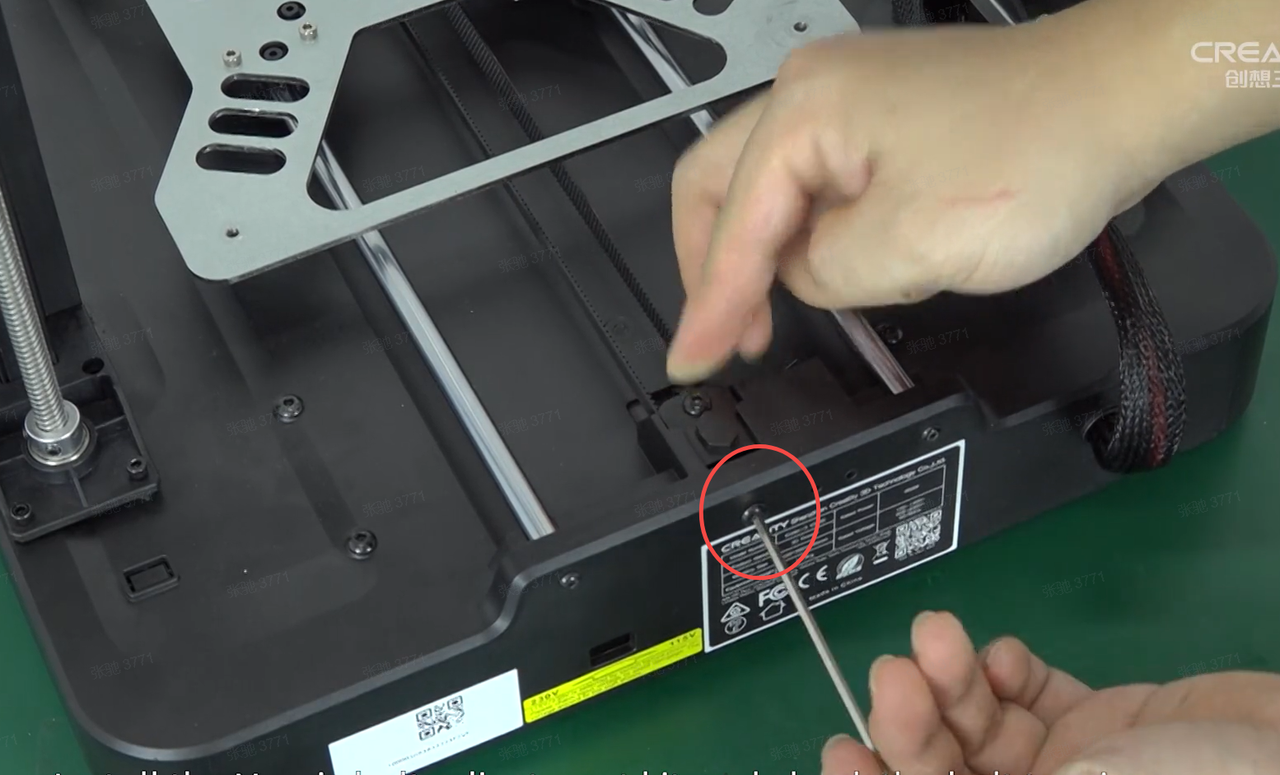
3.3 Re-plug the motor wire of the abnormal sound motor.
3.4 Power off, unplug the motor wire, move the Y-axis by hands, check if there is still abnormal noise,
- If yes, you can determine whether it is at the motor or the linear bearing according to the source of the abnormal noise.
- If not, it can be diagnosed as a motor wire issue.
When Homing the X or Y-axis, Collision with Endstop or Reverse Collision / Endstop switch failure
1. Phenomenon Description 1
After clicking "Home", the X or Y axis hits the limit switch.
2. Cause Analysis
Endstop switch error, unable to trigger.
3. Troubleshooting and Solution
3.1 Measure the continuity of the X and Y-axis limit switches.
(The Y-axis limit switch continuity is consistent with the X-axis, measuring continuity between 1, 3 and 2, 3, when the contact blade is pressed down)
3.2 Measure the resistance to ground of the X and Y axis limit switches.
1. Phenomenon Description 2
After initiating the homing process, the X-axis does not engage the endstop; subsequently, the Y-axis executes the homing sequence triggering the endstop, followed by the X-axis reversing and making an impact.
2. Cause Analysis
Endstop Exception Triggered, Limit Switch Damaged or Main Control Chip Faulty.
3. Troubleshooting and Solution
3.1 Check the continuity of the X and Y-axis limit switches.
(The Y-axis limit switch should have the same readings as the X-axis, which involves checking the continuity between terminals 1 and 3, as well as 2 and 3 when the actuator is depressed.)
3.2 After checking the above steps, if the problem still cannot be solved, please contact after-sales service cs@creality.com.
Material Breakage Detection Failure Troubleshooting
1. Phenomenon Description
The machine's filament detection indicates the presence of materials, a material shortage warning pops up during the printing process: Current filament have been used up, printing has been paused, please replace the filament.
2. Cause Analysis
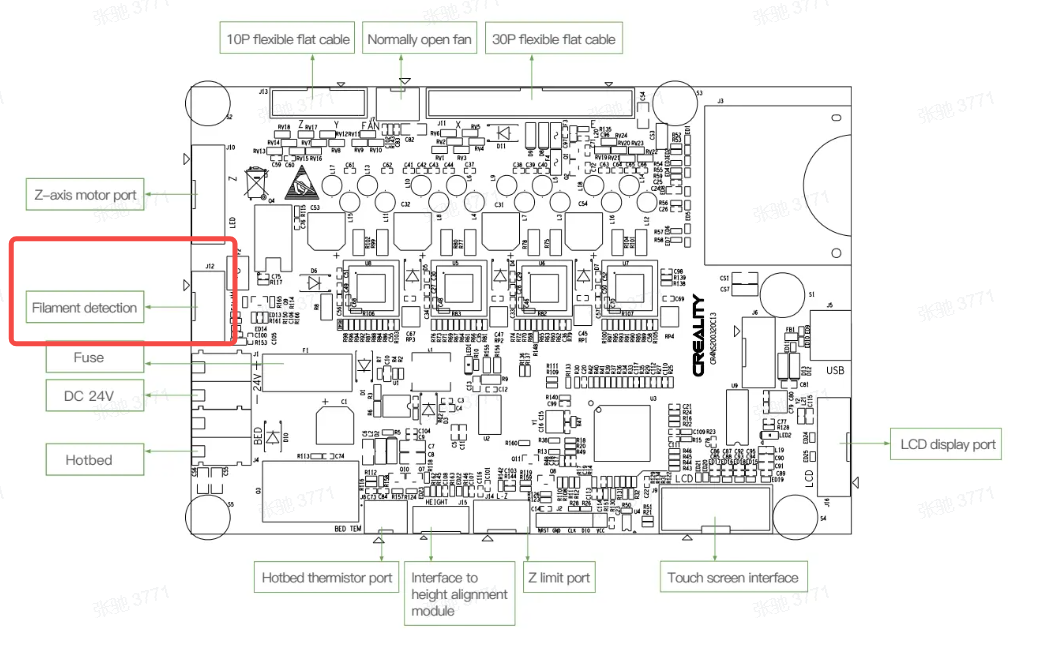
2.1 Assembly without disconnecting the material detection line.
2.2 Assembly when the gantry frame profile presses the material detection line.
3. Troubleshooting and Solution
Dismantle the gantry, reinstall and plug in the filament detection line (including the mainboard end). Be careful not to pinch the filament detection line during the installation process of the gantry.
AI Laser Lidar Anomaly Troubleshooting
1. Phenomenon Description
The machine pops up an error message indicating an anomaly with the AI LiDAR system.
2. Cause Analysis
The AI Laser Radar accessory is not installed, but the features related to AI Laser Radar - first layer detection, flow calibration - were selected on the screen.
3. Troubleshooting and Solution
Turn off the first layer detection, flow calibration function and restore factory settings, then perform a self-diagnostic again.
Ender 3 V3 KE Slicing Software Troubleshooting
The Slice Preset Temperature Fluctuates During Printing
1. Phenomenon Description
The slice preset temperature fluctuated from 210 to 203 during printing.
2. Cause Analysis
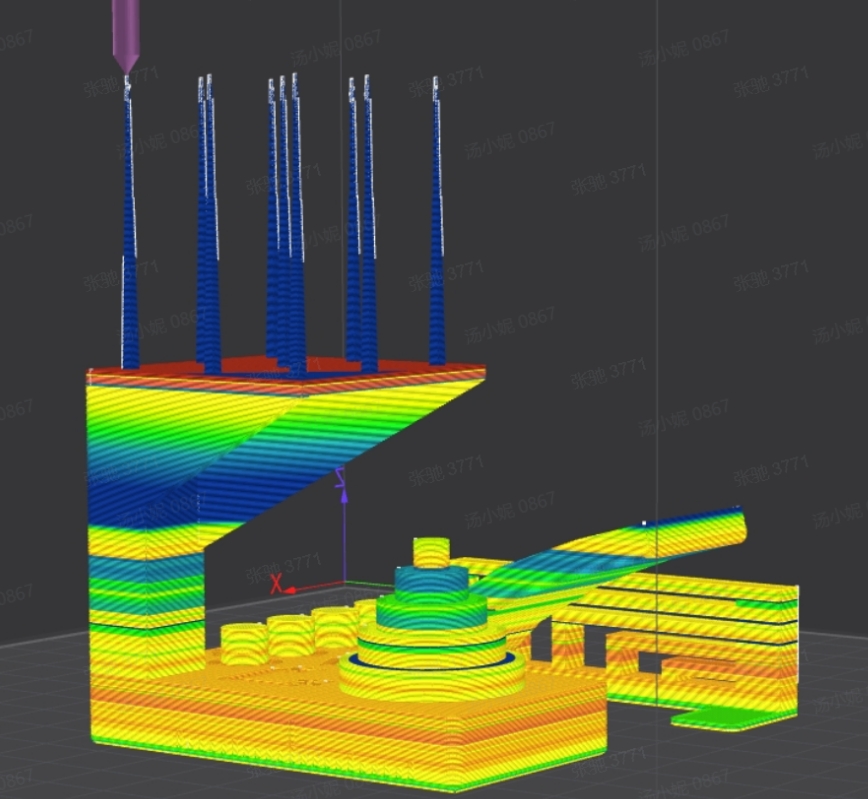
This is caused by the automatic temperature function being turned on by default in the slicing software.
3. Troubleshooting and Solution
It is recommended that users turn on the automatic temperature function. The model slicing algorithm is adjusted according to the flow and characteristics (model characteristics), especially in small places. Take the comprehensive model as an example.
The top part of the tower becomes a lower temperature (200 degrees), which can effectively reduce drawing. The normal temperature printing at the bottom can effectively ensure model accuracy, assembly, etc.
The Slicing Software LAN Print Device Interface Cannot Find the Machine.
1. Phenomenon Description
The IP has been filled in the slicing software device interface and it shows that the printer has been successfully connected, but the device cannot be found in the interface.
2. Cause Analysis
The user did not check model matching.
3. Troubleshooting and Solution
Select the model matching to see the machine you just connected.
Ender 3 V3 KE Layer Misalignment Troubleshooting
1. Phenomenon Description
Layer Shifting during the printing process (Please note the difference between layer shifting and layer lines problems)
2. Cause Analysis
2.1 Belt loosening.
2.2 Extruder kit wobbling.
2.3 Nozzle scrapes the infill area when printing large volume models.
2.4 Support setting issues leading to unstable models.
3. Troubleshooting and Solution
3.1 Check if the belt installation position is deviated, and whether the belt tension is normal.
3.2 Check if the screws fixing the nozzle kit are loose.
3.3 Use the default parameters in the latest slicing software to print, or select the default parameters for zigzag infill. (Download address for the
latest version of slicing software)
3.4 Suggest printing a cylindrical test piece for further inspection.
The Platform is Damaged or Scratched by the Nozzle.
1. Phenomenon Description
Leveling / During printing, the build plate is damaged or scraped by the nozzle.
2. Cause Analysis
Anomaly in the high module causes the nozzle to constantly collide with the bottom left corner of the platform during leveling.
3. Troubleshooting and Solution
Please contact after-sales service cs@creality.com to assist in Problem-solving.
Screen Error: Solution for Motor Drive Anomaly
1. Phenomenon Description
The screen error, indicating that the motor drive is abnormal.
2. Cause Analysis
2.1 Motor wire damage, short circuit.
2.2 The mainboard cooling fan does not spin, causing the motor driver chip to overheat and error.
3. Troubleshooting and Solution
3.1 Inspect if there are any loose connections or damages to the motor wires.
3.2 Check if the motherboard cooling fan is running normally. If abnormal, refer to the troubleshooting method for fan not spinning to identify the problem.
Print Layer Lines Troubleshooting
1. Phenomenon Description
The printed model exhibits layer lines.
2. Cause Analysis
2.1 Gantry assembly loosening.
2.2 Z-axis V-wheel stuttering or loosening.
2.3 Four screws fixing the extruder backplate are loose.
2.4 The belt is loose.
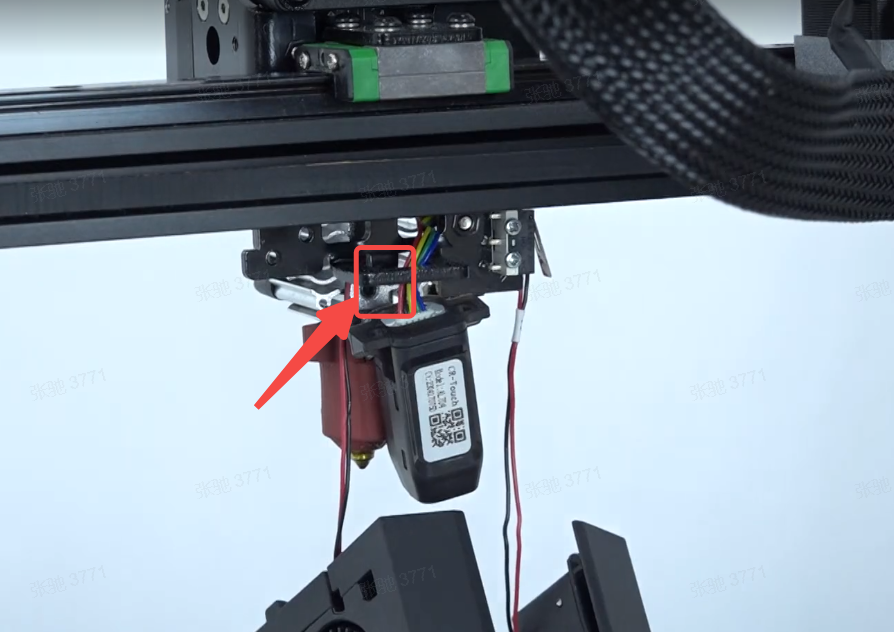
2.5 Nozzle assembly is loose.
2.6 Severe wobbling of the Y-axis heated bed or heated bed slider plate.
3. Troubleshooting and Solution
3.1 Refer to the unboxing video to reassemble the gantry.
3.2 Check if the Z-axis V-wheel is stuck or loose, and whether the Z-axis movement is smooth.
3.3 Check if the nozzle assembly's fixing screws are loose.
3.4 Re-adjust the tension of the X and Y axis belts.
The Model Does Not Stick to the Platform
1. Phenomenon Description
The model or the part of the model does not stick to the bed.
2. Cause Analysis
2.1 If there is a slight non-stick problem, it may be that before leveling, the nozzle's or platform's left filaments resulting in inaccurate height.
2.2 The X-axis is tilted, resulting in partial non-sticking of large-size models.
2.3 The height's adjustment module is abnormal, resulting in inaccurate height, lamination, and nozzle scraping platform problems.
3. Troubleshooting and Solution
3.1 Clean the nozzle and platform plate and re-level them.
3.2 You can fine-tune the Z-axis compensation according to the printing effect when printing the first layer.
3.3 Refer to the after-sales video to adjust the structure. https://www.crealitycloud.com/post-detail/65b0dd52a5dfec64648b2e80
3.4 If the above is still not resolved, please contact customer service cs@creality.com.
 People Also Read:
Best Cura Profile Settings For Creality K1 & K1 Max
Ender 3 V3 Ke Cura Profile Settings Tutorial
Troubleshooting Guide for Ender-3 V3 SE 3D Printer