


Essential Guide to Ender-3 V3 SE Firmware Upgrade
Firmware is the software that runs on the 3D printer’s hardware, acting as a bridge between its mechanical components and the software used to design 3D models. To ensure that your 3D printer operates efficiently, keeping the firmware up to date is essential. Regular firmware updates address bugs, enhance performance, and introduce new features to your printer.
This guide offers a comprehensive overview of how to properly update your Creality Ender 3 V3 SE firmware.
Tools Required for Ender-3 V3 SE Firmware Update
For this firmware upgrade process, you will notably need two memory cards of different sizes - a standard size SD card for updating the machine and a micro SD card for the screen. A smarter workaround for this is using a micro SD card with a full-size SD card adapter.
You should note that both the screen firmware and motherboard firmware need to be updated – burning is required for this process. The version to be downloaded for this guide uses version 1.06. After downloading, remember to unzip the file.
Ender-3 V3 SE Screen Firmware Update
First, you'll need to obtain the V3 SE latest version of the firmware at Crealitycould.com, Download - Firmware - Ender Series, and Finding "V3 SE". Ensure you download the most recent version by checking the version number and the latest upload date.
Updating your screen firmware follows a straightforward process:
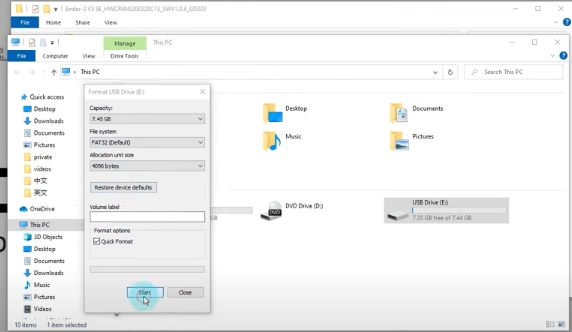
- Format a TF card and select 4096 for the allocation unit size.
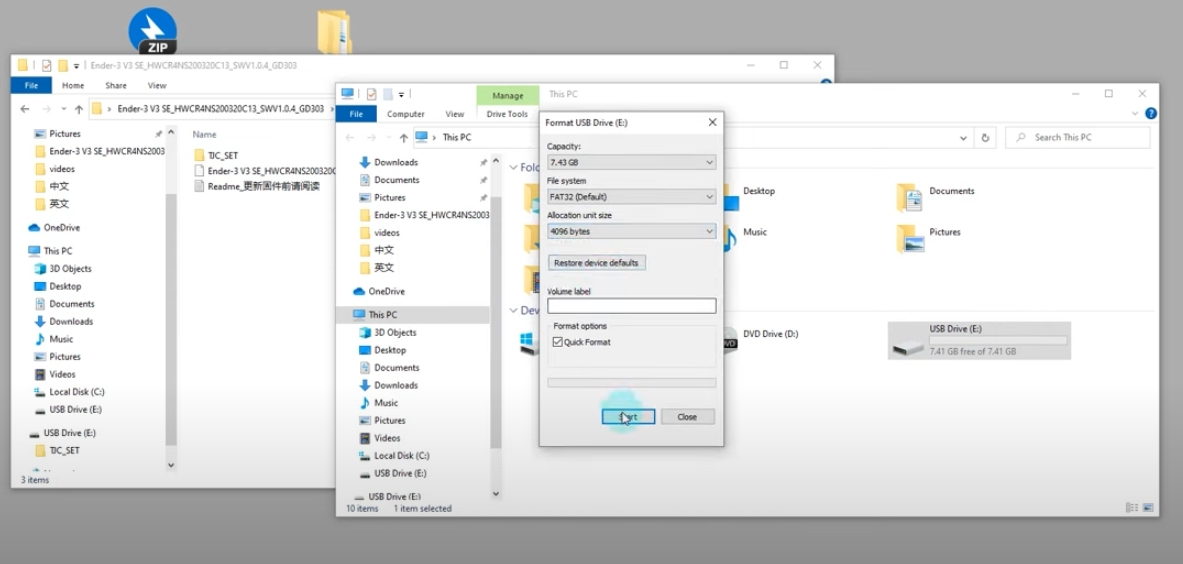
- Transfer the folder "TJC_SET" into the TF card.
- Put the TF card into the screen's card slot and switch the machine on.
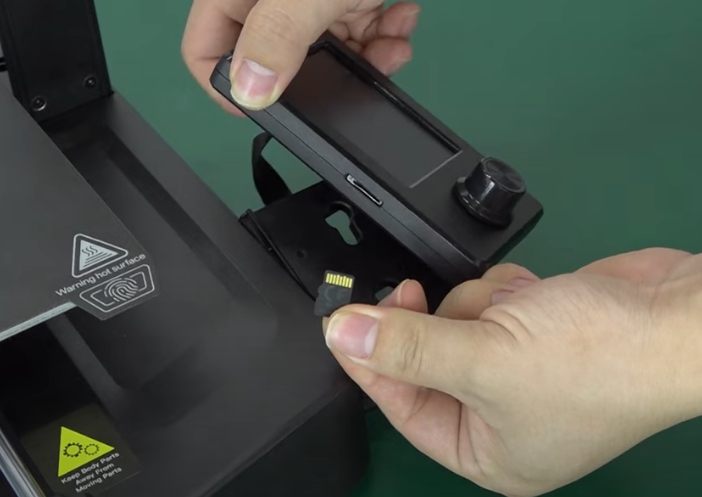
- Await the completion of the firmware flashing.
- Turn the machine off and remove the TF card from the screen card slot.
After the update is complete, the screen will notify you that the update has succeeded.
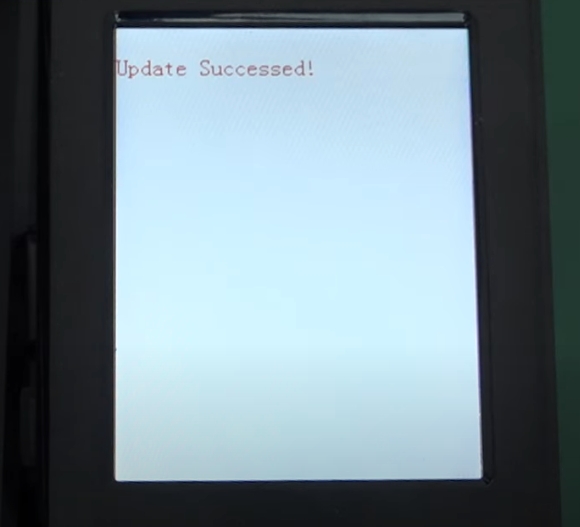
Firmware Update for Ender 3 v3 SE
Flashing your motherboard firmware requires a similar process:
- Format an SD card and select 4096 for the allocation unit size.
- Transfer the firmware file "Ender-3 V3 SE_HWCR4NS200320C13_SWV1.0.6_GD303_20230731.bin" into the root directory of the SD card.
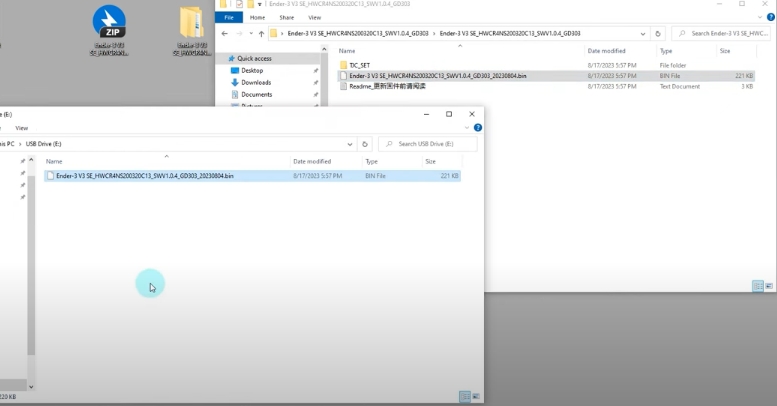
- Rename the firmware, for instance, "123.bin."
- Insert the renamed firmware-filled SD card into the motherboard slot and then power on the machine.
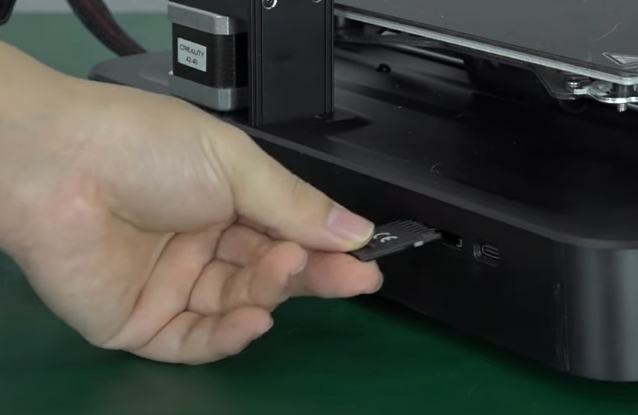
- Wait through a roughly 10-second black screen until the firmware flashing finishes and a page appears.
Confirming the Firmware Update
To confirm the firmware update was successful, you can view the firmware version number by navigating through your 3D printer's settings.
If you yearn to break away from the traditional manual firmware updates, consider installing Creality’s Nebula Pad. The Nebula Pad introduces wireless functions and Creality Cloud support to your printer, thereby enabling you to do future firmware updates automatically over the air via Wi-Fi.
Potential Firmware Update Mistakes
Sometimes firmware updates don't go as planned. Here are a few scenarios and their solutions:
1. If the motherboard firmware is updated without updating the screen firmware, a blue screen may occur. Correct this by updating the screen firmware — always update the screen firmware first.
2. If the screen firmware is successfully updated, but the motherboard firmware fails, you will encounter a distinct error screen. Try changing the motherboard firmware name to "123.bin," replace the SD card, and retry the firmware update.
3. After a failed screen firmware update, you might encounter an error screen. If this happens, you will need to reattempt the screen firmware update.
Learn more about:
Creality Ender-3 Series Professional Firmware Upgrade >>
Conclusion
Upgrading the firmware of your Ender-3 V3 SE is a straightforward process that can enhance your 3D printing experience. By following this guide, you can ensure your printer is running the latest software, providing you with better performance and new features. Remember, keeping your firmware up-to-date is not just about accessing new features; it's about maintaining the reliability and efficiency of your 3D printer.
People also read:
Ender-3 V3 vs. Ender-3 V3 SE vs. Ender-3 V3 KE >>
Ender-3 V3 SE Needle Cleaning Nozzle & Nozzle Replacements >>
Recent News

Creality Ender 3D Printers Compared: Which Printer Is Better for You?

3D Printer Nozzle Blocked? Causes and Safe Fixes

10 Best Back-to-School 3D Prints for Students in 2026
