



Creality K1 Speed Rules All: An Epic Leap Forward £479.00 Online
【Rapid Printing: 600mm/s Speed 20000mm/s² Acceleration】
【Effortless Auto-Leveling】
【Solid Unibody Frame】
【Auxiliary Cooling Fan in Chamber】
【Intelligent Control: Remote Control and Self-Tests】
【User-Friendly Design: Suits Beginners and Experts】
How to Change Filament on Creality K1: Step-by-Step Guide
Tutorial
2024-12-23 09:47:29
The Creality K1 is Creality's flagship 3D printer, with cutting-edge features and a track record of reliable operation. If you have a Creality K1 3D Printer and need to change the filament, please follow the steps below for manual, semi-automatic and automatic filament feed.
K1 Speedy 3D Printer
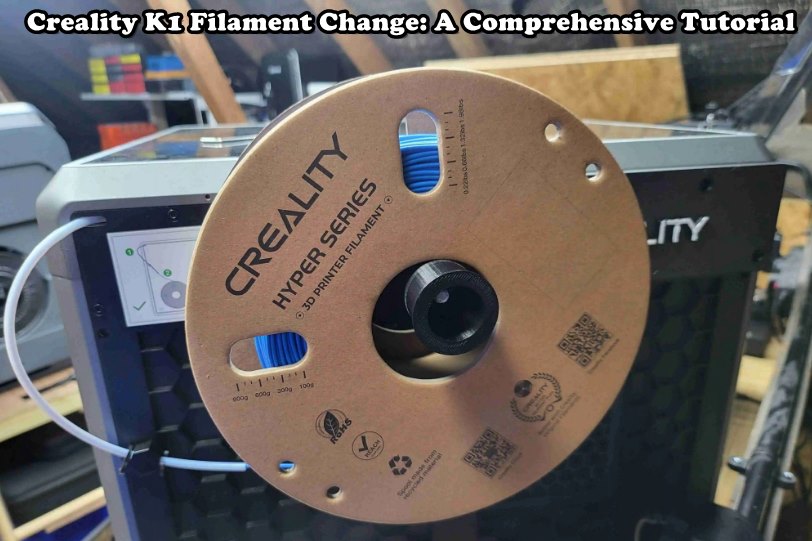
How to Change Filament on Creality K1 with Easy Ways
1. Manual Feeding
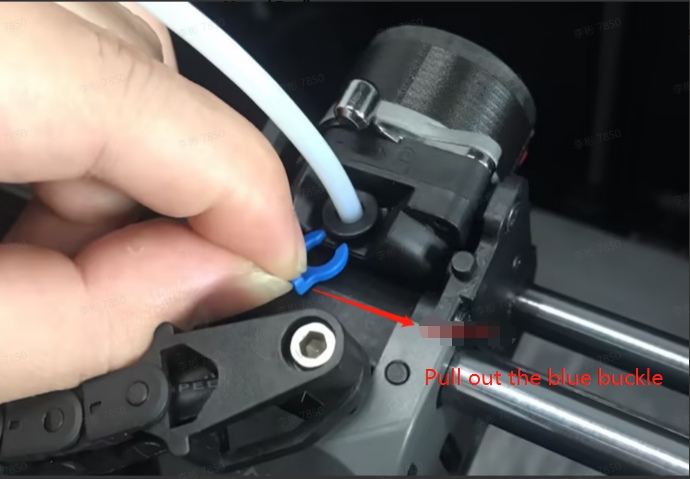
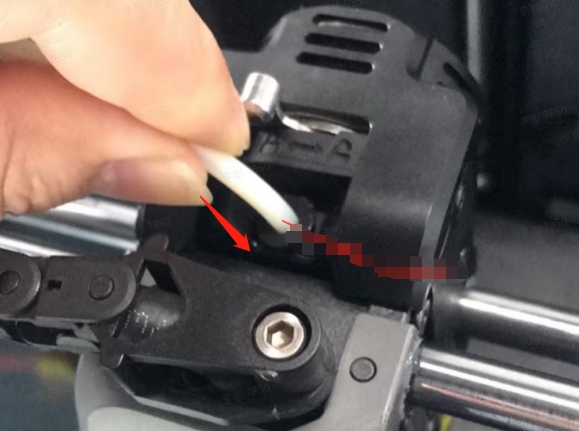
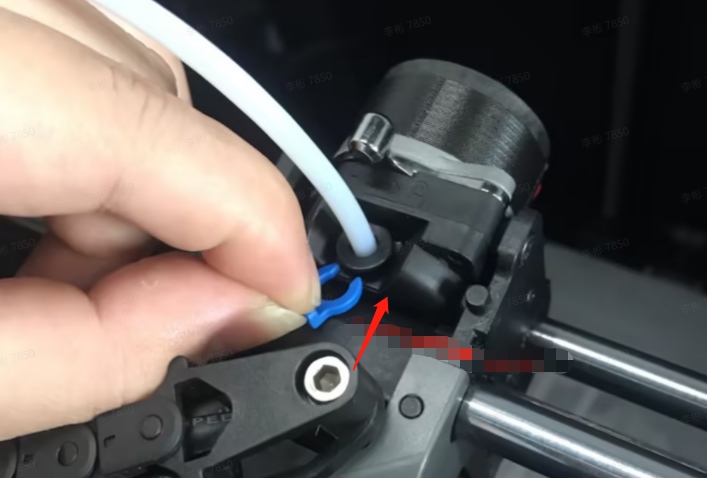
- Unlock the extruder kit and pull out the PTFE tube.

- Insert the new filament into the PTFE tube from the back, ensuring it passes through filament detection.

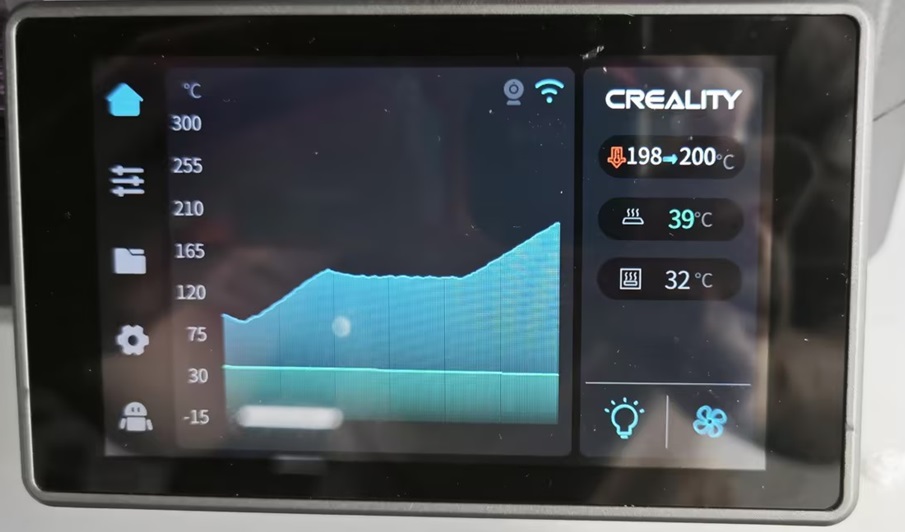
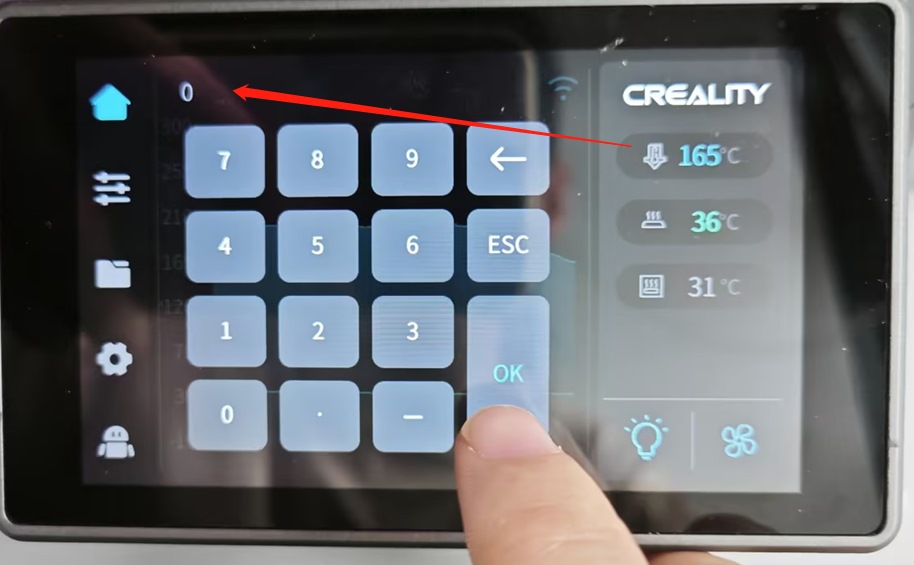
- On the machine screen, heat the nozzle to the filament's extrusion temperature.
- Feed the filament from top to bottom until it flows out of the nozzle.
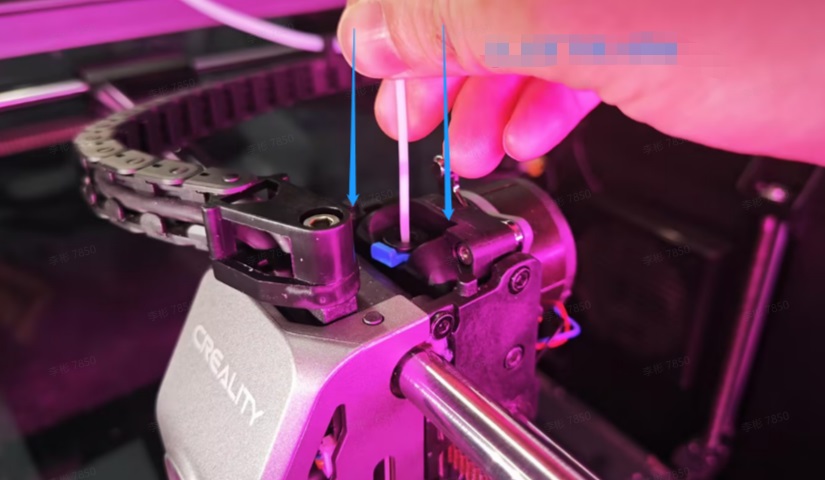
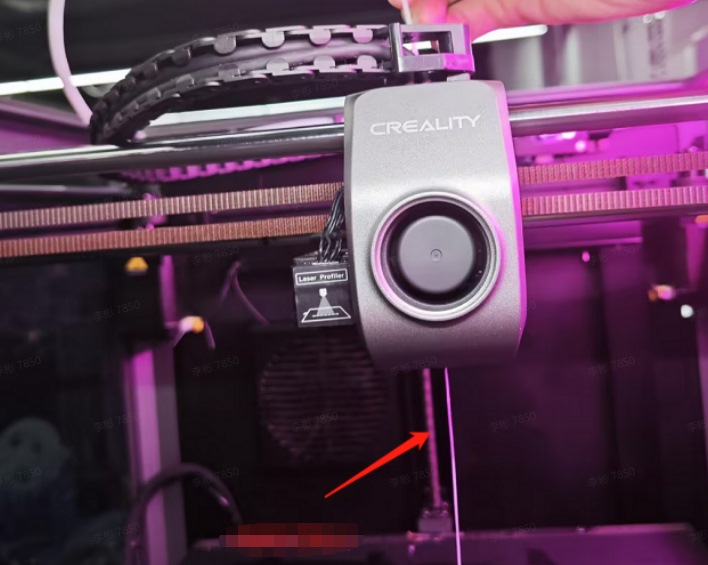
- Lock the extruder switch and restore the PTFE tube.
2. Semi-Automatic Feeding (Recommended)
- Open the motor cover and unlock the extruder.
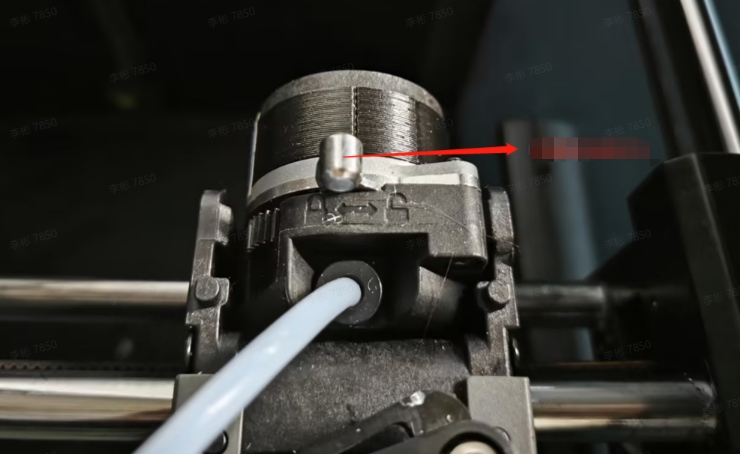
- Feed the filament from the outside until it can't be pushed further, then lock the extruder.
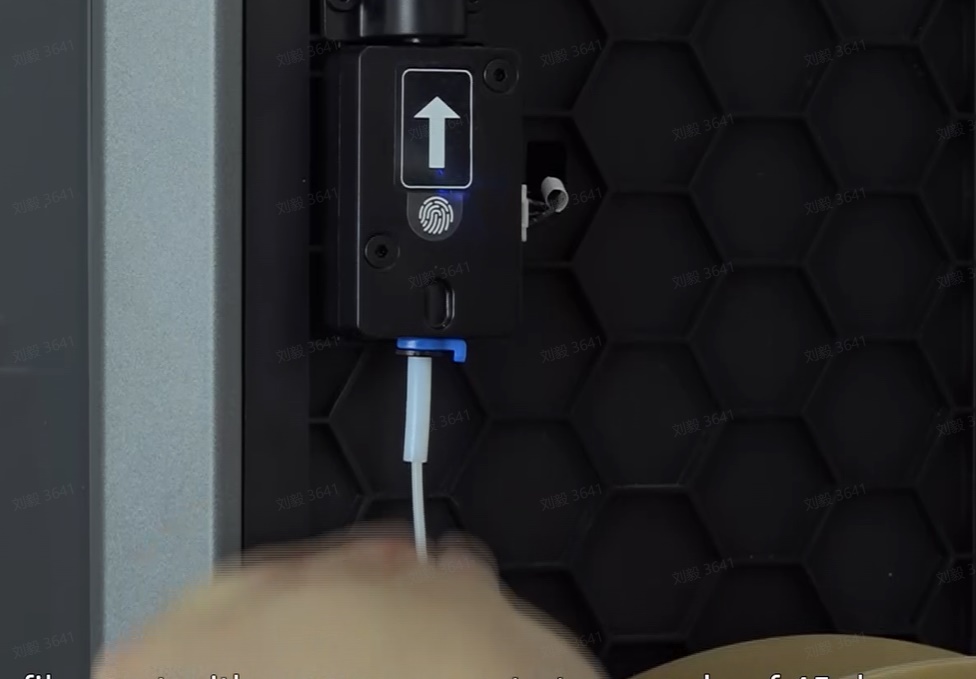

- In the filament Loading/Unloading function interface, click on "Extrude." Observe the nozzle; if filament is extruded, wait for "Finish." If not, gently push the filament forward and then click "Extrude."

3. Automatic Filament Retraction
- In the filament Loading/Unloading function interface, click on "Retract."
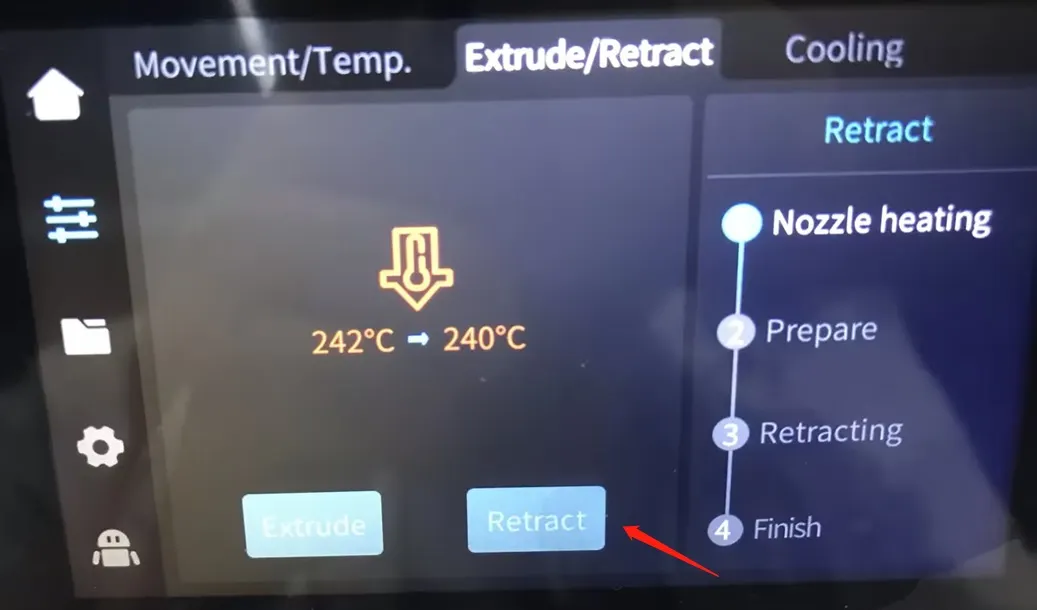
- Wait for the screen to display that the material retraction is complete.
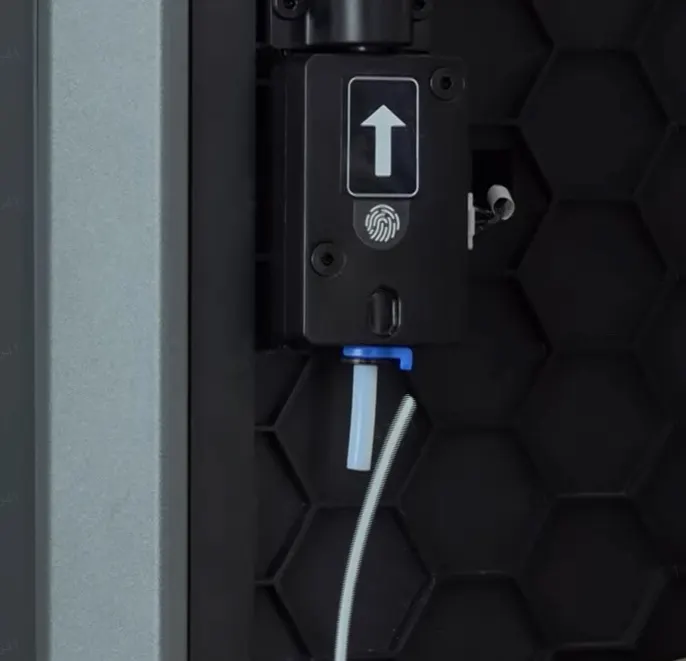
- Extract the filament from the external PTFE tube of the machine.
K1 Filament Replacement Video Guide
Refer to the "Replacing during Printing" after-sales video for a visual guide. Follow the methods demonstrated in the video when your filament is used up and needs replacement.
 People Also Read:
Creality K1 Series Printing Parameter Settings>>
Creality K1 vs. K1 Max vs. K1C:Comprehensive Comparison>>
Conclusion
By following these steps, you can efficiently handle filament replacement and loading/unloading procedures on your Creality K1 3D printer.
Recent News

Tutorial
2026-09-20
Creality Ender 3D Printers Compared: Which Printer Is Better for You?
The Creality Ender Series has changed considerably since the first Ender-3 became a familiar choi...

Tutorial
2026-08-24
3D Printer Nozzle Blocked? Causes and Safe Fixes
Weak or missing extrusion does not always mean the nozzle is fully blocked. Check the spool, fila...

Tutorial
2026-08-18
10 Best Back-to-School 3D Prints for Students in 2026
Back-to-school season is a great time to put your 3D printer to practical use. From desk organise...

Tutorial
2026-07-13
Creality Top 5 Beginner 3D Printers: 2026 Full Guide
Choosing your first 3D printer should be simple. The best beginner 3D printer is not always the m...