



Best 3D Printer under $200 in 2024 - All3dp
【250mm/s max printing speed】
【2500mm/s² acceleration】
【Auto leveling and Z offset】
【"Sprite" Direct Extruder】
【Stable dual Z-axis】
6 Easy Ways to prevent 3D Printer Layer Shifting
all
2024-12-23 04:55:50
Every 3D printing enthusiast knows the frustration of layer shifting. This article offers 6 straightforward tips to prevent this common issue, ranging from proper printer calibration to avoiding printhead collisions.
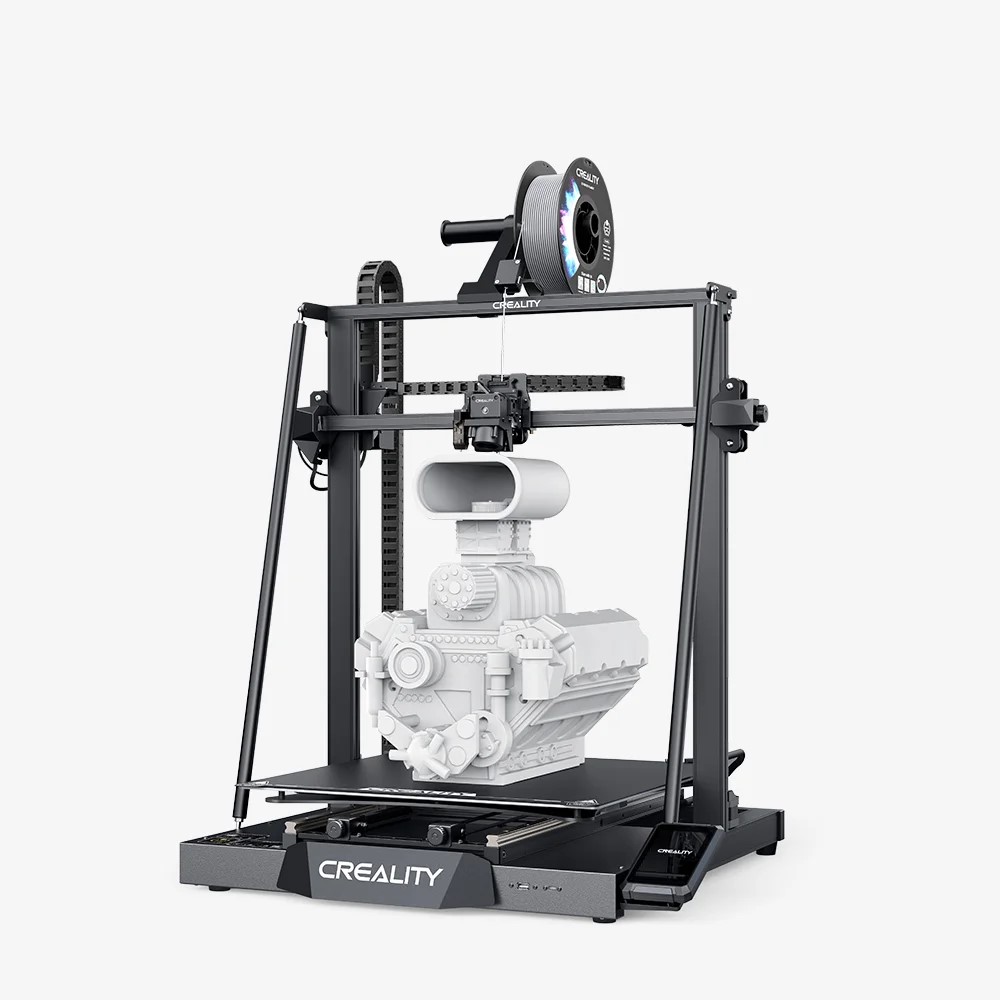
Ender-3 V3 SE 3D Printer
Tip 0: Proper Printer Calibration
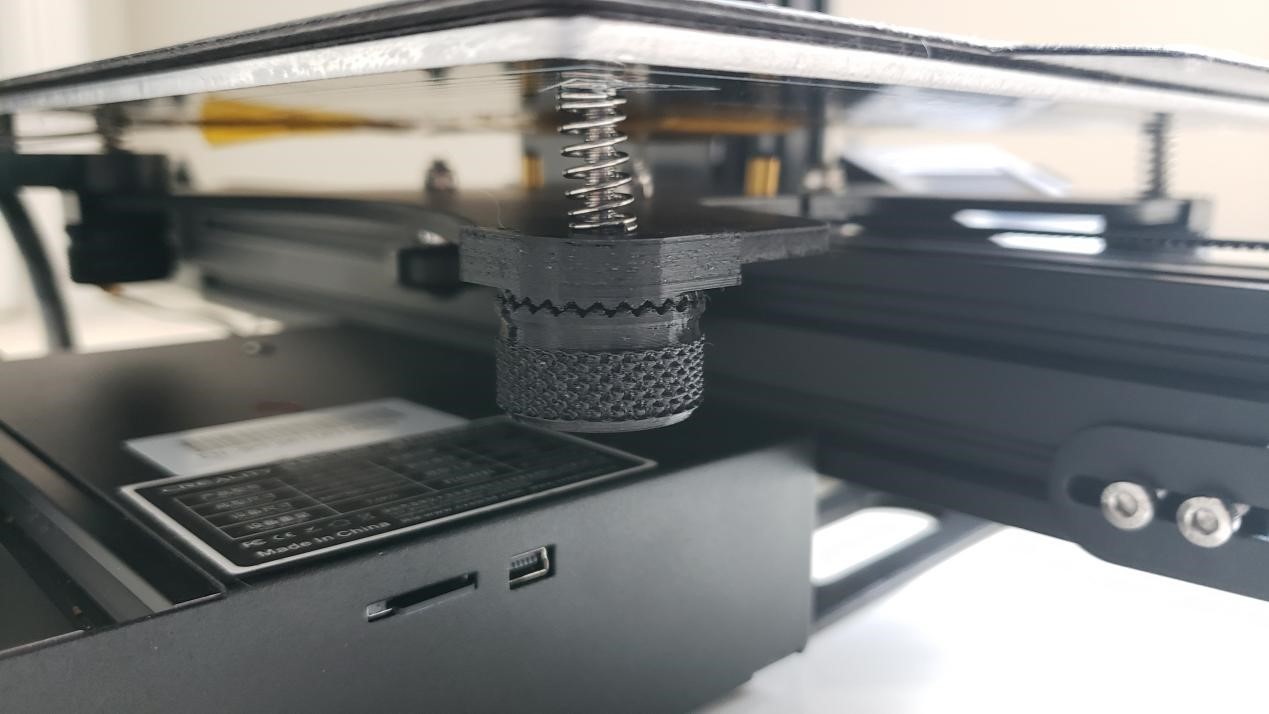
Our top tip, labeled “#0,” is applicable to nearly all printing issues. When encountering any print-quality problems, such as layer shifting, the first step is to ensure your 3D printer is properly calibrated and all components are functioning.
Proper calibration includes tuning your slicer profile (e.g., nozzle temperature), adjusting E-steps, ensuring motors receive the correct voltage, and tightening screws and bolts. Additionally, level your print bed, clean or replace the nozzle, PID tune your hot end, and run test prints.
Even if your printer passes every calibration test, you may still experience errors like layer shifting. In such cases, check if your files are corrupted. Re-upload the G-code to your SD card if prints fail at the same point.
After thorough calibration, if layer shifting persists, proceed to tip 1.
Tip 1: Minimizing Bumps & Vibrations
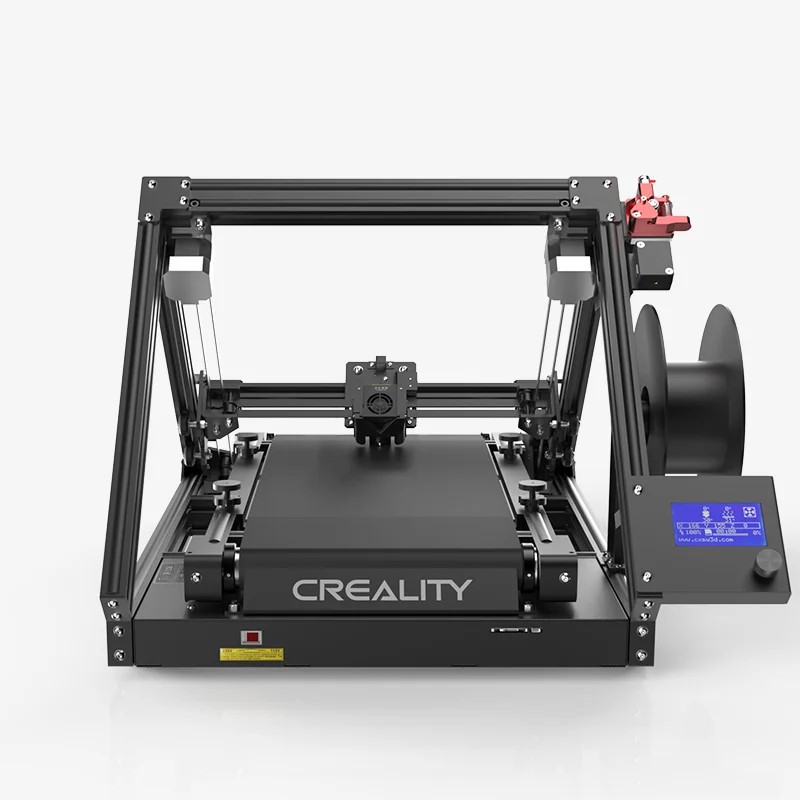
Our first real tip is to minimize all bumps and vibrations affecting your printer during printing. These can cause the printhead and print bed to rattle, leading to layer shifting.
First, ensure your printer isn’t absorbing vibrations from its surface. Place it on a stable surface and consider adding rubber vibration dampers.
Second, check that your printer's motors run smoothly without jolting when changing directions.
Third, ensure no contaminants or debris obstruct the printhead or print bed paths. Scraps of plastic in the printer frame can affect motion.
Identify and eliminate any other sources of extra movement specific to your setup. Reducing these disturbances will help maintain print quality and prevent layer shifting.
Tip 2: Tighten the Belts & Pulleys
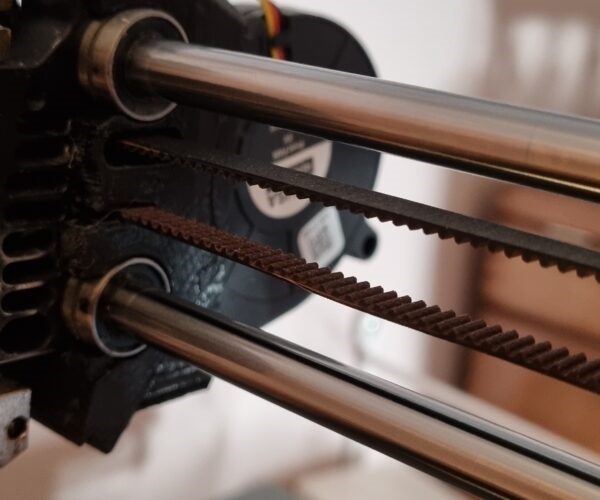
Our second tip addresses a common cause of layer shifting: loose belts. FDM 3D printers use belts and pulleys to move the printhead and print bed along their axes. Loose belts allow for unwanted movement, leading to layer shifting.
To fix this, tighten the belts by extending the pulley on one side of the belt loop. Many machines have adjustable belt pulleys with knobs for easy tightening. Ensuring the belts are properly tensioned helps maintain accurate movement.
For more detailed instructions on tightening the belts, refer to our article on this process.
Tip 3: Reduce the Print Speed
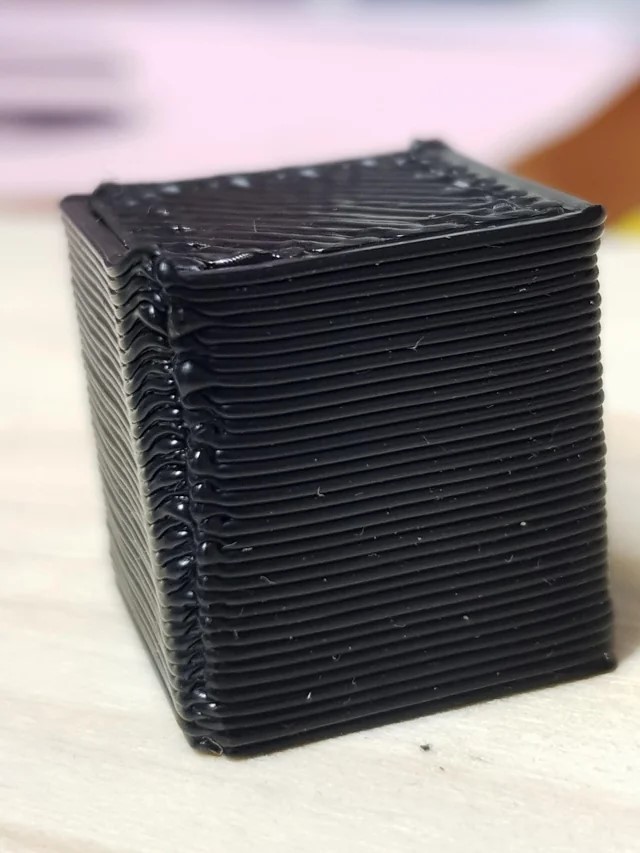
Third, try reducing your print speed to see if it's causing layer shifting. High print speeds can overwhelm stepper motors, leading to inaccurate movement and layer misalignment.
To maintain print quality, lower your print speed by 20 to 60% while troubleshooting. This adjustment helps determine if speed is the issue without significantly increasing print times.
Additionally, ensure your stepper motors are functioning correctly and can handle the motion demands. A common sign of failing stepper motors is a clicking noise. If you notice this, it indicates the motors are struggling to keep up.
If reducing the print speed doesn’t resolve the layer shifting, you can revert to your original settings. By systematically adjusting and monitoring print speed, you can identify and correct the issue, improving the overall reliability of your 3D printer.
This step is crucial for achieving consistent, high-quality prints and ensuring that your 3D printer operates efficiently.
Tip 4: Secure the Printing Surface
Sometimes, the cause of layer shifting is more obvious than expected, and adding an extra binder clip can make all the difference. Our fourth tip is to secure the build plate to the print bed underframe, which is moved by the bed stepper motor. If the build plate is too loose, it can shift during printing, leading to layer misalignment.
To better fasten the build plate, use binder clips or clips specifically designed for 3D printers. Typically, four clips (one on each corner) are used, but adding more can provide greater stability and prevent any movement of the build plate during the print process.
Ensure the clips are firmly in place and that the build plate is securely attached to the print bed underframe. This extra measure can significantly reduce the risk of layer shifting, improving overall print quality. By paying attention to such seemingly minor details, you can enhance the reliability and accuracy of your 3D printing projects.
Tip 5: Cool the Electronics
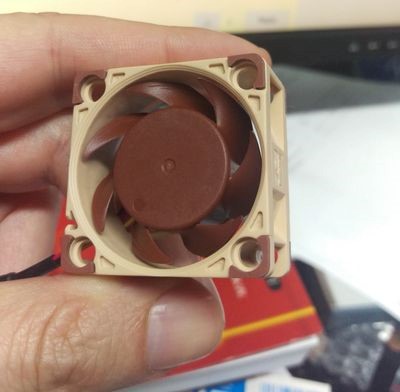
Our fifth tip is to cool the electronic components of your 3D printer. Overheating electronics can malfunction and lead to layer shifting, particularly the stepper motor drivers, which control the motion of the stepper motors and are built into the mainboard.
To address this, ensure your printer's electronics are adequately cooled by improving airflow to the mainboard. You can achieve this by opening the mainboard casing to allow more air circulation or by adding a fan directly over the mainboard. This extra cooling can prevent overheating and ensure stable performance, reducing the risk of layer shifting during prints. Proper cooling is essential for maintaining the reliability and longevity of your 3D printer’s electronic components.
Tip 6: Avoid Collisions
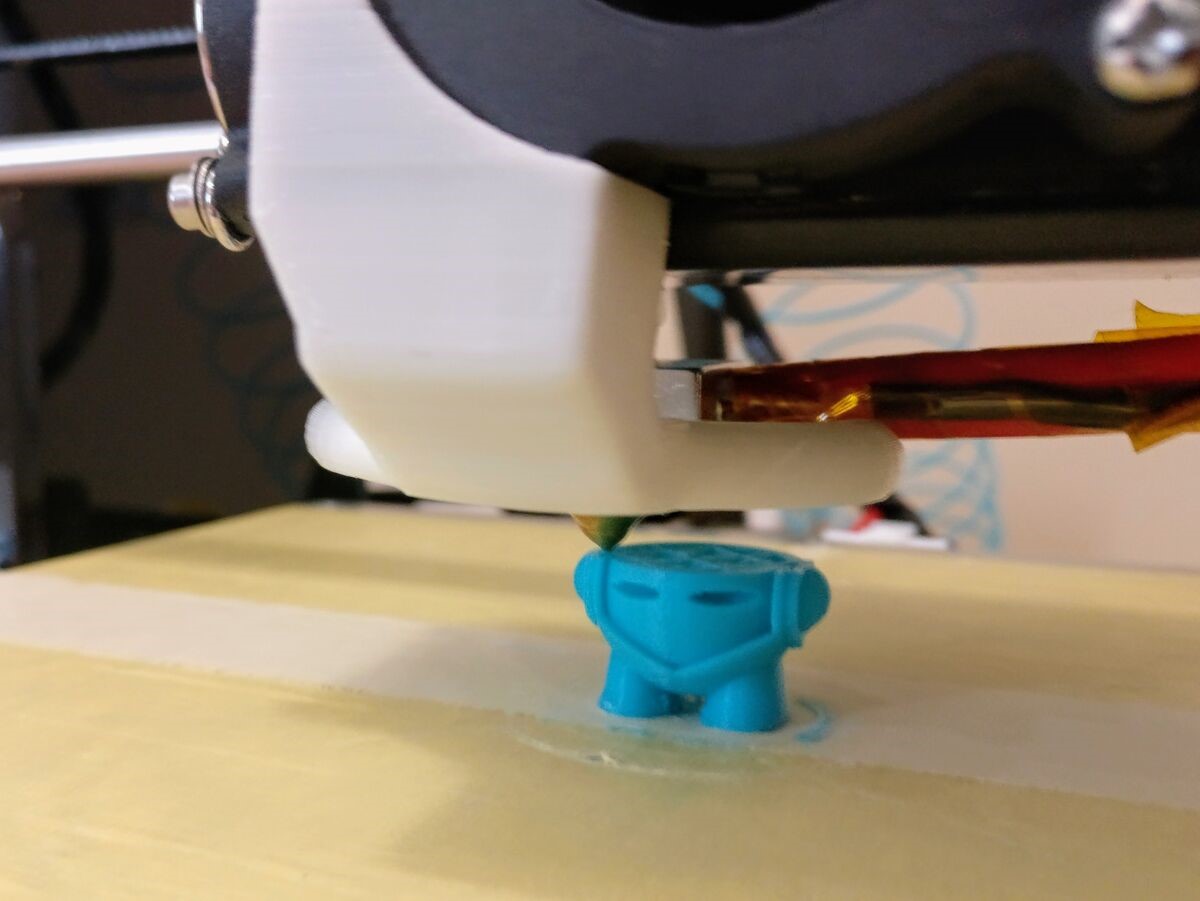
Our last tip is to avoid collisions between the printhead or nozzle and the printed part, which can cause layer shifting. Collisions often happen when the print’s shape allows for it, such as with small features coming loose or a warped first layer.
To prevent this, ensure your bed is level, and your first layer adheres well so that features don’t unintentionally hit the nozzle. If you find collisions causing layer shifting, take steps to keep the print parts clear of the nozzle’s path. Additionally, try lowering your travel speed. While this won't prevent collisions, it will reduce the impact if filament obstructs the nozzle.
Another effective solution is to activate Z Hop in your slicer settings. Z Hop instructs the printhead to lift slightly on the Z-axis during travel moves, preventing the nozzle from colliding with the print. Implementing these measures will help maintain print quality and avoid layer shifting due to nozzle collisions.
For more Creality 3D Printer, you can click the related articles as follows:

Conclusion
By following these six practical tips, you can reduce the risk of 3D printer layer shifting. Proper calibration, securing components, and monitoring print speed ensure high-quality, reliable prints every time.
Read more:
How to Use a PEI Sheet for 3D Printing on Your Print Bed
How to Achieve Perfect Bed Leveling on Your Ender 3
How 3D Printed Saddles Can Enhance Your Cycling Comfort
Recent News

all
2026-10-13
8 Halloween 3D Print Ideas to Make Before October 31
Halloween is coming, and the candy stash has already suffered a few unexplained disappearances. W...

all
2026-09-18
Ender Series 3D Printers Parameter Comparison
The Creality Ender Series has evolved significantly since the original Ender-3. What began as an ...

all
2026-08-02
Creality Back-to-School Sale 2026: Save Up to 50% on 3D Printers and More
A new school year is a chance to start fresh projects, develop practical skills and turn digital ...

all
2026-05-26
Is PLA Recyclable?
PLA is a biodegradable plastic derived from renewable resources such as corn starch or sugarcane....