


A Step-By-Step Comprehensive 3D Benchy Troubleshooting Guide To Solve Your 3D Printing Issues
Are you tired of spending hours tweaking your 3D printer settings, only to be disappointed by the final print?We understand how frustrating it can get sometimes when you’re unable to solve it.Don't worry, because there's a fun and effective solution – which is called the 3D Benchy.
In this blog, we'll explore what is 3D Benchy troubleshooting, which can be a unique and invaluable tool for optimizing your 3D printer settings and achieving the perfect print.
| Ender 3 |
Price: $168.99 |
Buy | |
| Ender 3 V2 |
Price: $175 |
Buy | |
| Ender 3 S1 |
Price: $266 |
Buy | |
| Ender 3 V3 SE |
Price: $199 |
Buy | |
| Ender 3 V3 KE |
Price: $279 |
Buy |
What is 3D Benchy?
Crafted in 2014 by Creative Tools, the 3D Benchy is more than just a cute boat-shaped model. It serves as a litmus test for 3D printers, pushing their capabilities and revealing limitations. This 3D Benchy can be downloaded for free from the official 3D Benchy website. This 3D Benchy design offers you various options to cater to different needs and showcases how to achieve optimal settings.
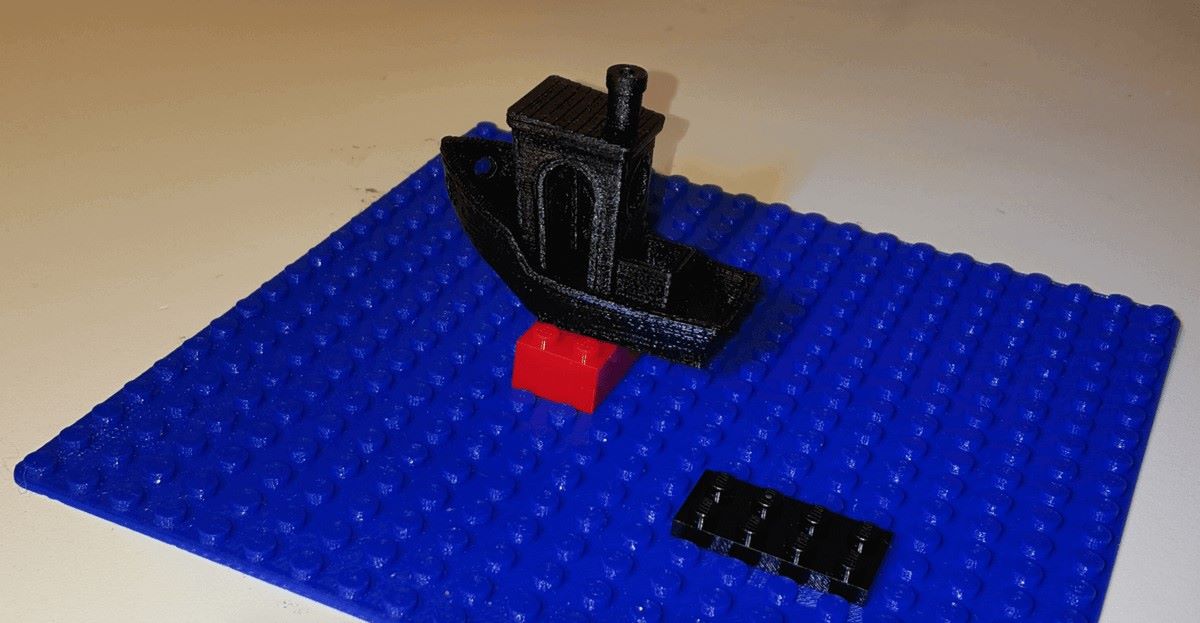
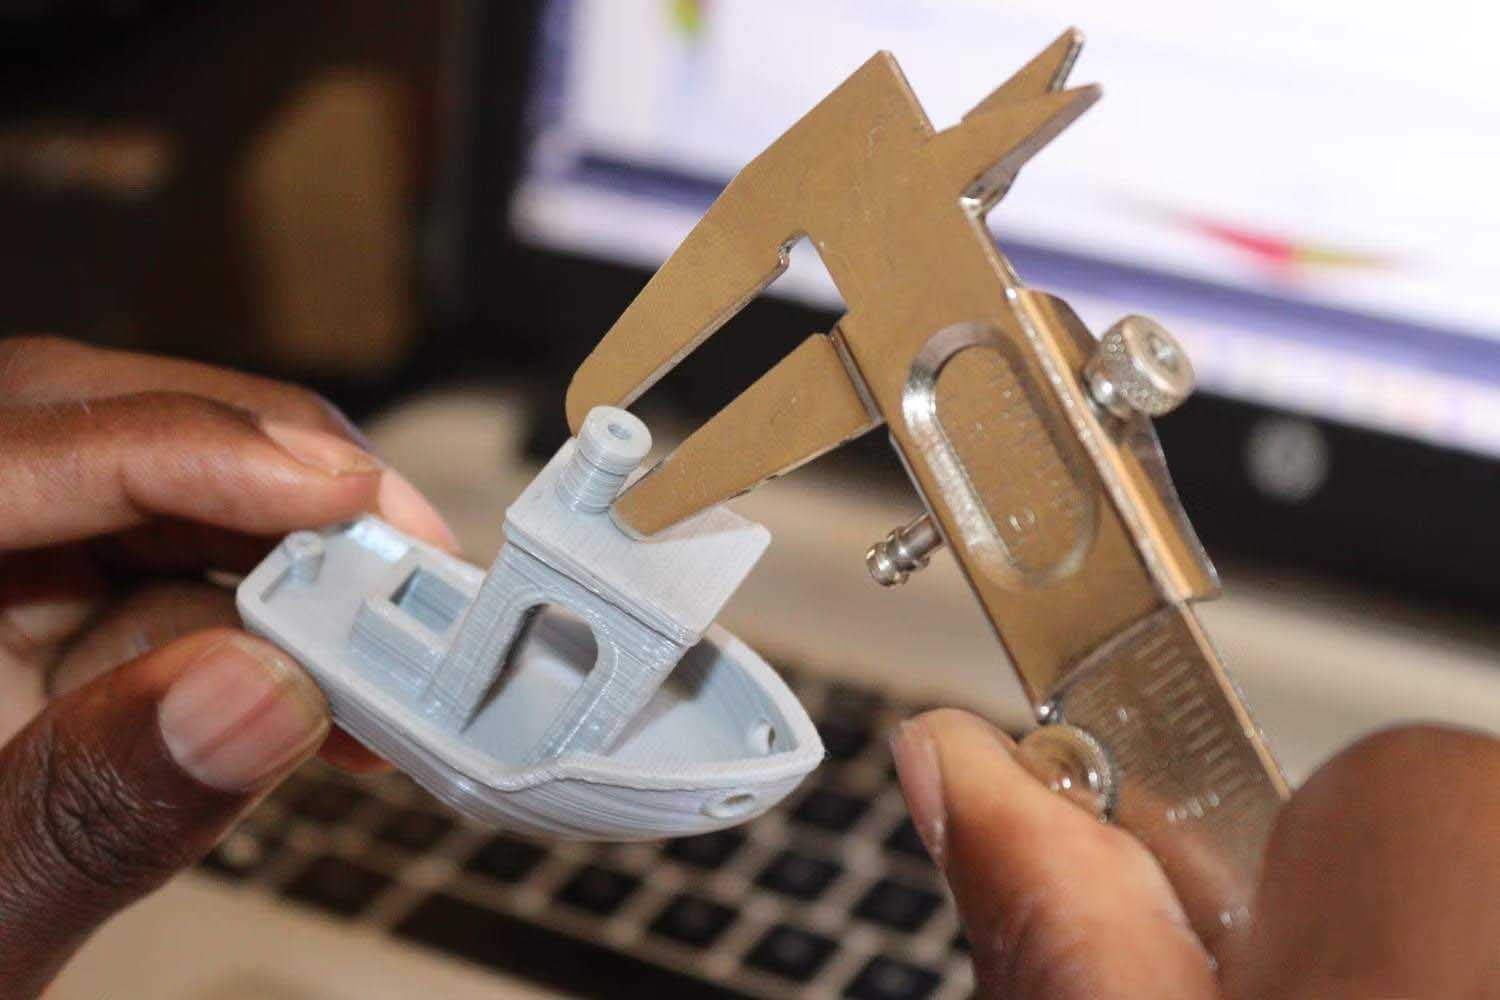
The 3D Benchy's design includes parallel surfaces, cylindrical holes, rectangular windows, and different letters and signs, which makes it an ideal object to expose any weaknesses and problems in a 3D printer's performance. The objective is to print the model at a scale of 1:1 without any support, putting every component of your printer to the test.
Let's now discuss what settings there should be done to do the test effectively.
How To Get Started with 3D Printing the Benchy
Once you get the 3D Benchy files, it's time to initiate the print using the recommended settings:
- Scale: 1:1
- Print extrusion speed: Up to 50 mm/s
- Print travel speed: Up to 150 mm/s
- Print nozzle diameter: 0.4 mm
- Layer height: 0.2 mm
- Infill: 10%
The initial 3D printing process takes approximately one hour, which offers a baseline examination of your printer's current capabilities.
This print will serve as the foundation for troubleshooting and refining your machine.
How To Check the Overall Quality
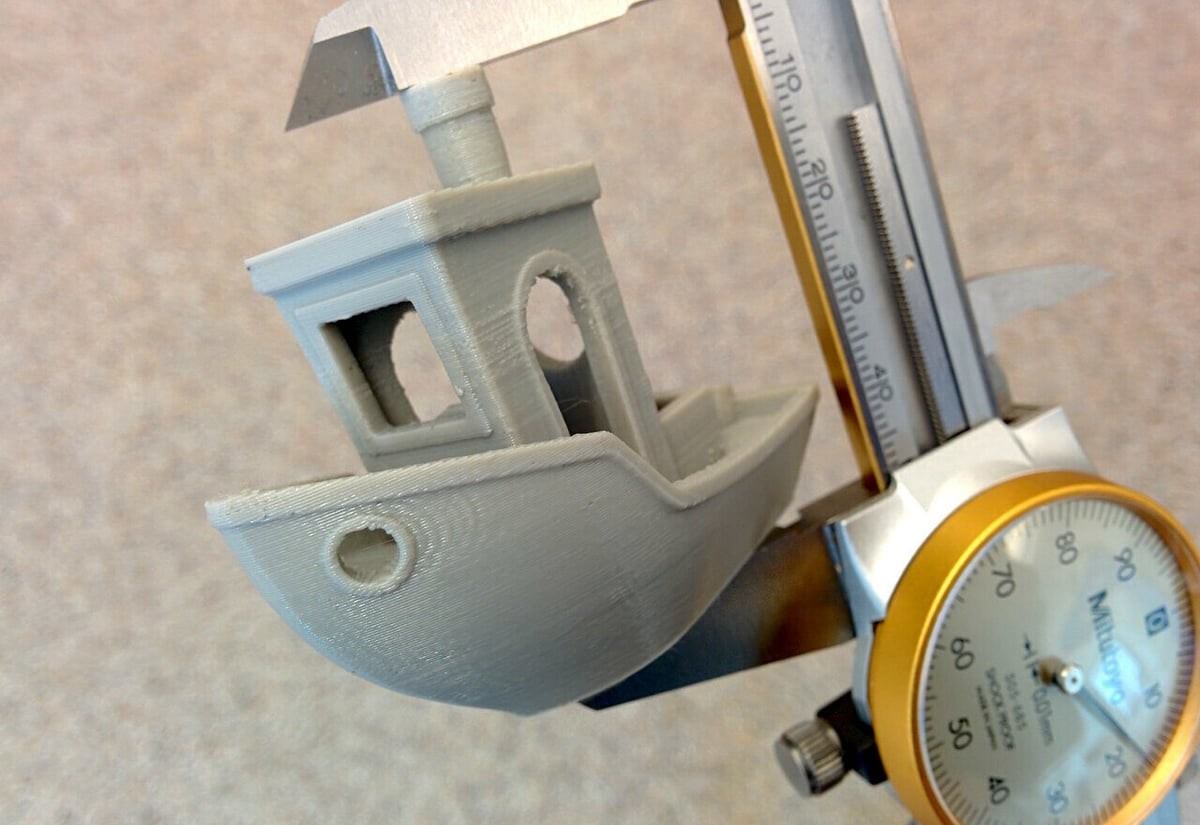
Upon completion of the 3D Benchy print, the first step in troubleshooting involves a detailed examination of the overall quality.
You need to inspect for stringing, and imperfections on overhangs, and ensure all the complex details are present. Stringing issues may indicate retraction problems that might need quick adjustments to retraction distance and speed in your slicer settings.
Warping, particularly in sections prone to it, requires attention to cooling settings. Activating Print Cooling in your slicer, adjusting fan speed, and utilizing a heated build plate or adhesive like glue can improve adhesion and eliminate warping issues.
To address speed-related challenges, consider lowering the printing speed in your slicer. A reduced speed allows the material more time to cool before moving to the next position, reducing the likelihood of defects.
How To Fine-Tune Your 3D Printer
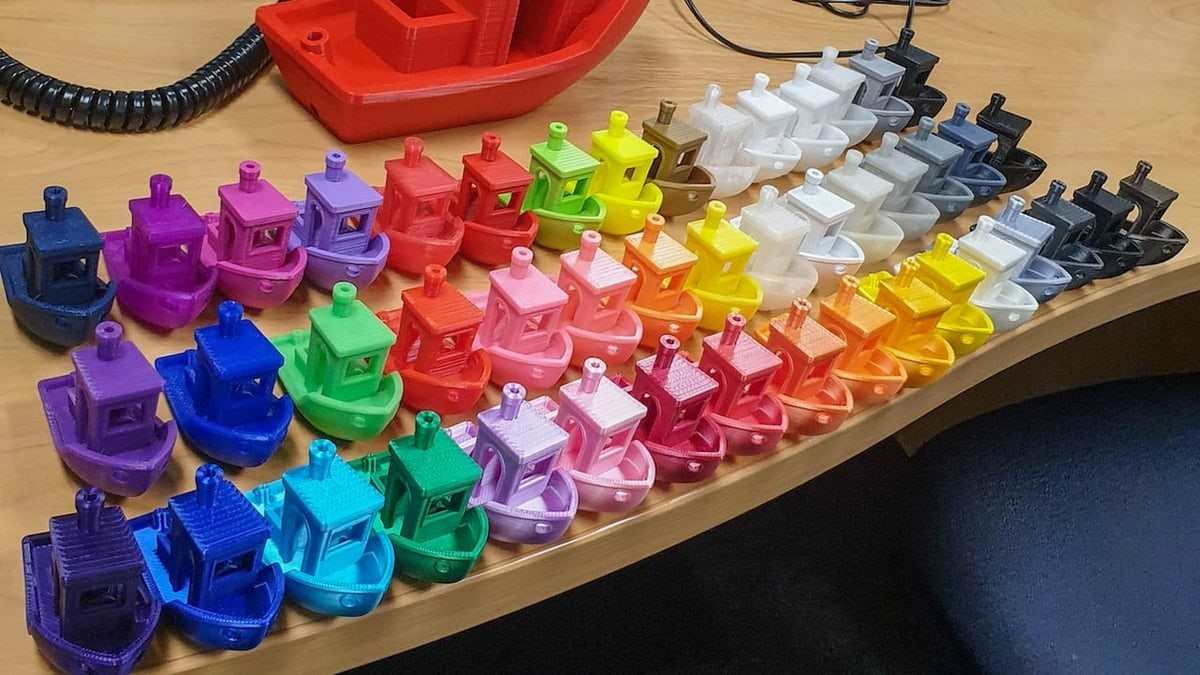
Now that we've covered the basics of 3D Benchy troubleshooting, let's delve deeper into specific techniques for fine-tuning your 3D printer.
Each aspect of the 3D Benchy printing process warrants attention, and mastering these techniques will improve your printing experience.
1. Retraction Settings
One of the common challenges faced during 3D printing is stringing – those unwanted types of filament that can destroy the surface of your print. Stringing occurs when the printer's extruder continues to ooze the filament while moving between different parts of the print. To solve this issue, it's essential to optimize your retraction settings.
Retraction is the process of pulling the filament slightly backward when the nozzle moves between different areas of the print. This prevents the excess filament from dripping and causing stringing. Most slicer software, such as Cura or PrusaSlicer, provides retraction settings that you can adjust to achieve the best results.
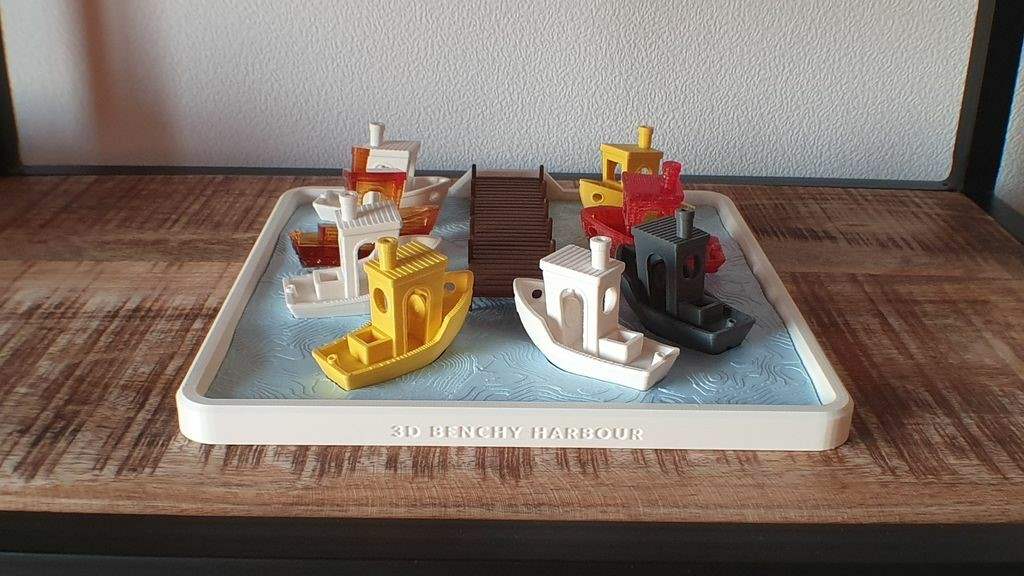
Here are the recommended key retraction settings for you to focus on:
- Retraction Distance: This setting determines how much filament is retracted during each movement. Too much retraction can lead to under-extrusion, while too little may result in stringing. You can experiment with different distances to find the optimal value for your printer and filament.
- Retraction Speed: The retraction speed defines how quickly the filament is pulled back into the nozzle. A higher retraction speed can help prevent stringing, but excessively high speeds may cause other issues like filament grinding or jams. You can start with a moderate speed and adjust as needed.
- Coasting: Some slicers offer a feature called coasting, where the extruder stops pushing filament slightly before the end of a travel move. This can reduce pressure in the nozzle and minimize stringing. You can experiment with coasting settings to find the right balance for your prints.
2. Temperature Management
Temperature plays a crucial role in 3D printing, impacting the adhesion, layer bonding, and overall quality of your prints. Proper temperature management is essential for achieving optimal results with the 3D Benchy and other models. Let's discuss now how temperature settings can be fine-tuned to address common issues.
- Extruder Temperature: The temperature of the extruder significantly influences filament flow and layer adhesion. Different filaments have specific temperature recommendations, and experimenting within these ranges can help find the best temperature for your particular filament. Too high a temperature may lead to oozing, stringing, and overheating issues, while too low a temperature can cause under-extrusion and poor layer adhesion.
- Bed Temperature: If you're printing with a heated bed, its temperature is crucial for proper adhesion to the build surface. Adjust the bed temperature based on the type of filament you're using and the properties of your print bed material. Warping and poor bed adhesion can be mitigated by finding the optimal bed temperature for your specific setup.
- Layer Cooling: While maintaining proper extruder and bed temperatures is essential, cooling is equally critical, especially for complex designs like the 3D Benchy. Cooling helps solidify each layer before the next one is deposited, improving print quality. Most slicers allow you to adjust the fan speed or enable specific cooling features. You can definitely experiment with these settings to find the right balance between cooling and preventing thermal fluctuations that could affect layer adhesion.
Learn more: Ideal PLA Bed and Nozzle Temperature Guidelines
3. Bed Leveling and Adhesion
Achieving a level and well-adhered first layer is significant for successful 3D printing. Bed leveling ensures that the nozzle maintains a consistent distance from the bed across its entire surface. This not only promotes even extrusion but also prevents issues such as poor adhesion, warping, and misaligned layers.
Follow these steps for effective bed leveling can lead you to great results:
- Manual Bed Leveling: Most 3D printers feature manual bed leveling, where you adjust the bed's leveling screws or knobs to achieve a uniform distance between the nozzle and the bed. This process typically involves moving the nozzle to various points on the bed and adjusting the leveling screws until a sheet of paper can slide smoothly between the nozzle and the bed.
- Mesh Bed Leveling: Some printers come with automatic bed leveling systems, such as mesh bed leveling. This feature probes multiple points on the bed to create a virtual mesh, compensating for any slight irregularities. You can enable and configure mesh bed leveling through your printer's firmware or slicer settings for enhanced precision.
- Build Surface and Adhesive Techniques: The choice of build surface and adhesion methods also impacts the first layer's success. You need to ensure your print bed surface is clean, free from debris, and properly prepared for the specific filament you're using. Also, applying adhesives like glue sticks, hairspray, or specialized bed adhesives can enhance bed adhesion, especially for materials prone to warping.
Learn more: Understanding the Essentials of 3D Printer Bed Adhesion
4. Print Speed and Acceleration
Print speed and acceleration settings influence the overall print time, quality, and the printer's mechanical stress. Adjusting these parameters can help fine-tune your 3D Benchy prints, balancing speed with precision. Here's how you can optimize these settings for you to get the desired results:
- Print Speed: The rate at which the printer's nozzle moves during printing affects the layer adhesion, surface finish, and overall print quality. While higher print speeds can reduce print times, excessively high speeds may lead to inaccuracies, artifacts, or even missed steps in the printer's motion system. You can start with a moderate print speed and gradually increase or decrease it based on your print quality preferences.
- Travel Speed: Travel moves occur when the nozzle moves between different parts of the print without extruding the filament. Adjusting travel speed can minimize stringing and improve overall print efficiency. You can do experiments with travel speed settings in your slicer to find the optimal balance between speed and quality.
- Acceleration and Jerk: Printer acceleration and jerk settings influence how quickly the printer accelerates or changes direction. High acceleration values can lead to ringing artifacts, where vibrations are visible on the printed surface. Jerk settings control the abruptness of direction changes, affecting the smoothness of curves and corners. You need to fine-tune these settings to strike a balance between speed and print quality.
Learn more: The Ideal Print Speed Settings for Ender 3
5. Layer Height and Resolution
Layer height is a critical parameter that determines the vertical resolution of your prints. Lower layer heights result in finer details but increase print time, while higher layer heights can speed up printing but may sacrifice fine details. Finding the optimal layer height for your specific print is crucial for achieving the desired balance.
- Layer Height Considerations: Experiment with different layer heights based on the intricacy of your 3D Benchy model. For highly detailed sections, a lower layer height, such as 0.1 mm, may be preferable. However, for less complex parts, a higher layer height, like 0.2 mm or 0.3 mm, can significantly reduce print time without sacrificing overall quality.
- Z-Axis Steps per Millimeter: The Z-axis steps per millimeter setting in your printer's firmware influences the accuracy of vertical movements. Ensuring the correct steps per millimeter for your Z-axis motor and leadscrew configuration is essential for accurate layer height and overall print quality. You can refer to your printer's documentation or online resources for guidance on calibrating this setting.
6. Filament Considerations
The type of filament you use plays a pivotal role in the success of your 3D Benchy prints. Different materials have unique properties, temperature requirements, and considerations that can impact print quality. Here are some filament-related aspects for you to consider:
- Temperature Settings: Each filament type has a recommended temperature range for optimal extrusion and layer adhesion. Experiment within these ranges to find the right temperature for your specific filament. You need to keep in mind that temperature settings may need adjustment based on factors like print speed and cooling.
- Bed Adhesion: Some filaments, such as ABS, benefit from a heated bed to improve adhesion, while others, like PLA, may not require it. Understand the bed adhesion characteristics of your chosen filament and adjust the bed temperature accordingly. Also, consider using adhesives like glue or specialized bed coatings for enhanced adhesion.
- Cooling Requirements: Filaments have varying cooling requirements during the printing process. While PLA generally benefits from active cooling, certain filaments, like ABS, may require minimal or no cooling to prevent warping. You can adjust cooling settings in your slicer to accommodate the specific needs of your filament.
Final Verdict
Troubleshooting your 3D printer with a 3D Benchy is not only an essential step but also an enjoyable and effective process.
By addressing issues related to quality, accuracy, temperature, and complex details, you'll be well on your way to achieving the perfect 3D print every time.
You can print these 3D Benchy with the 3D printers available at the Creality Store. These printers serve as one of the reliable options to give you excellent results with 3D Printing. Whether you need it for personal use, or you need to use it professionally, you can check them out at: https://store.creality.com. The products at the Creality Store have been created after lots of testing and experiments. If it's said that Creality is the global leader in providing 3D solutions, that would not be a lie. Also, it provides you with the most affordable and smart option in the market. So, don't forget to explore the versatile products of the Creality Store.

Recent News

8 Halloween 3D Print Ideas to Make Before October 31

Ender Series 3D Printers Parameter Comparison

Creality Back-to-School Sale 2026: Save Up to 50% on 3D Printers and More
