


Creality CR-10 SE Load /Unload/ Change Filament Guide Step by Step
The CR-10 SE is the latest addition to Creality's CR series of 3D printers, launched in 2023.9. The CR-10 SE is a cutting-edge 3D printer for its exceptional filament versatility. It boasts a remarkable high-speed printing capability of 600mm/s and features a hot end equipped with a powerful 60W ceramic heater. This printer is a filament enthusiast's dream as it effortlessly accepts a range of filaments including high temperature, high strength and flexible materials. With the CR-10 SE, you have the freedom to choose from a wide array of filaments to ensure optimal results for your specific 3D printing needs.
In this guide, we'll walk you through the essential steps of loading, unloading and changing filament on the Creality CR-10 SE (Enjoy 12% Off Extra on Creality Blog Only) to ensure a seamless 3D printing experience.
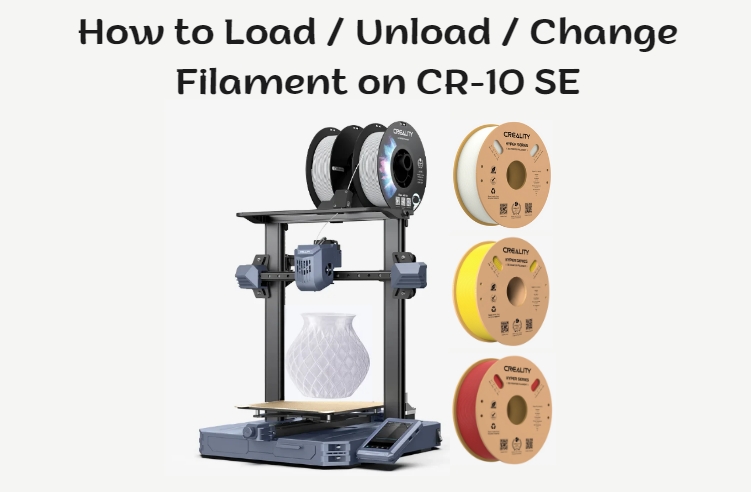
How to Load Filament CR-10 SE
Two methods are the following: manual loading and semi-automatic extruding.
1. Manual Loading
① Operating on the machine screen to heat the nozzle to the extrusion temperature (210°C) of the filament;
② Insert the filament from top to bottom;
③ Apply a slight pressure to extruder clamp, insert the filament into the hole until it flows out of the nozzle;
2. Semi-automatic Extruding (Creality Recommended)
① Insert the filament through the breakage detection device;
② Push the filament into the extruder hole until it can't be pushed further;
③ Click Extrude on the screen, observe the nozzle, if the filament has been extruded, wait for "Extruding Finished", if it has not squeezed out, lightly push the filament forward and click "Extrude" gain.
How to Make Filament Retraction Settings on CR-10 SE
Two methods of manual retracting and automatic retracting are below.
1. Manual Retracting
① Operate on the machine screen to heat the nozzle to the filament extrusion temperature (210°C);
② Apply slight pressure to the extruder clip, remove the filament.
2. Automatic Retracting
① Click on the screen for filament retraction, wait for the retraction to complete;
② Extruding filament from the extruder nozzle.
How to Change Filament CR-10 SE
Two ways to replace filament when it runs out.
1. Purely Manual
① Trigger Filament Detection, Click to Change filament;
② Return to the print page, reheat the nozzle to the extrusion temperature 210°C;
③ Apply slight pressure to extruder clip, remove filament;
④ Feeding the filament through the breakage detection device;
⑤ Apply slight pressure to extruder clamp, insert the filament into the hole until the filament flows out from the nozzle;
⑥ Click to Resume Printing.
2. Semi-automatic (Creality Recommended)
① Trigger Filament Detection, Click to Change filament;
② Return to the print page, reheat the nozzle to the extrusion temperature 210°C;
③ Apply slight pressure to extruder clip, remove filament (waste);
④ Feeding the filament through the breakage detection device;
⑤ Push the filament into the extruder hole until it cannot be pushed further;
⑥ Click on the screen to load the filament, observe the nozzle, if the filament have been extruded, wait for "Extruding finished", if not extruded, lightly push the filament forward and click "Extrude", and clean the nozzle after finishing extruding;
⑦ Click Resume Printing
 People Also Read:
If you need assistance with printing parameter settings, refer to the Creality CR-10 SE Printing Parameter Settings
For another in-depth guide on changing filament, you can refer to the How to Change Filament on Ender 3: A Step-by-Step Guide
For different type of filament settings, you can refer to the Creality Filaments Parameter Guide for 3D Printing
CR-10 SE Recommended Filament Parameters Settings
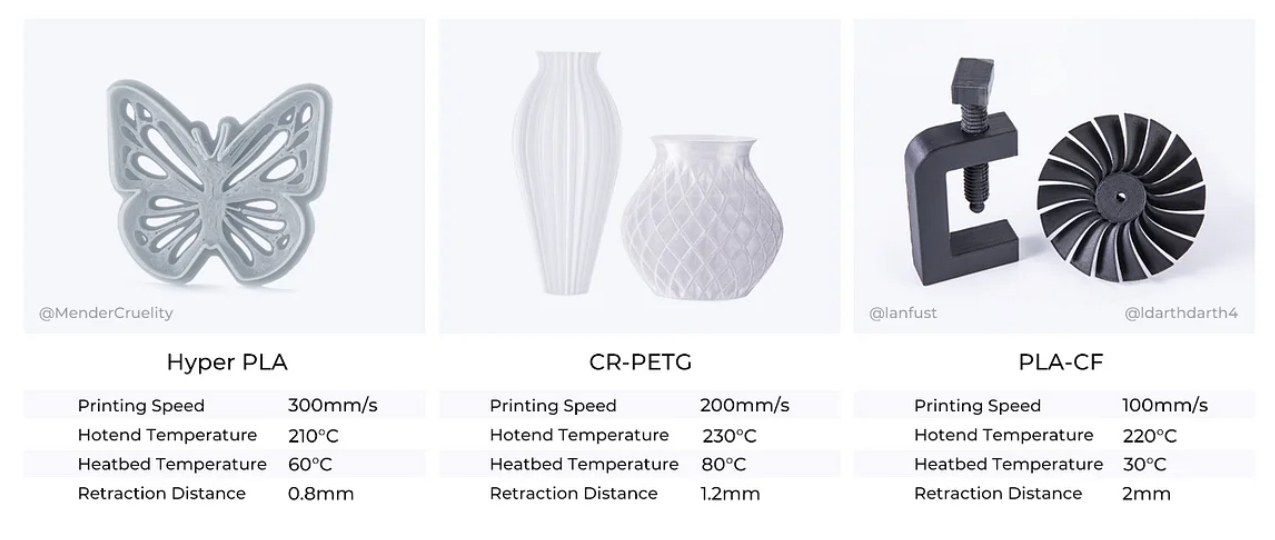
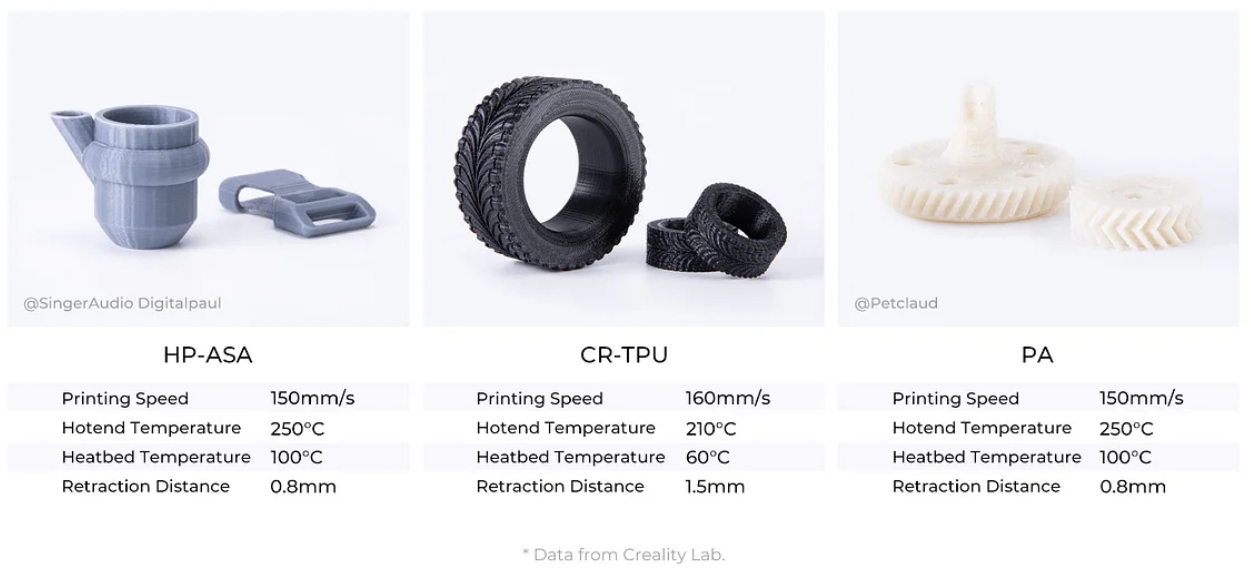
| CR-10 SE Official Filament Universal Parameters Recommend | ||||||
|
Filament Type |
Enclosure |
Retract Distance |
Nozzle Temperature (°C) |
Heatbed Temperature (°C) |
Model Cooling Fan Speed (mm/s) |
Printing Speed - 0.2mm Layer Height |
| Hyper PLA | NO | 0.8 | 210 | 60 | 100 | 300 |
| Generic PLA | NO | 0.8 | 220 | 60 | 100 | 300 |
| PLA-Wood | NO | 1.2 | 220 | 60 | 100 | 120 |
| CR-PETG | NO | 1.2 | 230 | 80 | 100 | 200 |
| CR-TPU | NO | 2 | 215 | 30 | 100 | 50 |
| CR-ABS | YES | 0.8 | 250 | 100 | 0 | 100 |
| HP-ASA | YES | 0.8 | 250 | 100 | 50 | 150 |
| CR-Carbon(PLA-CF) | NO | 0.8 | 220 | 60 | 100 | 160 |
| CR-Nylon Natural(PA) | YES | 0.8 | 250 | 100 | 80 | 150 |
Conclusion
Mastering the process of loading, unloading and changing filaments on the Creality CR-10 SE is critical to achieving high-quality 3D printing. By following the steps above and referring to the resources provided, you'll be able to perform filament-related tasks with confidence.
Recent News

8 Halloween 3D Print Ideas to Make Before October 31

Ender Series 3D Printers Parameter Comparison

Creality Back-to-School Sale 2026: Save Up to 50% on 3D Printers and More
