



Best Fused Deposition Modeling 3D Printer under $200 in 2024 - All3dp
【250mm/s max printing speed】
【2500mm/s² acceleration】
【Auto leveling and Z offset】
【"Sprite" Direct Extruder】
【Stable dual Z-axis】
Expert Tips for Perfectly Painted 3D Prints
all
2024-12-23 04:56:16
Enhancing 3D prints through painting can elevate their appearance, giving them a polished, professional finish. Whether you're a hobbyist adding a personal touch or a professional refining prototypes, mastering the right painting techniques is key.
This guide covers every step, from design and slicing to the final paint job. Learn how to prepare your model for smooth post-processing, select the best paints, and use essential accessories for a flawless finish. Follow these tips to paint your 3D prints into stunning works of art that stand out with a professional finish.
Ender-3 V3 SE 3D Printer
Choosing Paints
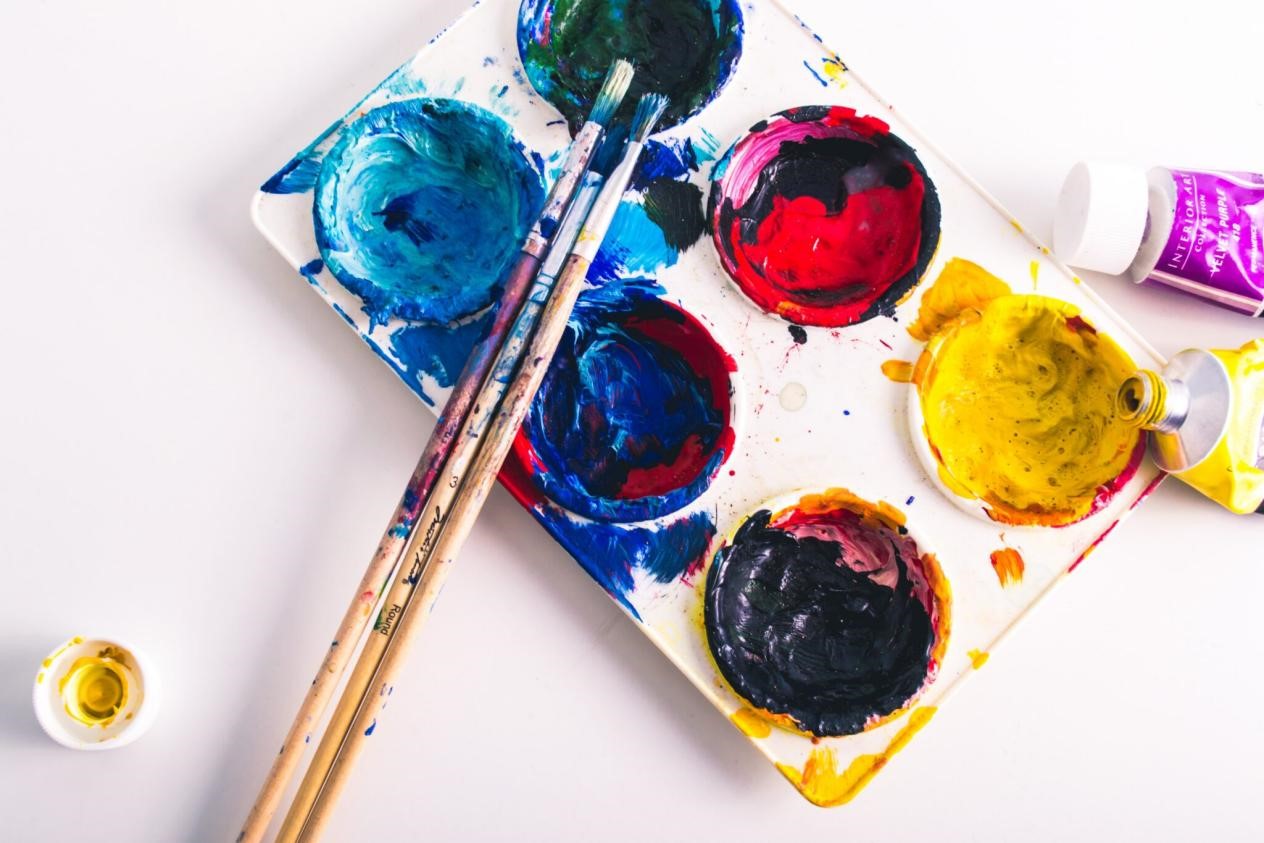
Before diving into the actual process, a few important decisions need to be made.
Types of Paint
Selecting the right type of paint is essential for achieving the best results on your 3D prints. Different paints offer various benefits, from ease of application to the quality of the finish. Understanding the characteristics of each can help you choose the best option for your project. Here’s an overview of the most commonly used paints for rafts 3D printing:
- Acrylic paints: Water-based, easy to clean, and available in a wide range of colors. Suitable for PLA, ABS, and resin prints.
- Enamel paints: Oil-based with a durable, glossy finish. Ideal for frequently handled prints.
- Spray paints: Excellent for even coverage on large surfaces. They provide a smooth finish without brush strokes but require some practice.
- Model paints: Designed for detailed work, these paints come in small bottles and are perfect for painting intricate details in multiple colors.
Considerations
Before purchasing any paints, consider these key factors:
- Sanding blocks: Essential for uniformly sanding flat areas and tricky corners. You can 3D print excellent options rather than buying one.
- Files: Ideal for precise material removal in small or intricate areas where a larger tool wouldn’t work as well.
- X-acto knife: Perfect for thin cuts, removing supports, and cleaning up artifacts. Use it with caution to avoid injury.
- Cutting pliers: Similar to the X-acto knife but better for coarser work; they’re easier and safer for larger tasks.
- Tweezers: Handy for holding small parts. If you don’t have a pair, consider printing one.
- Airbrush: Offers precise control over paint application, making it ideal for detailed work and smooth finishes. While it’s an excellent tool, it can be expensive. Cheaper alternatives exist, but consider how much you’ll use it and the quality you expect.
- Turntable: A rotating platform that lets you paint the model from all angles without touching it. It’s extremely useful and can also be 3D printed.
- Masking tape: Essential for protecting areas you don’t want to paint and for creating sharp lines.
- Magnifying glass: Helps with painting tiny details on intricate models, though it’s not the most critical tool.
- Cardboard box: Great for creating a makeshift painting booth to contain splashes and overspray.
- Respirator mask: Protects you from inhaling harmful fumes from spray paints and primers, especially those that aren’t water-based.
- Gloves: Prevent paint from getting on your hands and provide a better grip on the model.
- Safety goggles: Protect your eyes from paint splatters and dust particles.
Preparing & Printing
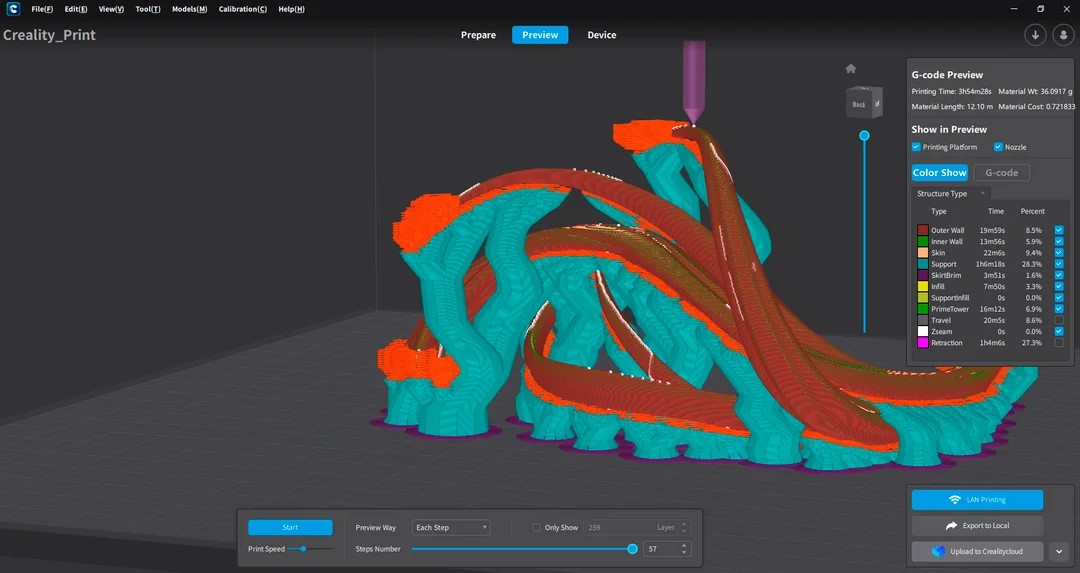
While choosing the right tools, ensuring your safety, and setting up your workspace are important, designing and printing your model also require careful consideration.
Designing & Slicing Considerations
Effective post-processing starts with smart design choices and thoughtful slicing techniques, which can make the process smoother and more efficient.
- Orientation: Position your model to minimize the need for support structures and reduce visible layer lines in prominent areas. Splitting and printing the model in parts might seem like extra work, but it can save time and effort in the long run.
- Support Structures: Choose support structures that are easy to remove without damaging critical areas. Experiment with different types of supports and densities, such as those starting only from the print bed versus supports from everywhere. Learn to use support blockers in your slicer to protect delicate areas.
- Surface Details: Add extra thickness to fine details to ensure they remain visible after sanding and painting. During slicing, take time to check wall thickness and visualize the layers in critical areas to ensure the details are preserved throughout the printing and finishing process.
Printing Considerations
The quality of your 3D prints and the ease of post-processing are greatly influenced by the printing process itself. By fine-tuning settings such as layer height, infill density, and material choice, you can lay a solid foundation for a smooth and efficient finishing process. Here are key aspects to focus on:
- Layer Height: Opt for a finer layer height to achieve smoother surfaces with less need for sanding. For FDM printing, a layer height of 0.1 mm is recommended for a polished finish. In resin printing, 0.05 mm is ideal, though 0.1 mm can be used when time is a factor.
- Infill Density: While higher infill provides a more solid and durable print, consider the trade-off between strength and print time. This is particularly important in rafts 3D printing , where the infill can significantly affect print time and material use. The intended use of the model will help determine the appropriate infill density.
- Materials: Select a material that aligns with your post-processing requirements. PLA, ABS, and resin are popular choices. While each material has specific characteristics—such as PLA’s sensitivity to outdoor conditions—these factors may be less critical due to the protective effects of priming and coating. However, consider the environmental conditions and the post-processing methods involved when choosing the material for your print.
Post-Processing
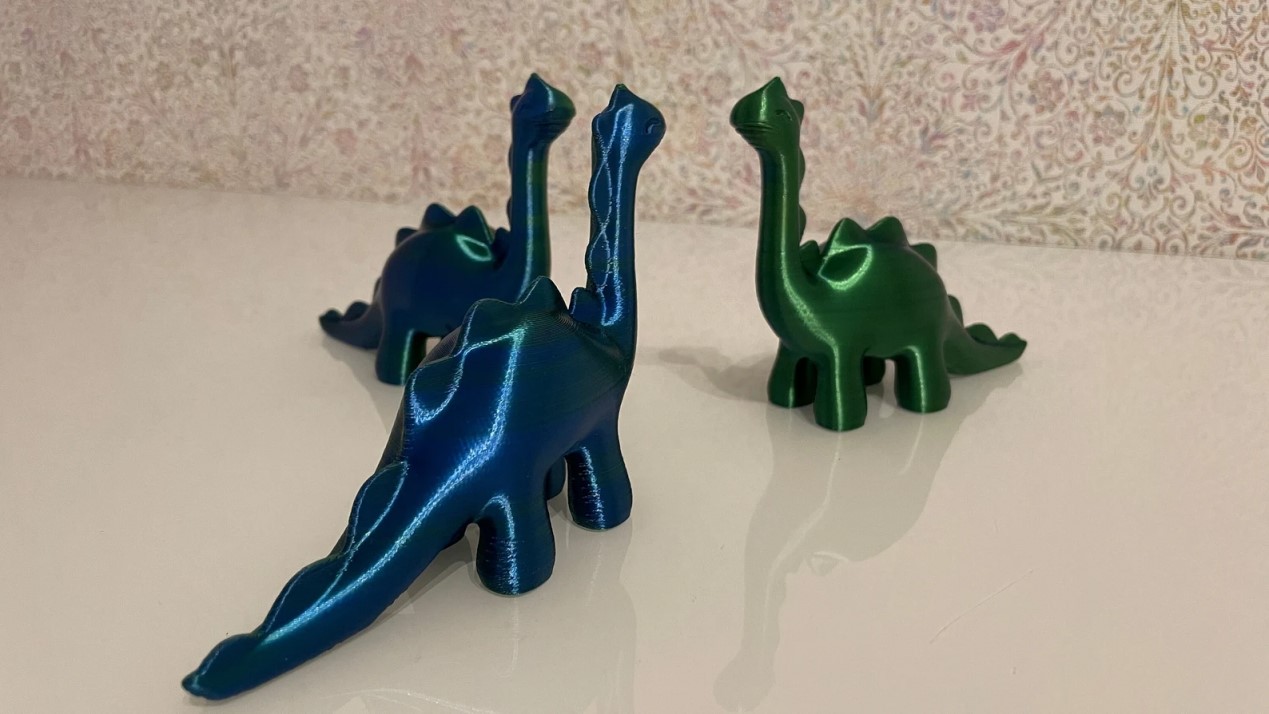
Cleaning and Sanding 3D Prints
Preparing your 3D prints for painting begins with thorough cleaning and sanding. This step ensures a smooth, imperfection-free surface that will hold paint well and result in a professional finish. By carefully removing supports, sanding with progressively finer grits, and filling gaps, you can achieve a high-quality outcome. Here’s a step-by-step guide:
- Remove Supports: Carefully remove any support structures using pliers or a hobby knife. Be gentle to avoid damaging the print.
- Initial Sanding: Start with a lower grit sandpaper (around 200) to remove layer lines and visible imperfections. This rough sanding helps level the surface.
- Filling Gaps: Use a filler or putty to fill any gaps, holes, or imperfections in the print. Once the filler is dry, sand the filled areas to blend them seamlessly with the rest of the surface.
- Final Sanding: Progress to higher grit sandpaper, up to 1,000 or more, for a smooth, polished finish. This step ensures the surface is ready for painting.
- Smoothing ABS with Acetone (Optional): If you're working with ABS, you can smooth the surface using acetone vapor. This method eliminates the need for filling and final sanding. Ensure all acetone has evaporated from the printed part before moving on to painting.
For more detailed information on post-processing, you can refer to our article on sanding 3D prints.
Priming & Painting
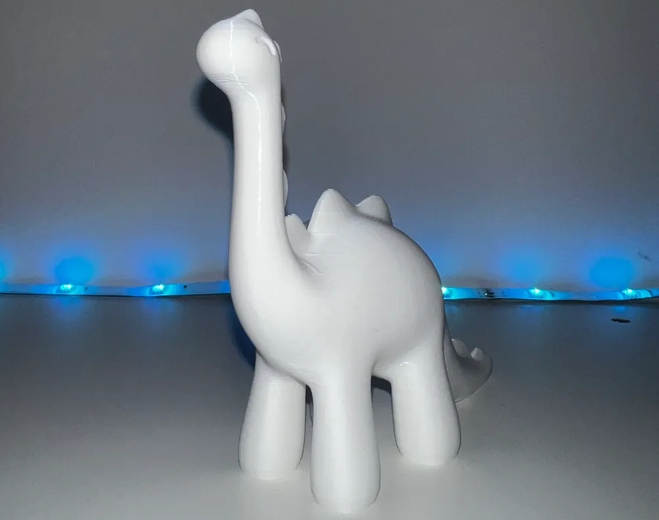
Once your 3D print is ready for painting, it’s important to follow a series of stages to achieve a polished, professional finish. Here’s a breakdown of the key steps:
Priming
Priming is essential to create a uniform surface for the paint to adhere to. It improves paint adhesion and ensures a consistent finish. You can choose between brush-on or spray primers, but spray primers are often preferred for a smooth finish without brush marks.
Application
Apply the primer in thin, even coats, allowing each layer to dry completely. If necessary, sand the surface lightly with fine-grit sandpaper to smooth out any imperfections.
Painting
Painting adds color and detail, significantly enhancing the appearance and realism of your 3D print. The process involves applying a base coat, building up multiple layers, and adding fine details for a vibrant and durable finish.
- Base Coat: Start with a base coat, which can be applied using spray paint for an even finish or with acrylic or enamel paint and a brush for more control.
- Multiple Coats: Apply several thin coats of paint, allowing each coat to dry fully before applying the next. Typically, one or two coats over the base coat are enough for a rich finish.
- Fine Detail: Use smaller paintbrushes for detailed work. A steady hand is crucial, and using masking tape can help create sharp lines and protect areas that shouldn’t be painted.
Sealing
After the paint has dried, applying a clear coat can protect your paint job and enhance its durability. The clear coat can be matte, satin, or gloss, depending on the desired finish. While sealing is optional, it adds an extra layer of protection, especially for prints that will be handled frequently or exposed to the elements.
Tips & Tricks
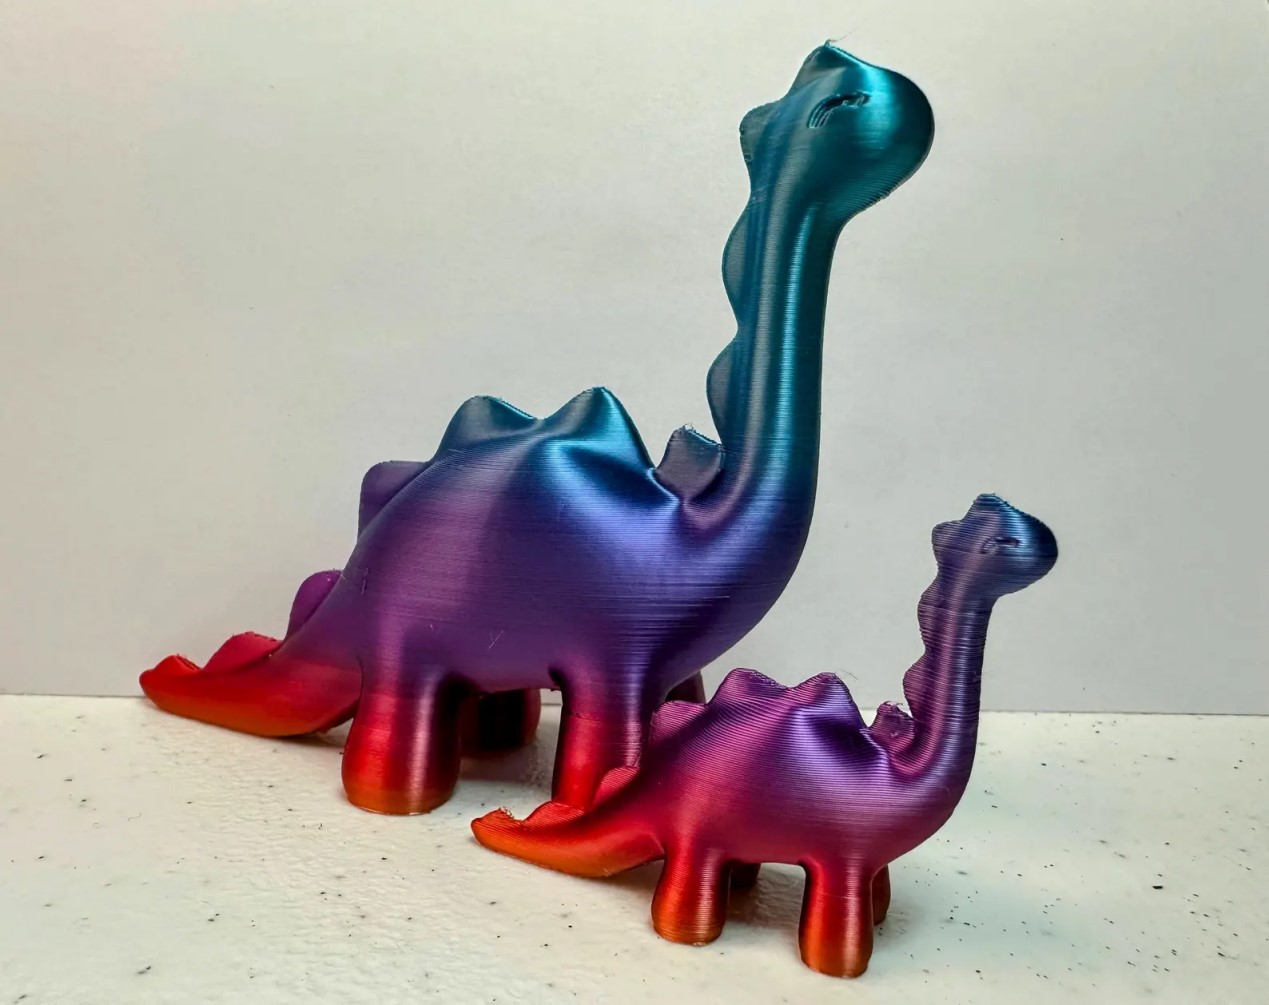
Achieving a professional finish on your 3D prints requires more than just basic steps; incorporating practical tips and tricks can significantly enhance your results and streamline your workflow. Here are some valuable insights to ensure better outcomes and navigate common challenges:
- Know Your Materials: Always read and follow the manufacturer’s recommendations for your painting products. Choose materials appropriate for your project, whether you’re working on decorative pieces or resin miniatures, as the type of material can influence the painting process.
- Work in a Well-Ventilated Area: Spray paints and primers release fumes that can be harmful if inhaled. Ensure proper ventilation by working in an open or well-ventilated space, or use protective equipment to minimize exposure to these vapors.
- Patience is Key: Allow sufficient drying time between coats to avoid smudging and ensure a smooth finish. Rushing this step can compromise the quality of your paint job.
- Test First: Before applying paint to your main piece, test it on a small, inconspicuous area or a similar piece of plastic. This helps confirm paint compatibility and color accuracy.
- Use Proper Tools: Invest in high-quality brushes and paints. Good tools contribute to a more precise application and better overall finish.
For more Creality 3D Printer, you can click the related articles as follows:

Conclusion
Mastering the art of painting 3D prints can dramatically improve the appearance and quality of your models. By selecting the right paints, preparing your prints properly, and following careful priming and painting procedures, you can achieve a polished, professional finish. Implement these tactics and tips to turn your 3D prints into standout works of art, ensuring they captivate attention and impress with their detailed, vibrant finishes.
Read more:
How to Use a PEI Sheet for 3D Printing on Your Print Bed
Recent News

all
2026-10-13
8 Halloween 3D Print Ideas to Make Before October 31
Halloween is coming, and the candy stash has already suffered a few unexplained disappearances. W...

all
2026-09-18
Ender Series 3D Printers Parameter Comparison
The Creality Ender Series has evolved significantly since the original Ender-3. What began as an ...

all
2026-08-02
Creality Back-to-School Sale 2026: Save Up to 50% on 3D Printers and More
A new school year is a chance to start fresh projects, develop practical skills and turn digital ...

all
2026-05-26
Is PLA Recyclable?
PLA is a biodegradable plastic derived from renewable resources such as corn starch or sugarcane....