



Ender-3 V3 Plus 3D Printer
【Plus Print Size: 300*300*330mm Build Volume 】
【Heavy Duty: Y-axis Dual Motors & Support Rods】
【Spectacular Speed: CoreXZ for up to 600mm/s】
【 Top-notch Performance: Reliable Clog-free Extruder kit】
【Easy Maintenance: Quick-swap Tri-metal Nozzle】
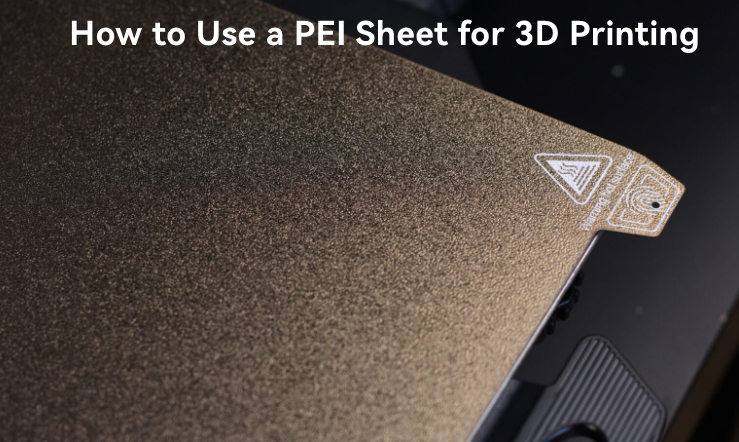
How to Use a PEI Sheet for 3D Printing on Your Print Bed
all
2024-12-23 04:54:13
A maker's relationship with their 3D printer evolves as they become more familiar with it. Some printers work perfectly right out of the box, producing beautiful models effortlessly. Others may require overcoming challenges to achieve perfect prints.
Many makers have experienced the frustration of the print head grinding into the print bed due to forgetting to re-level it after a filament swap. Or they've seen a model nearly complete, only to slide out of place and fail to adhere to the build surface.
Print adhesion is crucial in 3D printing. Initial searches suggest using painter’s tape or glue sticks, but these require frequent cleaning. A longer-lasting solution is a PEI sheet. This article explains what a PEI sheet is, how to apply it, and the results you can expect from this upgrade.
Ender-3 V3 Plus 3D Printer
What is a PEI Sheet?
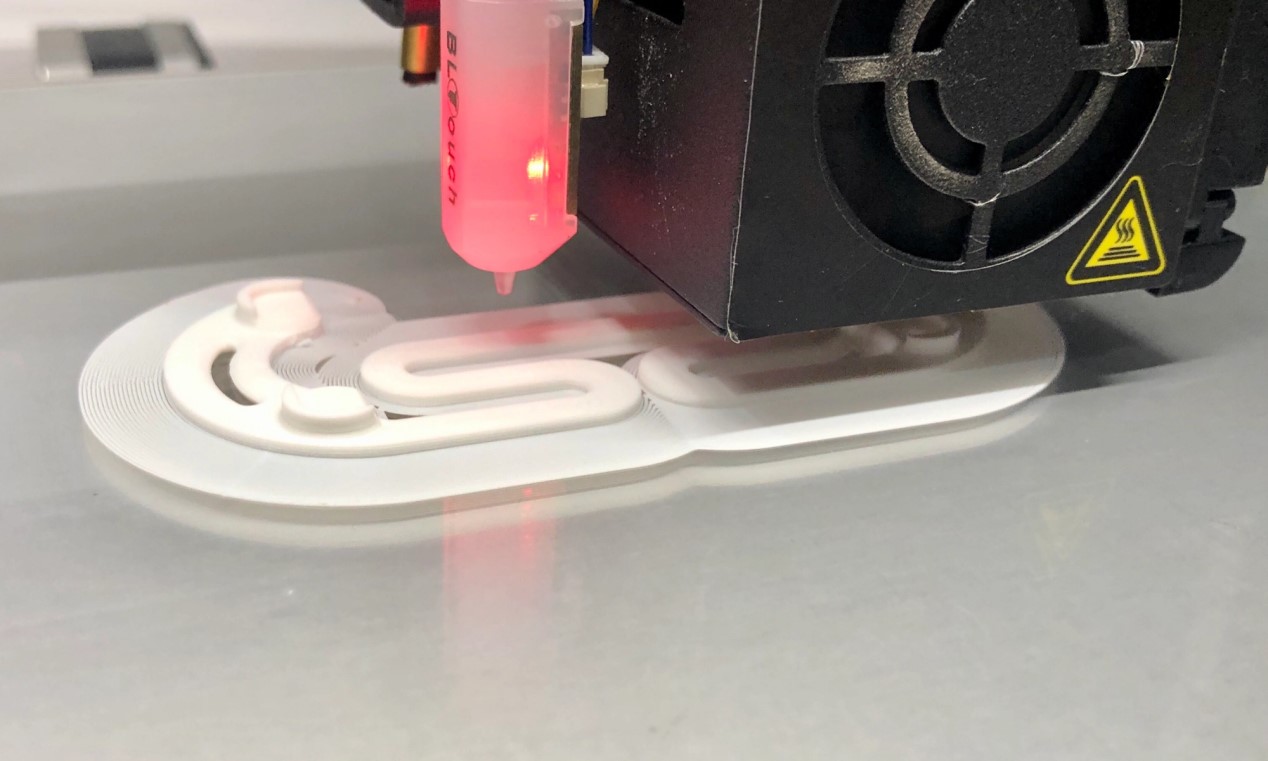
Polyetherimide, or PEI, is a "relatively maintenance-free" build surface ideal for all filament types on both heated and unheated print beds. It eliminates the need for additional adhesives like glue or tape. In the 3D printing community, PEI sheets are often sold under brand names such as Ultem.
PEI requires "no surface prep," making it highly convenient. Guidelines suggest that using a PEI sheet on your print bed negates the need for a raft or brim, as parts adhere directly to the surface without issue.
PEI boasts excellent mechanical properties, including radiation resistance, high and low-temperature resistance, high-temperature stability, high wear resistance, flame retardancy, chemical resistance, and electrical insulation characteristics.
Pros & Cons
Pros
- Readily available and relatively cheap to purchase.
- Easy to apply and remove.
- Provides excellent adhesion for printed items, eliminating the need for tape or glue.
- Offers a smooth surface finish (while undamaged).
- Provides good thermal conductivity for a heated bed.
Cons
- Relatively soft and can be damaged by a poorly adjusted print bed or excessive scraping.
- Can adhere very strongly to printed items, risking damage to both the bed and the item, and making model removal difficult.
If you’d like to try a PEI sheet, here’s how to install it:
1. Clean the print bed thoroughly.
2. Peel the backing off the PEI sheet.
3. Carefully apply the PEI sheet to the print bed, smoothing out any air bubbles.
4. Trim any excess material.
5. Begin printing and enjoy improved adhesion and surface finish.
How to Use a PEI Sheet
Before applying a PEI sheet, ensure your print bed is clean.
Step 1: Preparing the Print Bed
If your printer doesn’t have a PEI sheet, clean the build surface thoroughly before application.
Removing Old Sheets If there’s an existing covering, remove it first. Set the bed temperature as if printing with ABS (110 °C). Once heated, start peeling from one corner. Use a spatula to help lift the sheet, taking care not to scratch the aluminum plate.
Assess the build surface. If the remaining adhesive is a thin, uniform coating, you can apply the new sheet directly over it. If not, use isopropyl alcohol or acetone and a scraper to smooth the heated bed. Now, your print bed is ready for the new PEI sheet.
Step 2: Applying the New Sheet
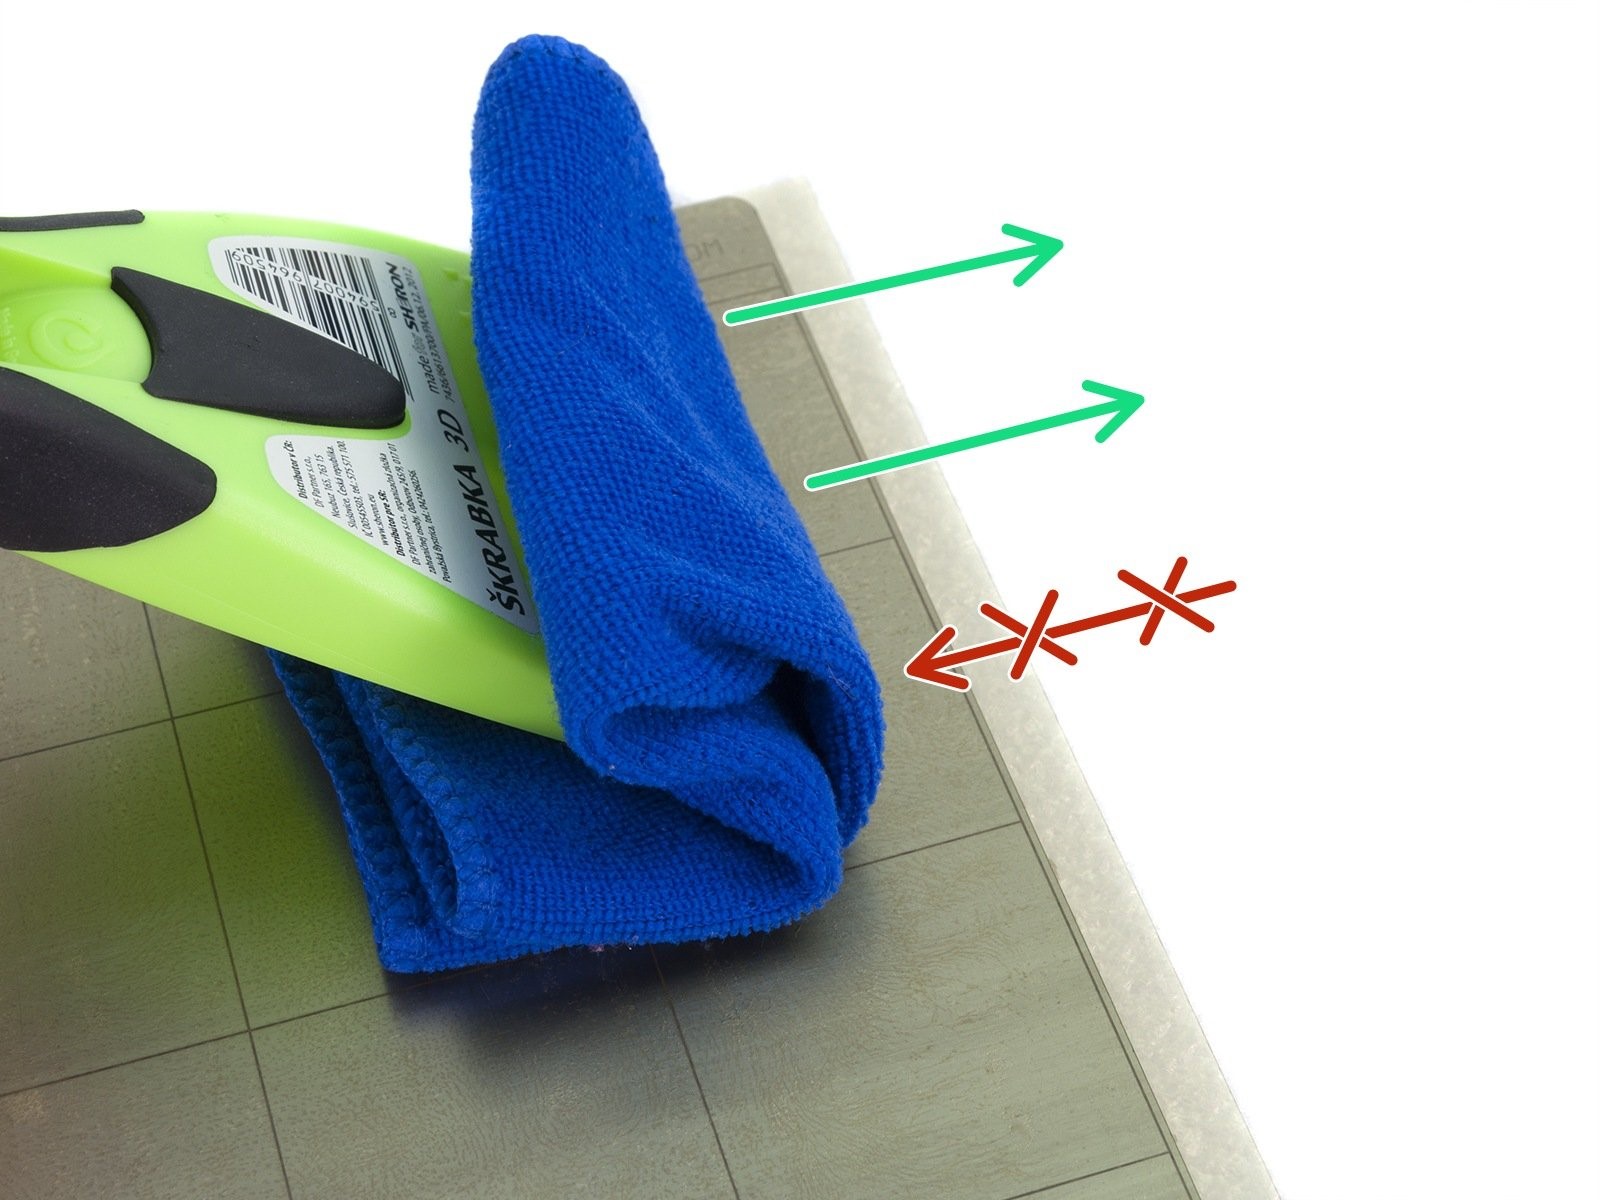
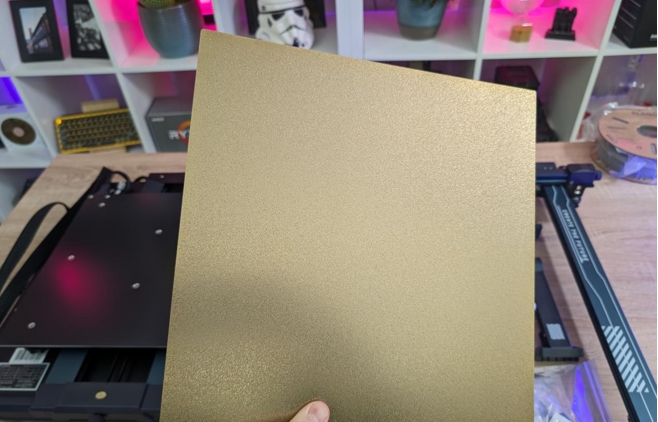
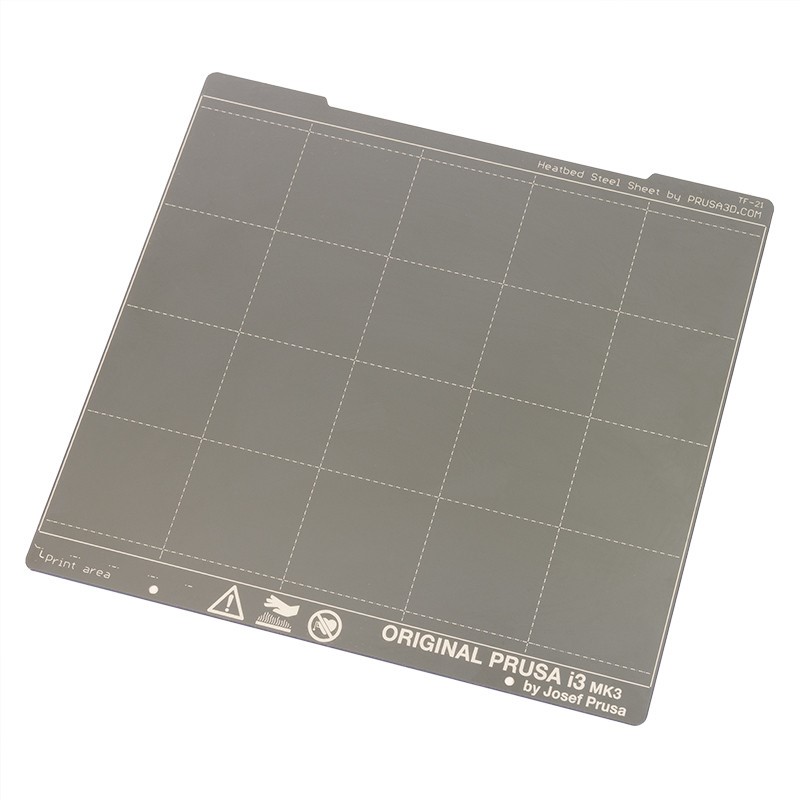
PEI sheets come in two types: magnetic and adhesive. Magnetic PEI sheets are flexible, spring steel build plates with a PEI coating that can be easily detached for part removal and cleaning. Adhesive PEI films can be directly applied to a build plate, like glass or steel, for a new printing surface.
Magnetic Sheets
If your build plate isn’t magnetic, attach the magnetic PEI sheet using binder clips for a temporary solution. For a full conversion, apply an adhesive magnetic base, ensuring no bubbles or lumps. Then, you can easily place and remove the magnetic PEI sheet from the build plate.
Adhesive Sheets
To apply an adhesive PEI film to a build surface, peel back one edge of the protective sheet, but not all the way. Align this exposed adhesive edge with the clean build plate. Apply it gradually, starting along one edge and moving across the bed.
Once the entire sheet is mounted, ensure no bubbles or lumps. Heat the build plate to ~60 °C and use a gentle scraper or cloth to smooth it out until the PEI sheet is flush with the surface. Carefully trim any excess film.
Step 3: Re-leveling
After applying the PEI sheet, remember to re-level the print bed if your printer requires manual calibration. Proper bed leveling is crucial for successful prints, as even the best adhesion can’t compensate for an uneven bed.
Overall, a PEI sheet is an affordable and effective solution for enhancing print adhesion. However, the success of your prints will also depend on other factors, such as bed leveling and printer calibration. Ensuring your print bed is level and your printer is well-calibrated will help you achieve the best results with your new PEI sheet.
For more Creality 3D Printer, you can click the related articles as follows:

Recent News

all
2026-10-13
8 Halloween 3D Print Ideas to Make Before October 31
Halloween is coming, and the candy stash has already suffered a few unexplained disappearances. W...

all
2026-09-18
Ender Series 3D Printers Parameter Comparison
The Creality Ender Series has evolved significantly since the original Ender-3. What began as an ...

all
2026-08-02
Creality Back-to-School Sale 2026: Save Up to 50% on 3D Printers and More
A new school year is a chance to start fresh projects, develop practical skills and turn digital ...

all
2026-05-26
Is PLA Recyclable?
PLA is a biodegradable plastic derived from renewable resources such as corn starch or sugarcane....