


How to Replace the Nozzle Wiper on Creality K2 Plus?
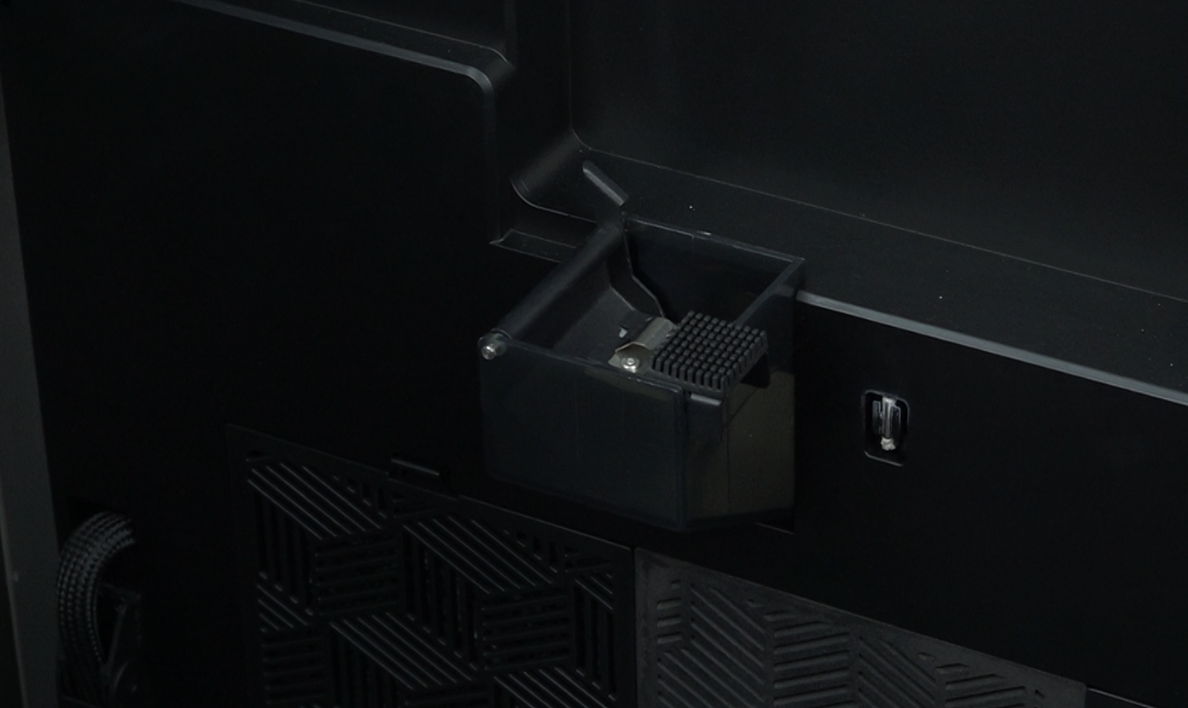
Replacing the nozzle wiper of your Creality K2 Plus is essential to maintain print quality and ensure clean nozzle operation.
Follow this guide for both wiper module replacement and adhesive tape renewal.
Tools You’ll Need
- H2.0 Hex Wrench
- New Nozzle Wiper Module
- New Adhesive Tape (if only replacing the tape)
Part 1: Replacing the Nozzle Wiper Module
Disassembly Steps
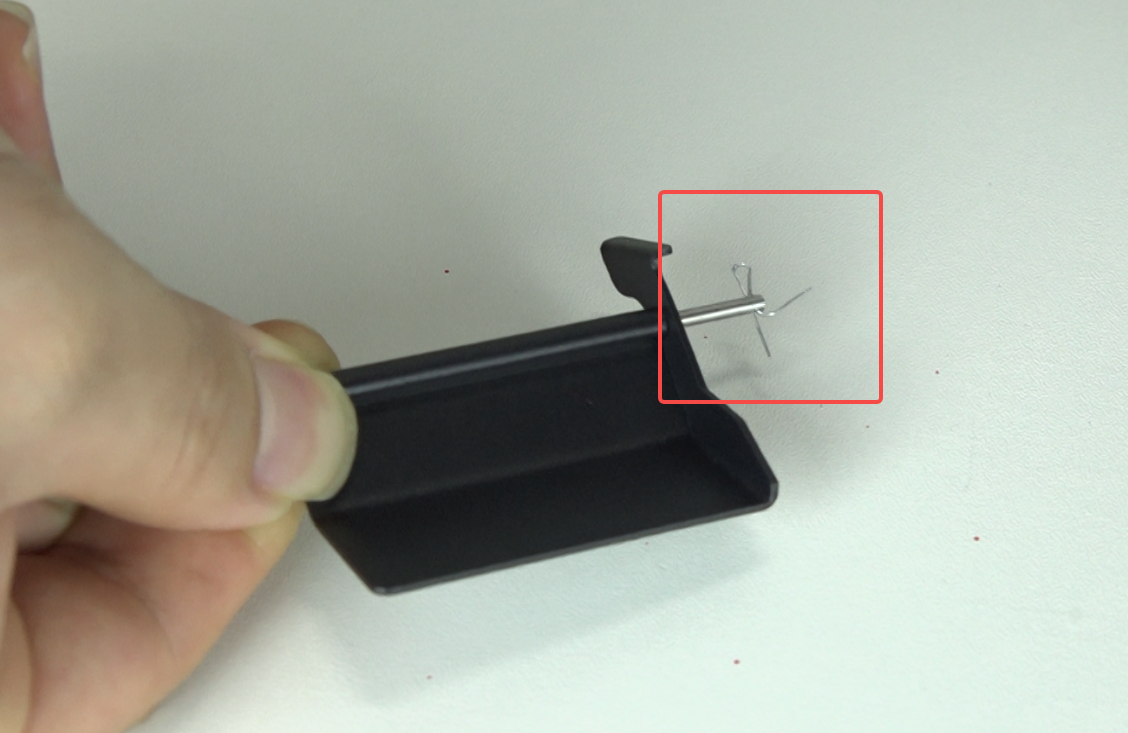
1. Remove the Hitch/Linchpin
Straighten the pin securing the nozzle wiper module and remove it.
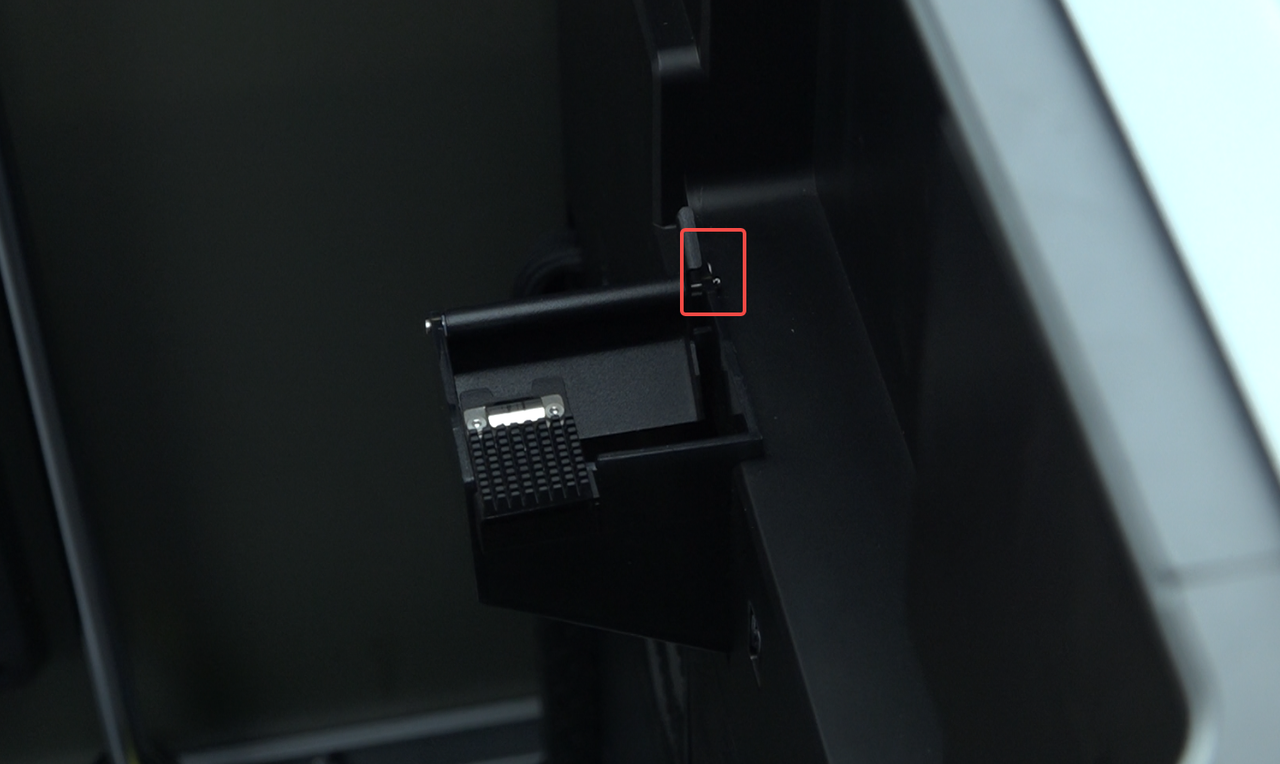
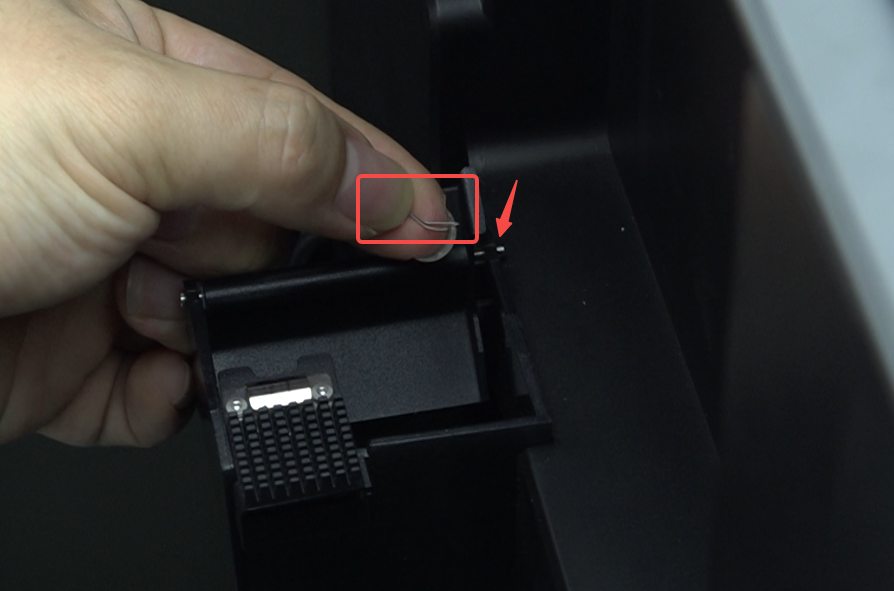
2. Take Out the Rotation Shaft and Waste Shield
Detach the rotation shaft and the waste shield from the nozzle wiper assembly.
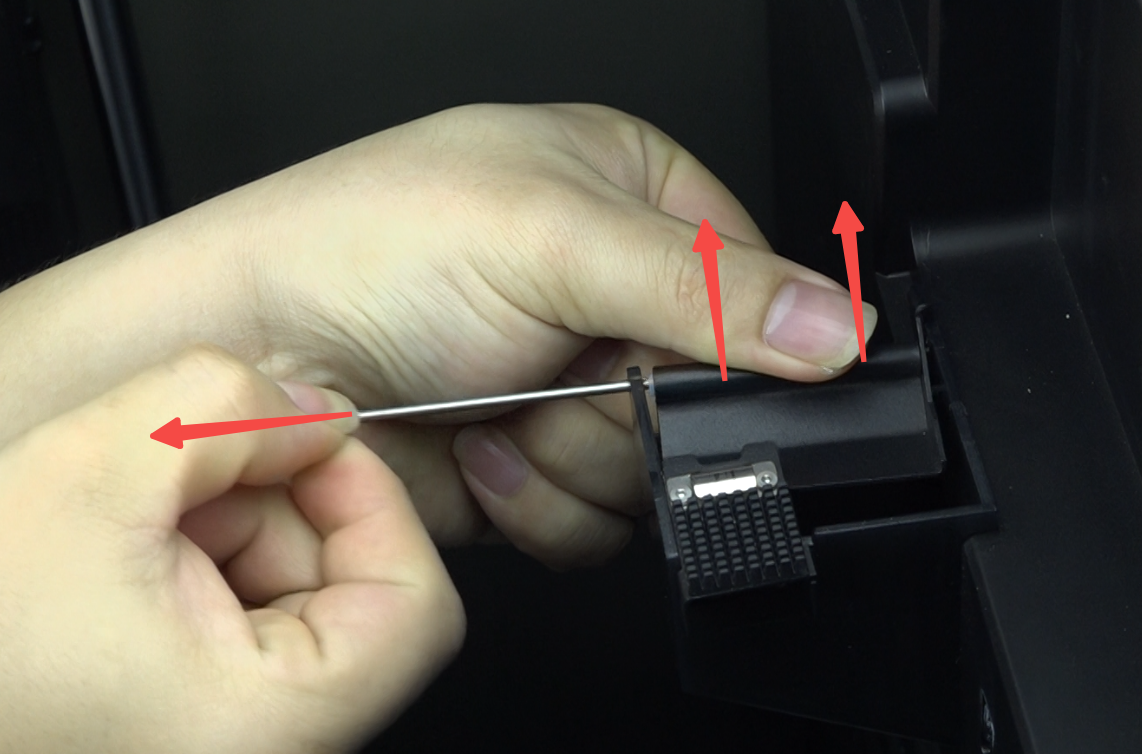
3. Unscrew the Wiper Module
Use an H2.0 hex wrench to remove the two M3 screws located on the inner side of the waste chute.
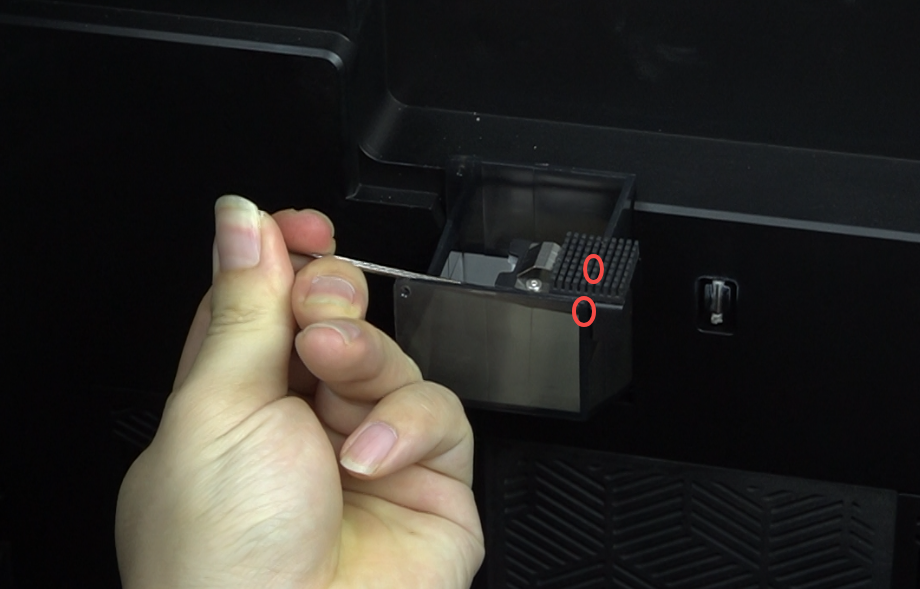
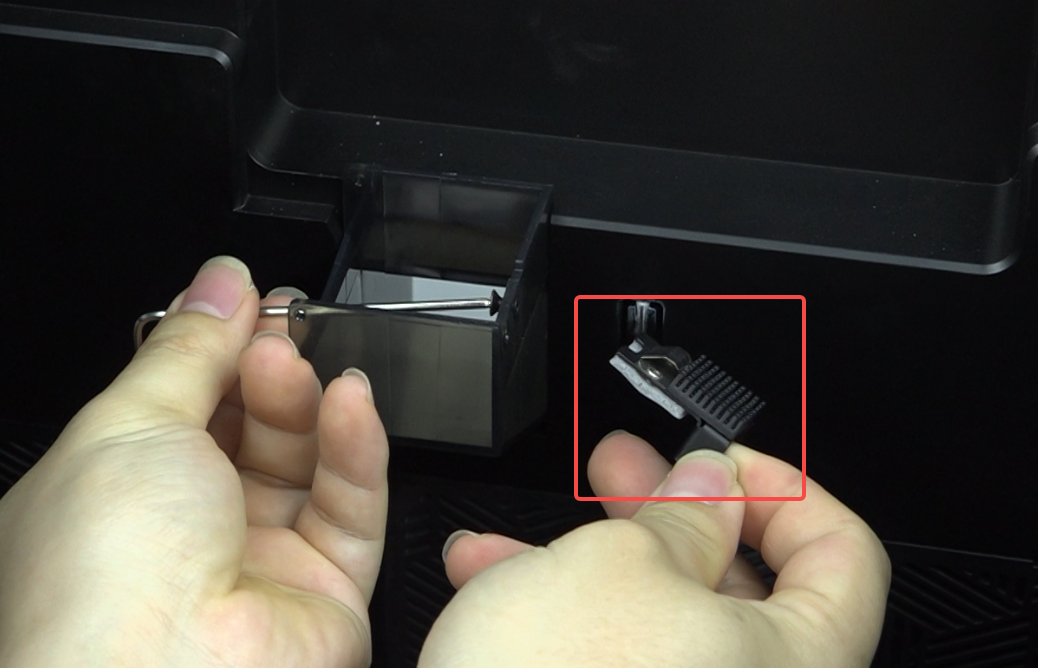
4. Remove the Damaged Wiper Module
Extract the old, damaged nozzle wiper module completely.
Installation Steps
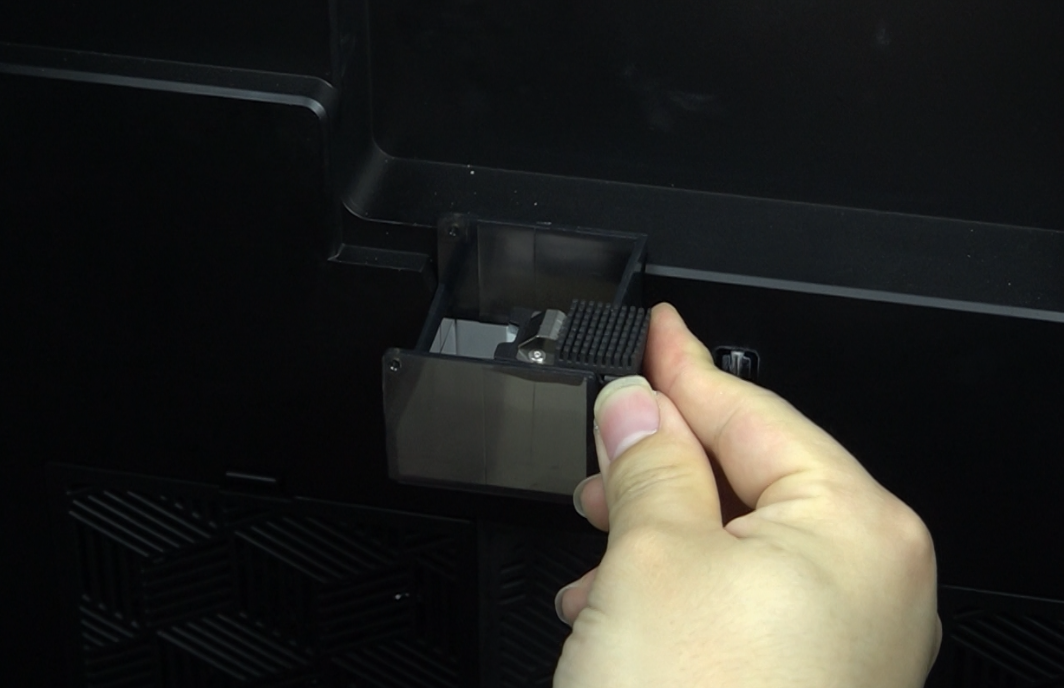
1. Position the New Nozzle Wiper Module
Place the new nozzle wiper on the right side of the waste chute, ensuring the threaded holes face outward.
2. Secure with Screws
Using the H2.0 hex wrench, fasten the module with the two M3 screws.
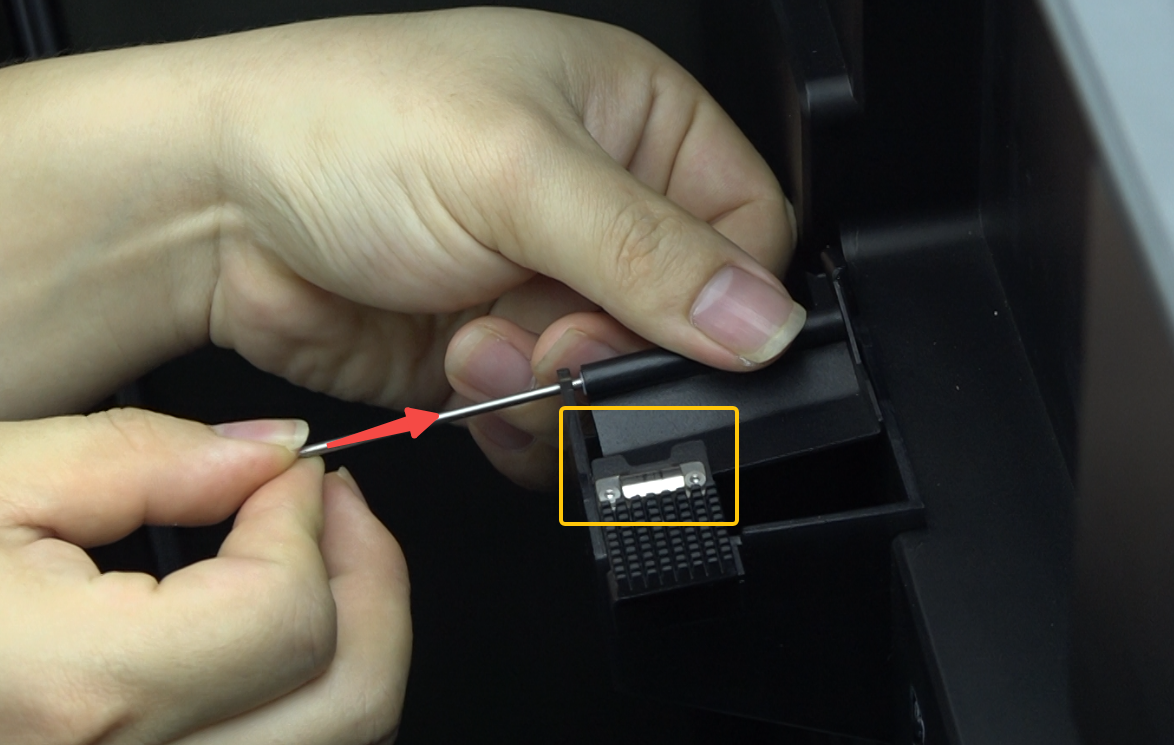
3. Reattach the Waste Shield and Rotation Shaft
Position the waste shield below the wiper, align the holes, and insert the rotation shaft.
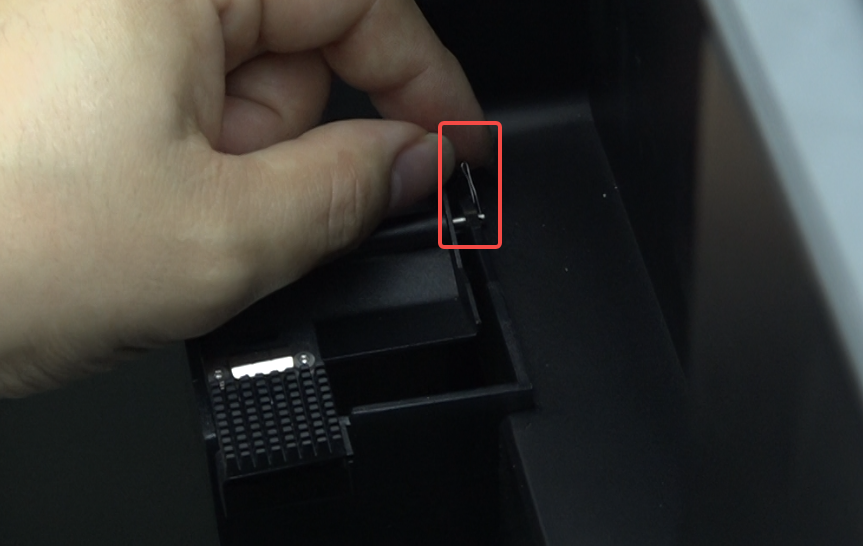
4. Secure with the Hitch/Linchpin
Insert the hitch/linchpin and bend it to lock it in place.
Part 2: Replacing the Adhesive Tape
If the adhesive tape on the nozzle wiper module is worn or damaged, follow these steps:
Removal Steps
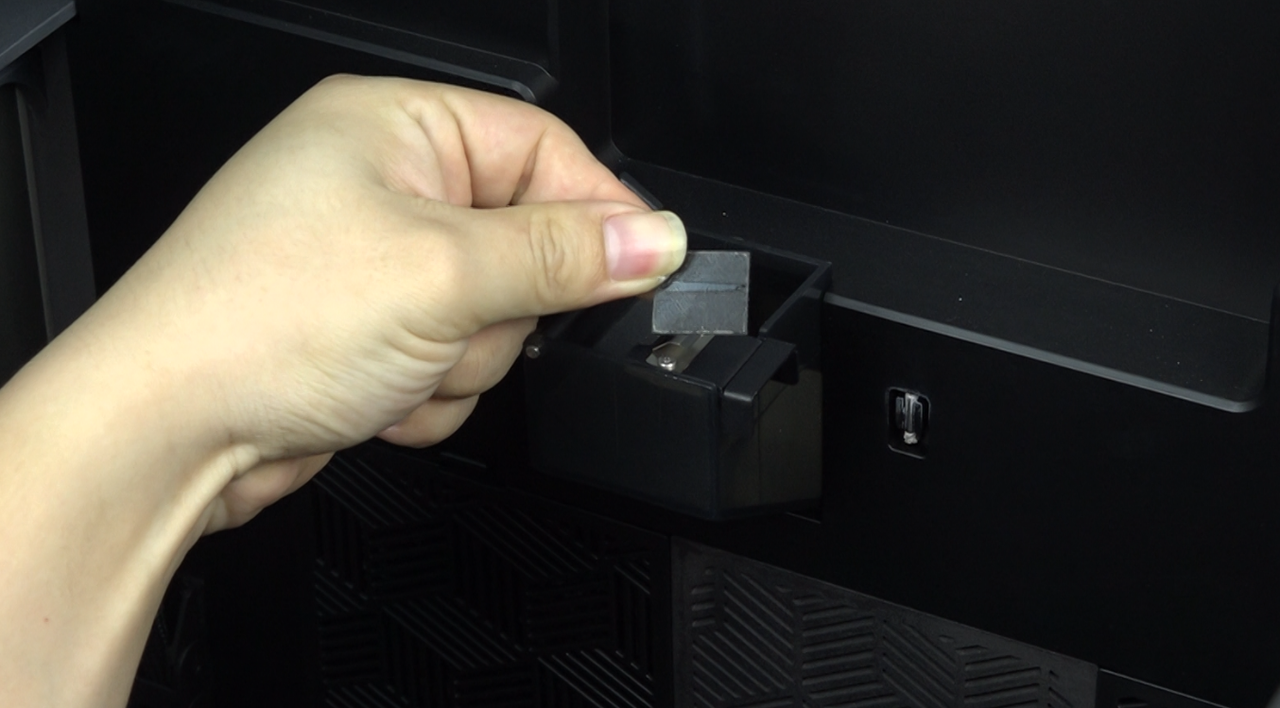
Peel Off the Old Tape
Carefully remove the worn or damaged tape from the nozzle wiper base.
Installation Steps
Attach the New Tape
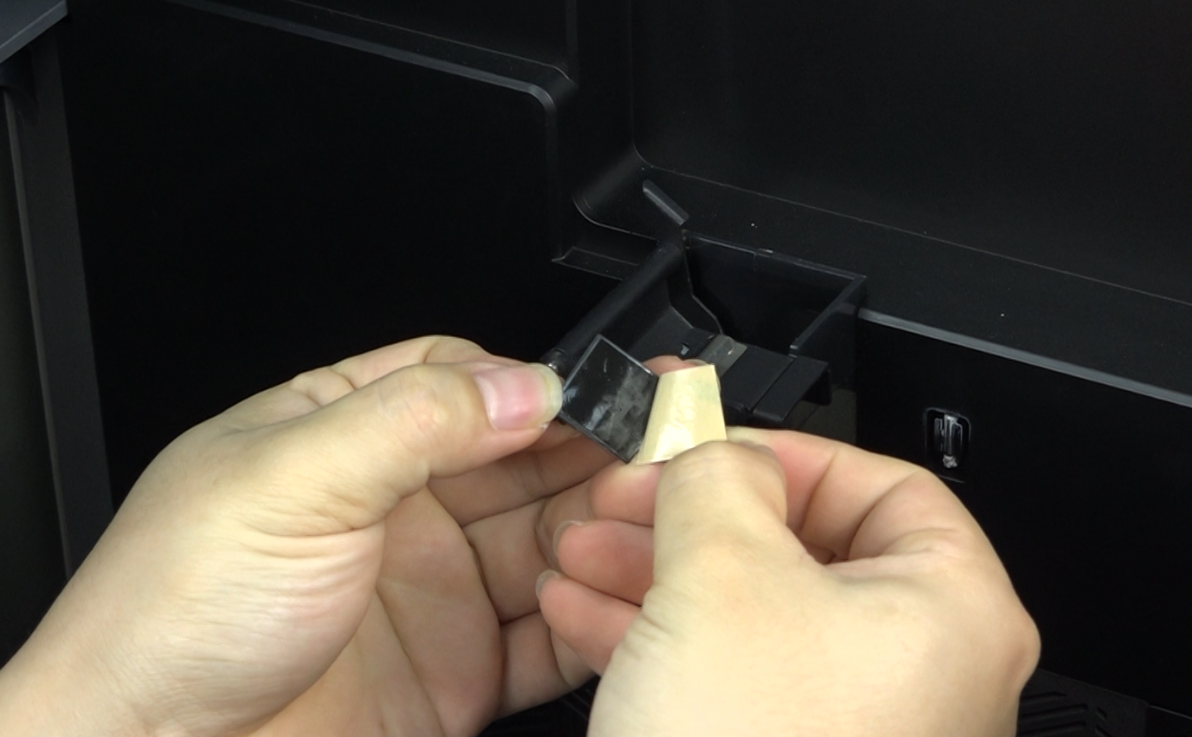
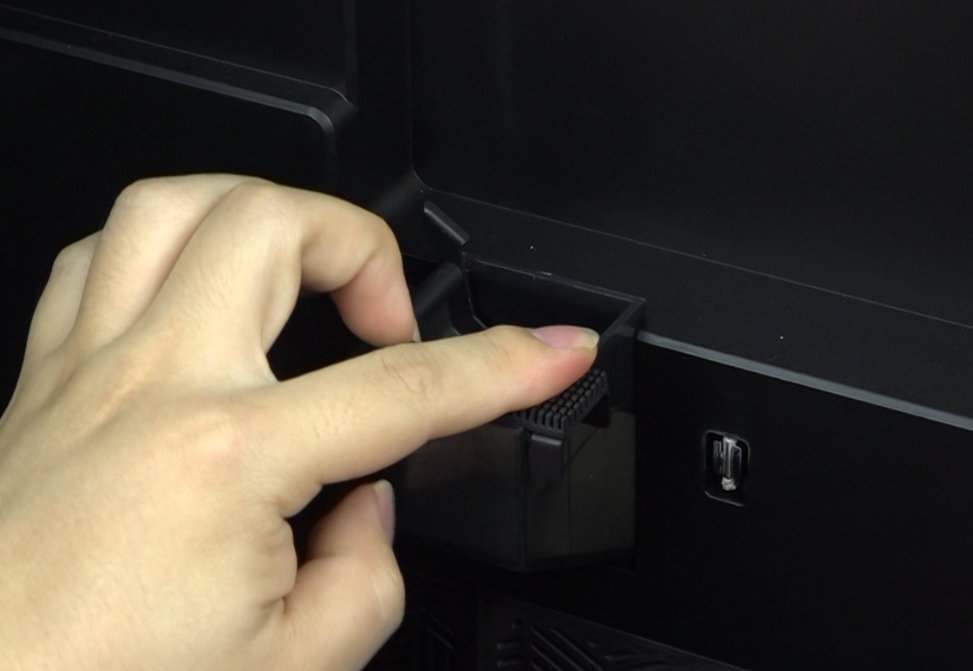
Remove the protective backing from the replacement adhesive tape and place it firmly onto the nozzle wiper base.
Maintenance Tip
- Regularly inspect the nozzle wiper module to ensure smooth operation and print quality.
- Replace the adhesive tape if signs of wear or damage are observed.
For more Creality 3D Printer, you can click the related articles as follows:
Recent News

8 Halloween 3D Print Ideas to Make Before October 31

Ender Series 3D Printers Parameter Comparison

Creality Back-to-School Sale 2026: Save Up to 50% on 3D Printers and More
