


Creality K1 Series Ceramic Heating Head Kit Replacement
K1 Series Ceramic Heating Head Kit Replacement
If you are experiencing problems with your K1 Series 3D Printer (K1, K1C or K1 Max), such as significant temperature fluctuations at the hot end, visible damage to the heater block or wires, excessive wear from prolonged use, or frequent thermal runaway error codes, it may be time to replace your ceramic heater kit. This article provides step-by-step instructions for replacing the block heater kit in your printer.
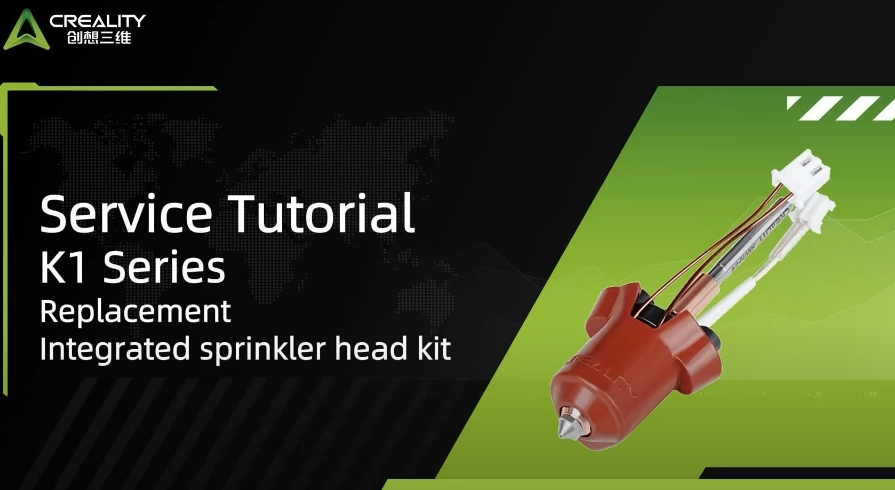
Here are the K1 Series Ceramic Heating Block Kit for your replacement:
- K1 Ceramic Heating Block Kit ~$23.92
- K1 Max Ceramic Heating Block Kit ~$26.40 - only fits orginal K1 MAX version with non-integrated nozzles.
- K1C Ceramic Heating Block Kit ~$22.87 - Quick-swap Nozzle Kit
- Upgrade: K1 Series Ceramic Heating Head Kit (With Integrated Nozzle) ~20.23
Now, let's get started in the replacement.
1. Remove the filament and power off the machine
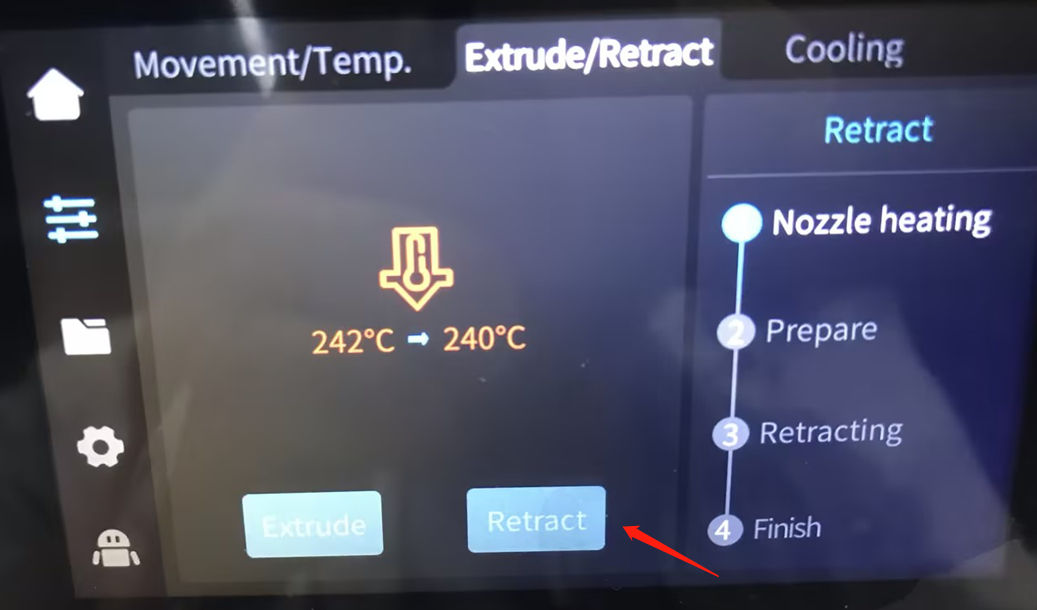
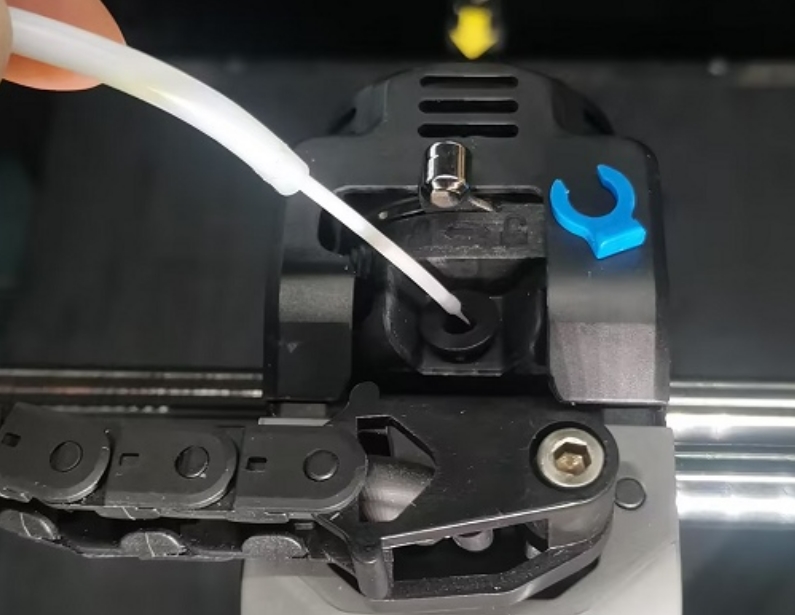
1.1 Set nozzle temperature to 240°C, the machine will automatically heat up and return the material, remove the blue clip, extract the PTFE tube, and switch off the extruder kit and remove the filament.
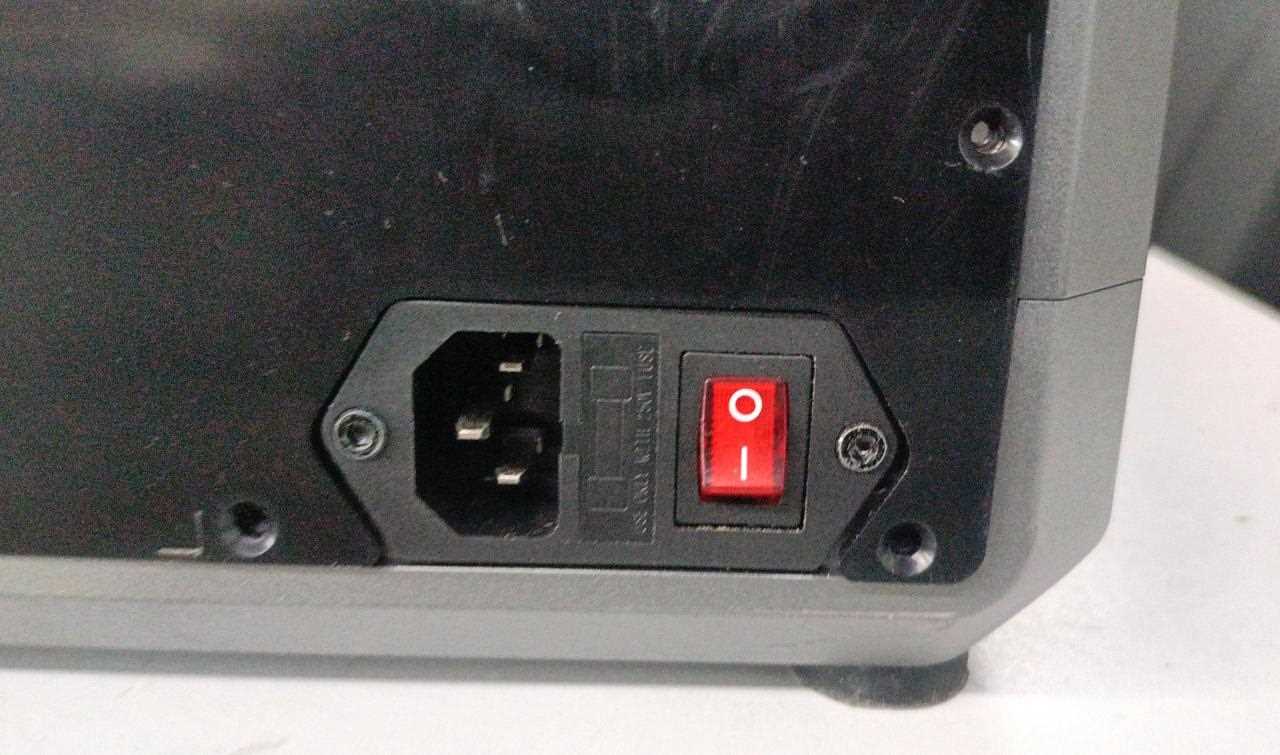
1.2 Set the nozzle temperature to 0°C and turn on model fan, auxiliary fan, wait for the temperature to drop to room temperature. Finally, Power off your K1 Series Printer.
2. Remove the AI Lidar
Disconnect the lidar cable and remove the mounting screws above the AI Lidar.
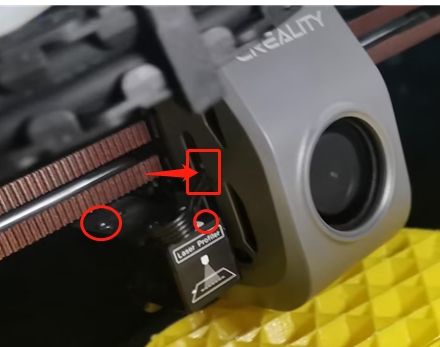
Note: The K1/ K1C model does not have AI Lidar, just skip this step.
3. Disassemble the Fan Cover (in the front of extruder)
3.1 Detach the fan cover by removing screws on both sides.
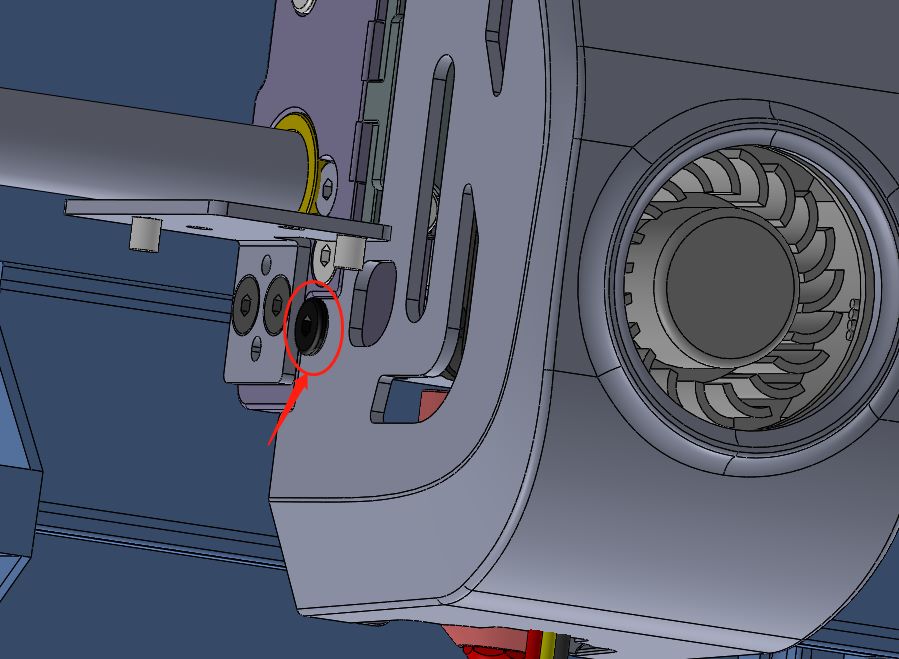
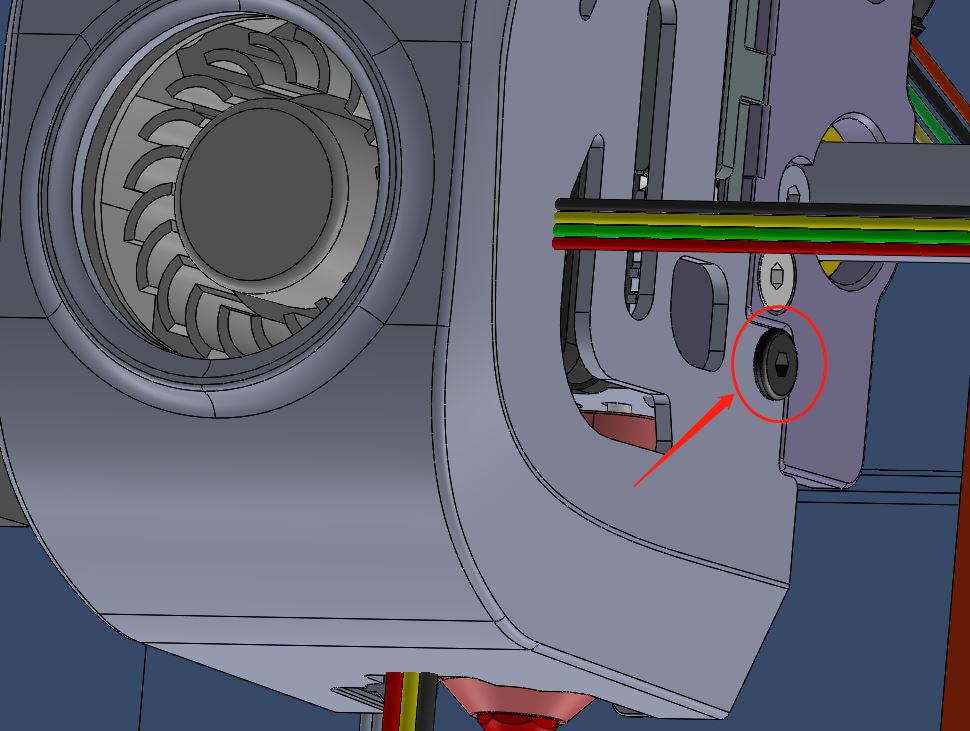
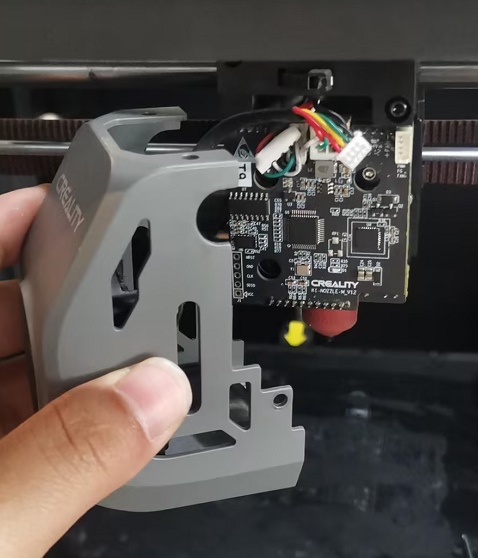
3.2 Take off the fan cover and unplug the cooling fan cable (cut the yellow glue of the wiring with scissors).
4. Disassemble the old ceramic heating head kit
4.1 cool down the hotend and remove the silicone sleeve.
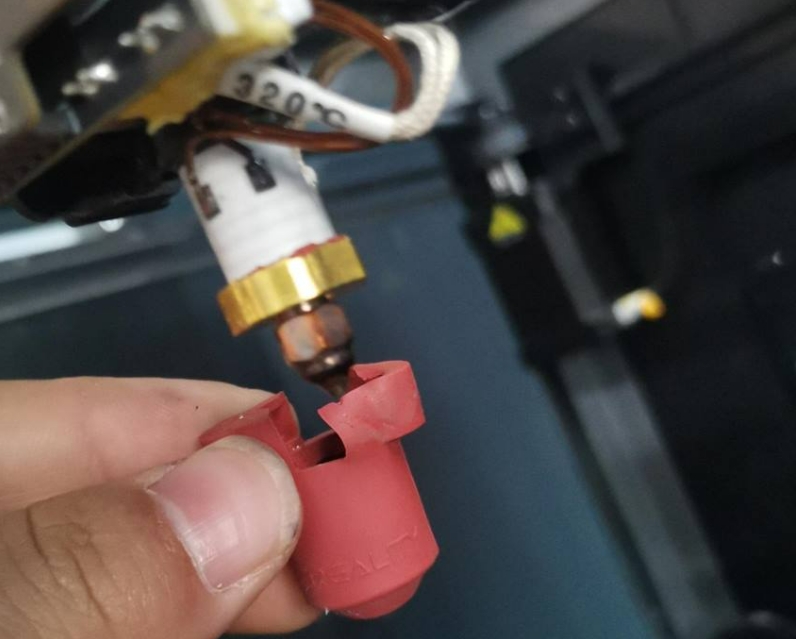
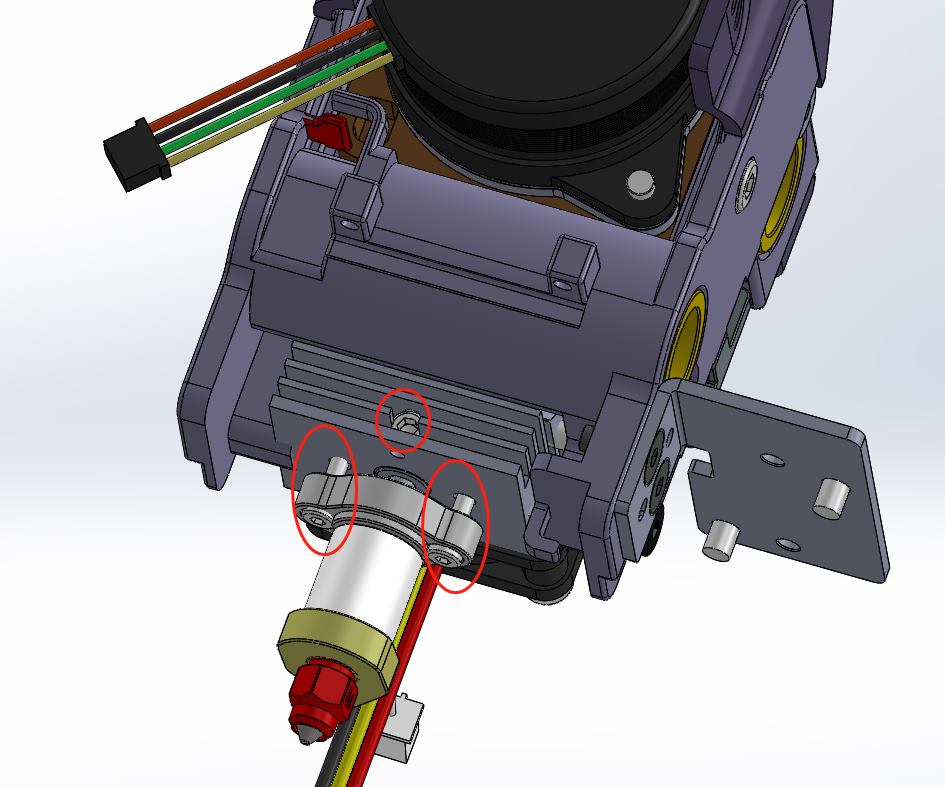
4.2 Use an Allen wrench to disassemble screws (that 3 screws need to removed) on the heat sink and hotend.
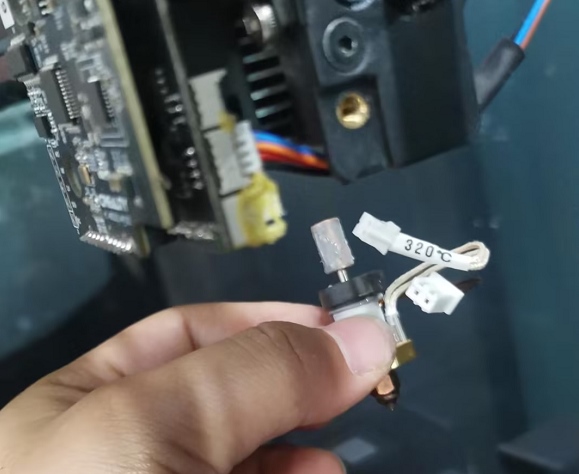
4.3 Unplug heater and thermistor cables and remove the heating block kit.
5. Install a New K1 Series Integrated Heater Kit
5.1 Apply silicone grease to the throat tube's upper end and insert it into the heat sink.
5.2 Insert heater and thermistor cables into the sub-board terminals.
5.3 Tighten fixing screws and throat tube screw to secure the heater block kit without tilting.
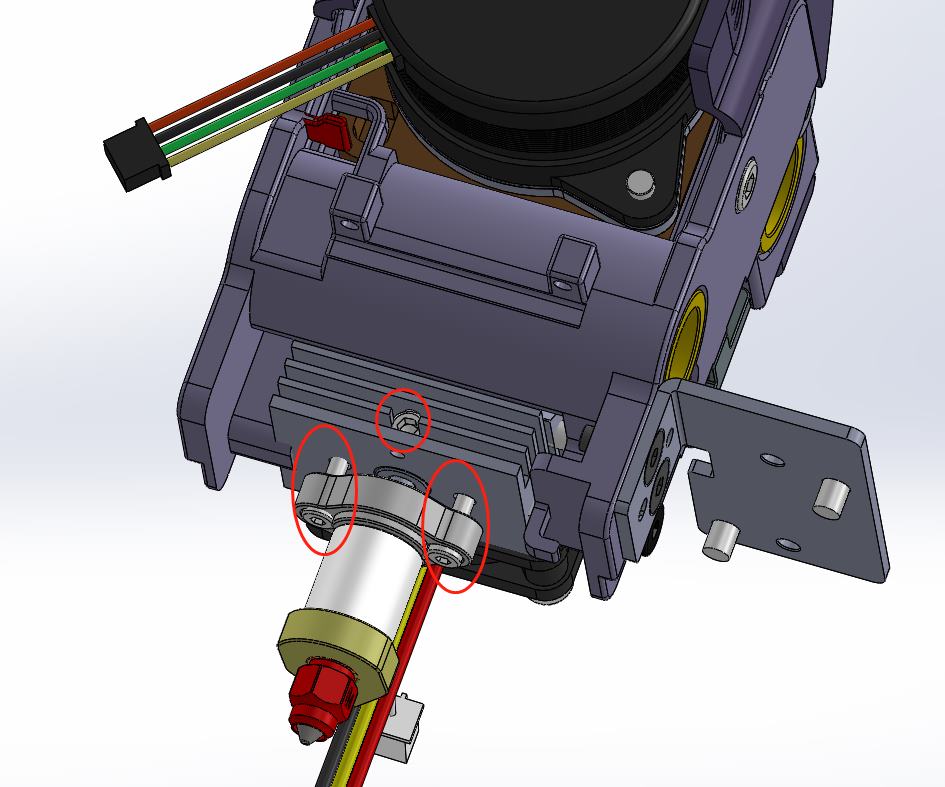
5.4 Install the silicone sleeve with the nozzle and slide it over the hotend.
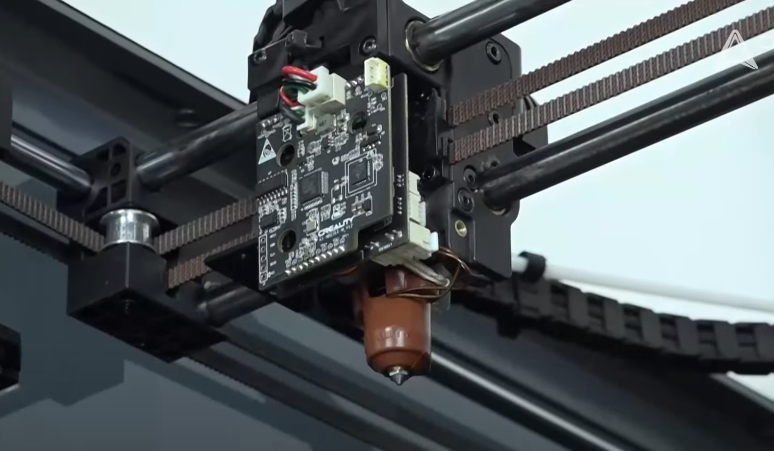
5.5 Load and extrude the filament to test the new heater block kit, check if the nozzle is discharging smoothly.
6. Install the Fan Cover
Insert the model cooling fan cable, fasten the cover, and tighten screws on both sides.
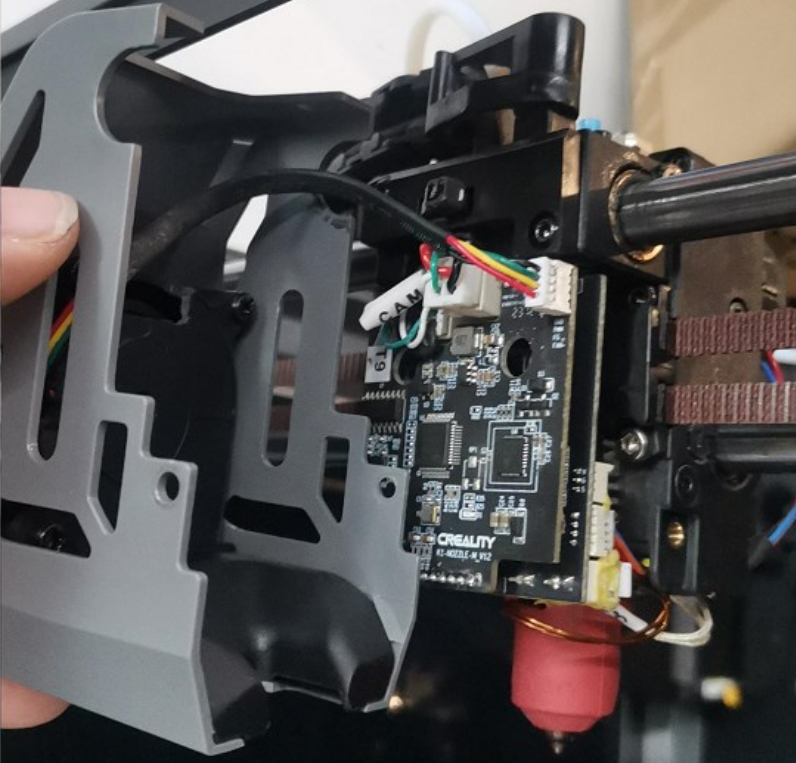
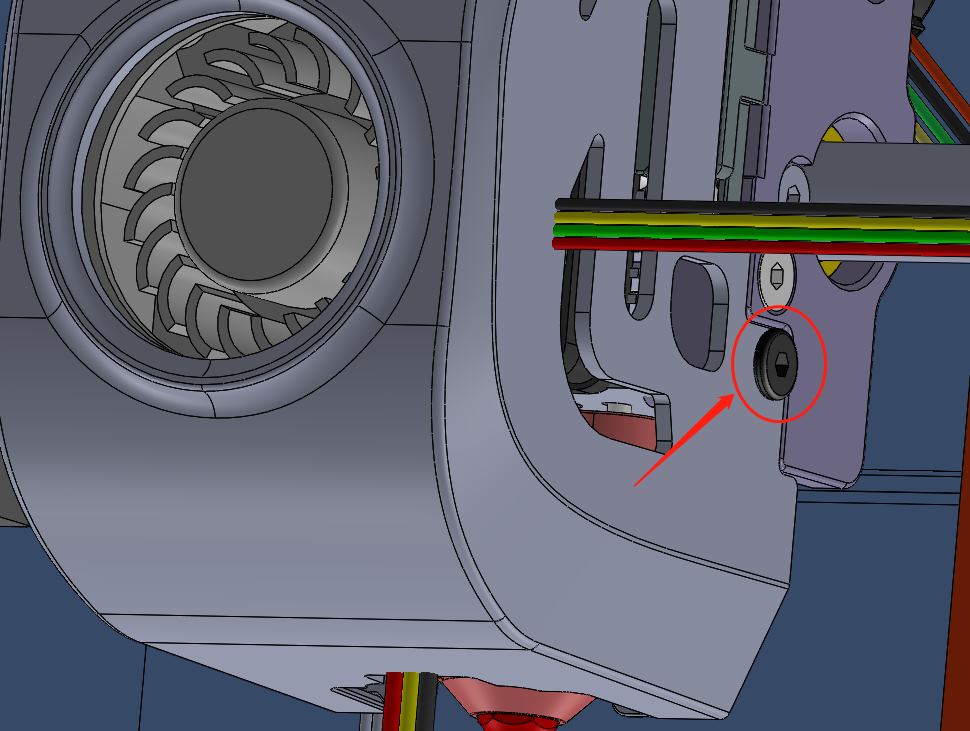
Note: The K1/K1C Complete all steps to replace the heater block kit now.
7. Install the AI Lidar
7.1 Insert the AI Lidar and align posts into mounting holes, secure them with flat head screws.
7.2 Pay attention to the wiring direction and Plug in the Lidar cable correctly.
7.3 Perform a self-test of the machine after your replacement.
 People also read:
Creality K1 Max Skip the Startup Self-Check >>
Recent News

8 Halloween 3D Print Ideas to Make Before October 31

Ender Series 3D Printers Parameter Comparison

Creality Back-to-School Sale 2026: Save Up to 50% on 3D Printers and More
