


K1C Integrated Nozzle Replacement
all
2024-12-23 05:04:00
Previously, we’ve shared step-by-step tutorials on replacing accessories for the Creality K1 series, such as the Ceramic Heating Head Kit and the K1 Max Hotend Kit. Today, we’ll guide you through the process of replacing the integrated nozzle on the K1C. While there are some similarities in the replacement steps across the three accessories, there are also key differences. Follow the steps below to successfully replace your K1C nozzle.
Related Upgrade Kits for your need:
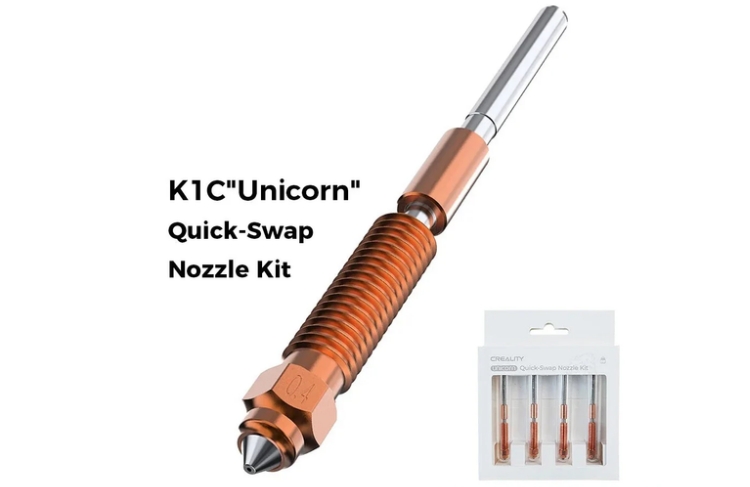
- K1C Ceramic Heating Block Kit ~$22.87 - Quick-swap Nozzle Kit
- Upgrade: K1 Series Ceramic Heating Head Kit (With Integrated Nozzle) ~20.23
Now, let's get started in this replacement.
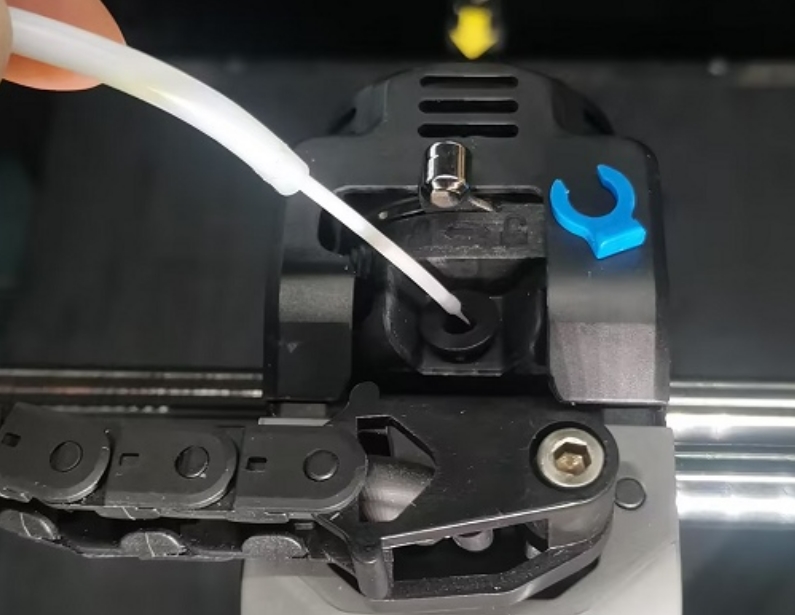
1. Set the nozzle temperature to 220℃, press the pneumatic connector to remove the PTFE tube, shift the extruder to the unlocked position, and remove the filament.
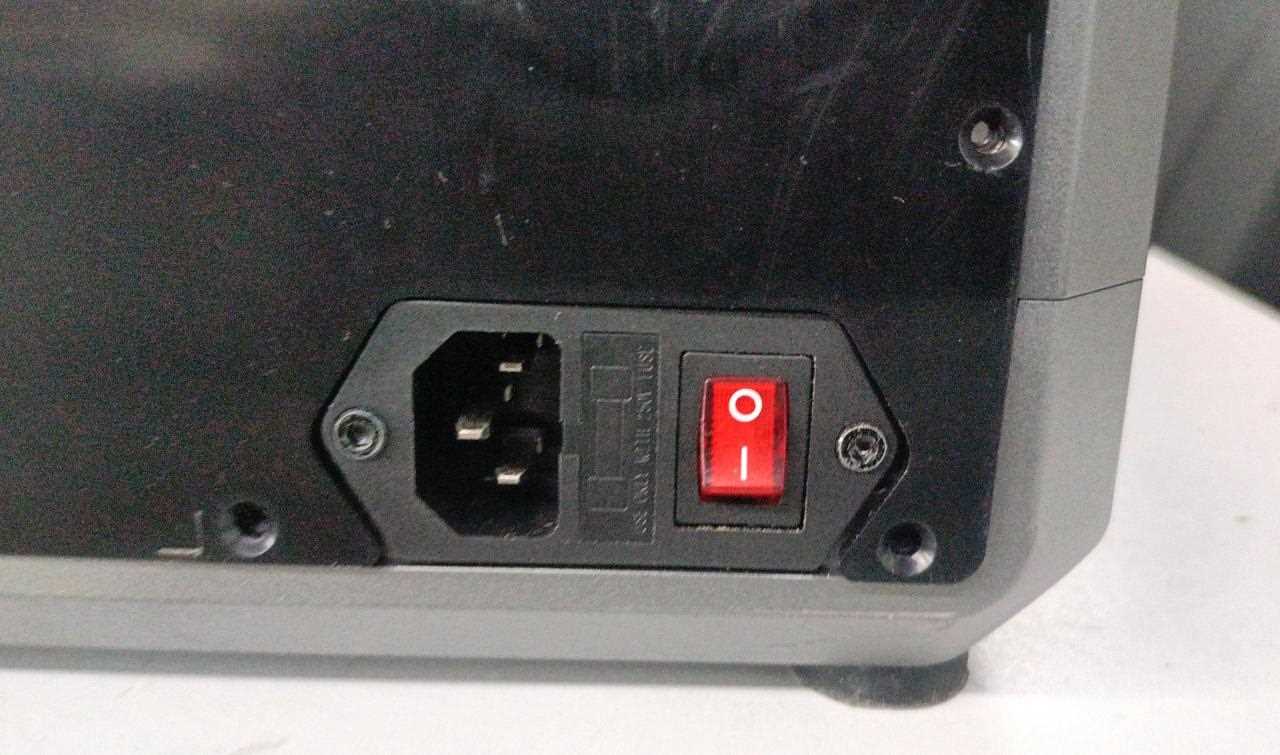
2. Set the nozzle temperature to 0°C and turn on model fan, auxiliary fan, wait for the temperature to drop to room temperature. Finally, Power off your K1C 3D Printer.
3. Remove the fixing screws on both sides of the extruder cover.
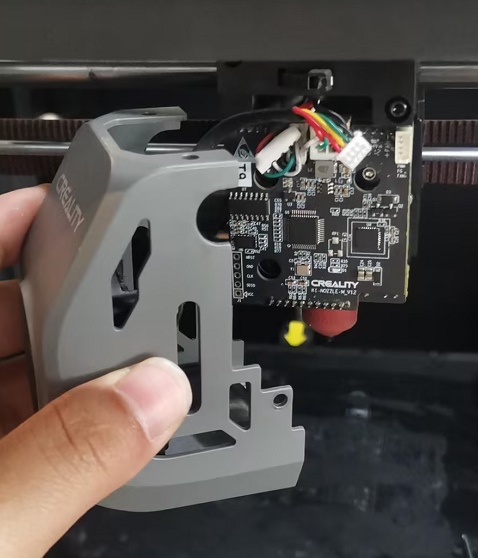
4. Remove the nozzle cover and disconnect the model fan connector.
5. Remove the silicone sleeve.
Notes:
- If it is difficult to remove, heat the nozzle to 220 degrees and use needle-nose pliers or cutting pliers to remove the silicone sleeve. Do not touch directly with hands to avoid burns.
- If the silicone sleeve is relatively new and has not aged and become stuck to the tip, you can skip this step and go directly to step 6.
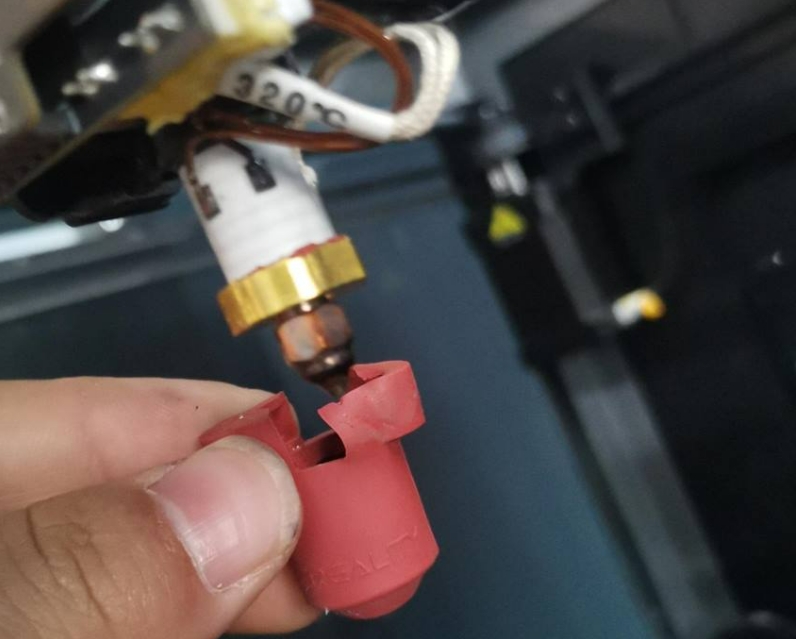
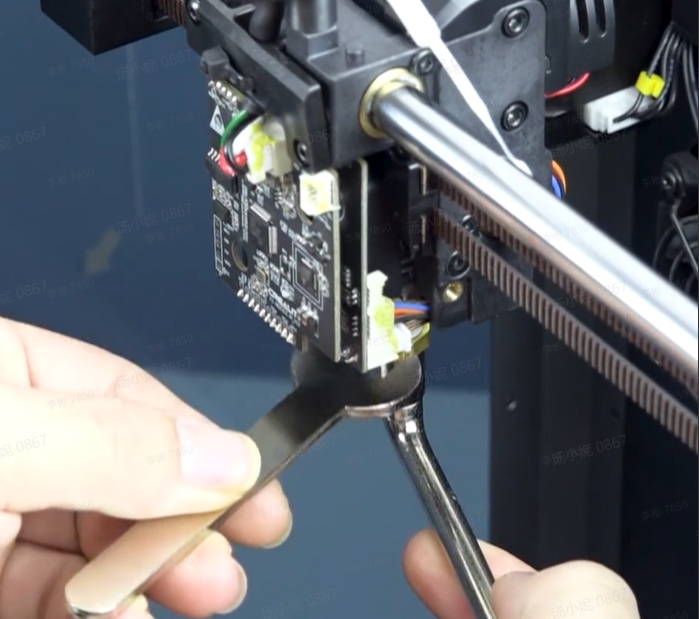
6. Maintain the nozzle temperature at 220 degrees. Use the wrench provided in the toolkit to secure the nozzle, while using a socket with the other hand to loosen the integrated nozzle.
Note: Do not touch the nozzle with your hands to avoid burns.
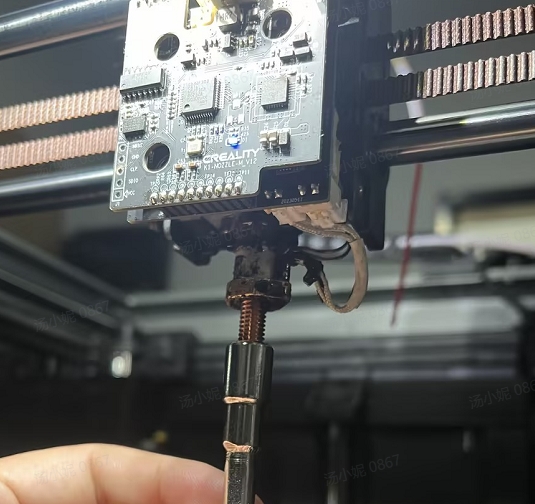
7. After removing the nozzle, replace it with a new one. Screw it in with a socket, and do not attempt to twist it by hand to avoid burns.
8. Tighten. Load the filament and lock the extruder clamp. Operate the feeder to check if the filament extrusion is normal.
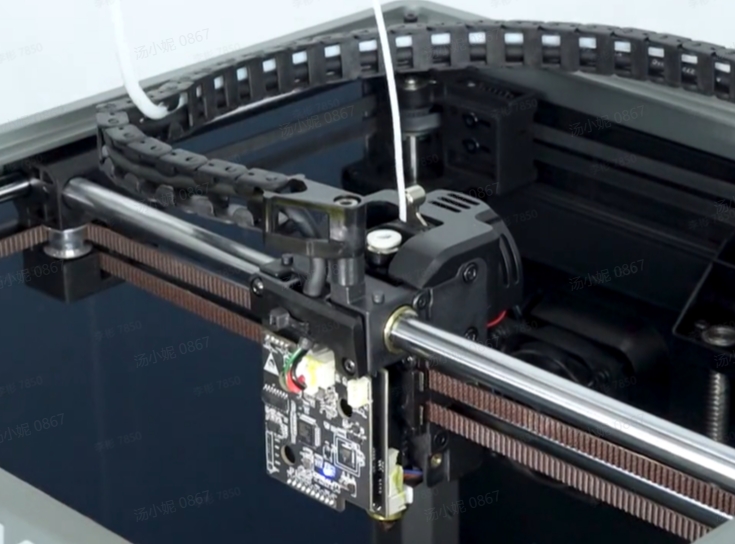
9. After the material ejection is normal. Turn off the machine, wait for the nozzle temperature to cool, and replace the silicone cover. Install the print head fan connector and screws on the left and right sides accordingly.
People also read:
Recent News

all
2026-10-13
8 Halloween 3D Print Ideas to Make Before October 31
Halloween is coming, and the candy stash has already suffered a few unexplained disappearances. W...

all
2026-09-18
Ender Series 3D Printers Parameter Comparison
The Creality Ender Series has evolved significantly since the original Ender-3. What began as an ...

all
2026-08-02
Creality Back-to-School Sale 2026: Save Up to 50% on 3D Printers and More
A new school year is a chance to start fresh projects, develop practical skills and turn digital ...

all
2026-05-26
Is PLA Recyclable?
PLA is a biodegradable plastic derived from renewable resources such as corn starch or sugarcane....