


How to Replace K1C Integrated Throat Tube Hotend
This article will guide you through the replacement of the K1C Integrated Throat Tube Hotend. Please follow the step-by-step tutorial here:
The tools you will need are
- H1.5/H2.0/H2.5 Hex Wrenches
- Diagonal Pliers
Related Upgrade Kits:
- K1C Ceramic Heating Block Kit ~$22.87 - Quick-swap Nozzle Kit
- Upgrade: K1 Series Ceramic Heating Head Kit (With Integrated Nozzle) ~20.23
1. Unload the Filament
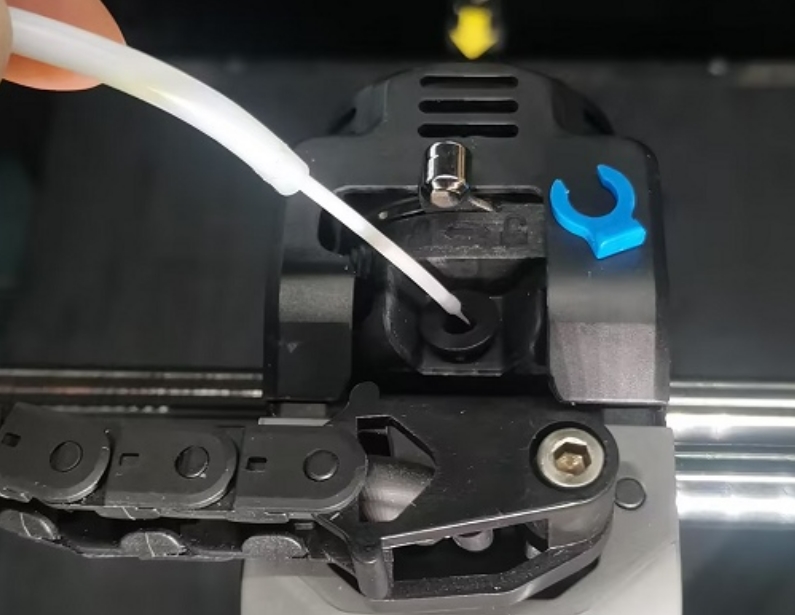
1. Set the nozzle temperature to 220℃, press the pneumatic connector to pull out the PTFE (Teflon) tube, switch the extruder to the unlocked position, and remove the filament.
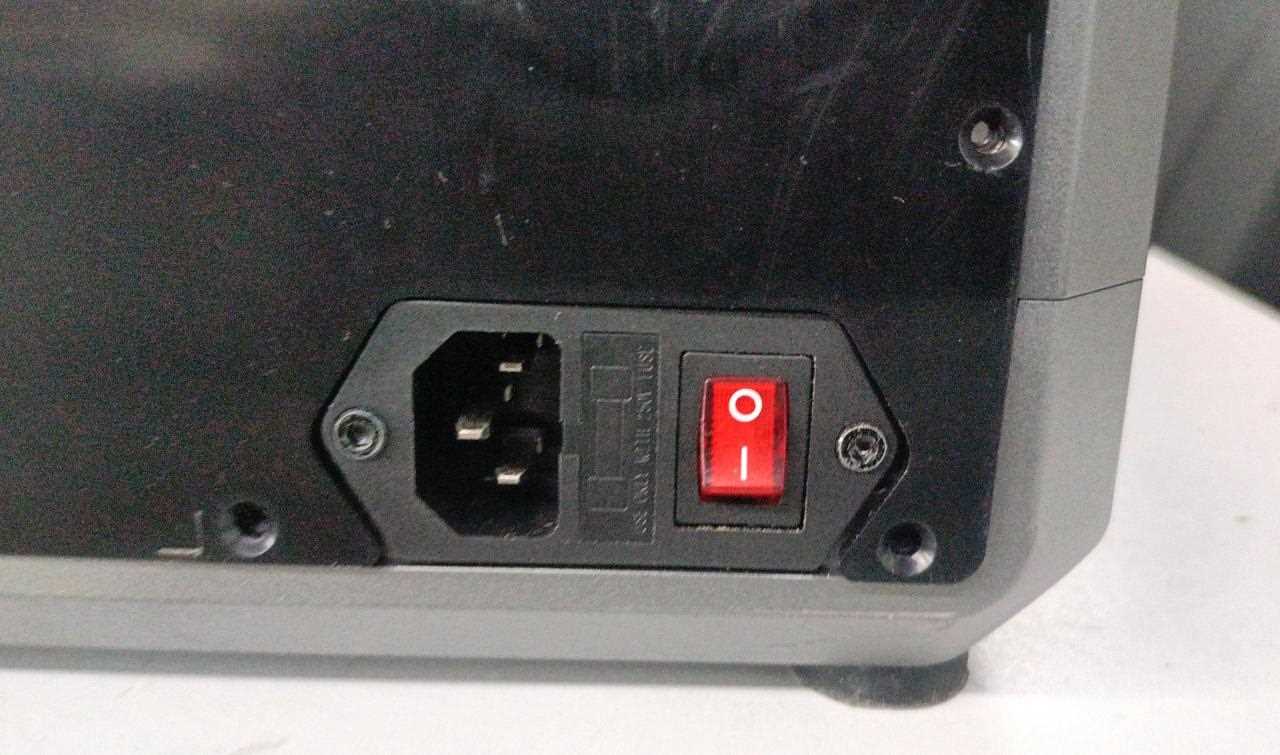
2. Set the nozzle temperature to 0°C or Power off your K1C 3D Printer.
2. Remove the Extruder Front Cover
Tools: H2.0 hex wrench
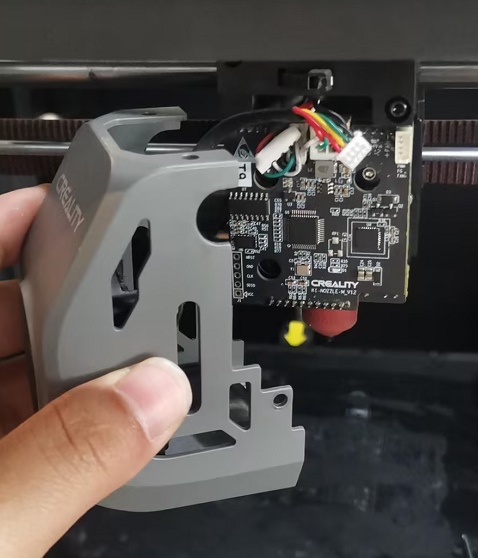
2.1 Remove the fixing screws on both sides of the nozzle cover.
2.2 Remove the nozzle cover and disconnect the model cooling fan connector.
3. Remove the old hotend and heatsink
3.1 Remove the front circuit board of the extruder
Use an H2.0 hex wrench to remove the three screws on the front.
3.2 Remove the hot-end terminal block
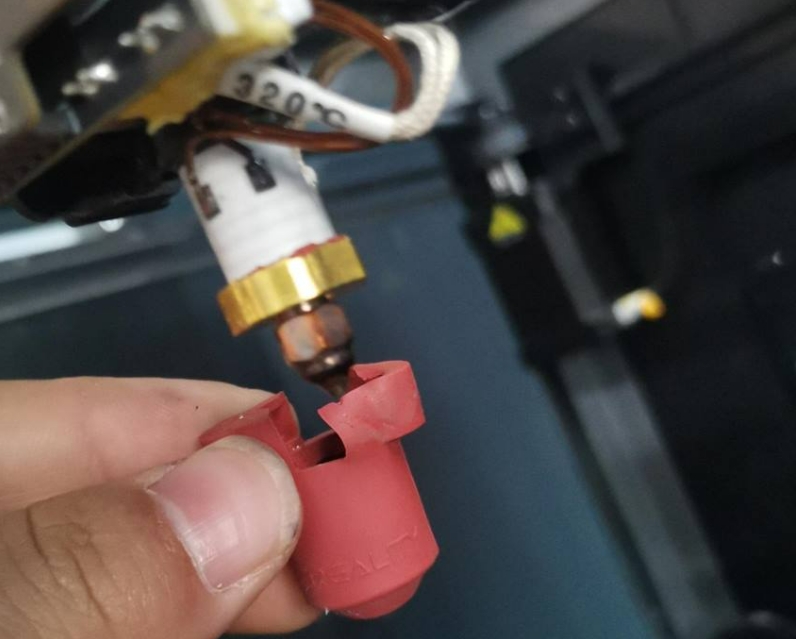
3.3 Remove the hot-end silicone sleeve
Operate after isothermal cooling to avoid burns.
3.4 Remove the hotend fixing screws
Use an H2.0 hex key to remove the two cap head screws fixing the hotend.
3.5 Remove the fixing screws on both sides of the heatsink
Use an H2.0 hex wrench to remove the two screws on both sides.
3.6 Remove the front fixing screws of the heatsink
Use an H2.5 hex wrench to remove the two front screws.
3.7 Remove the old hotend
Grip the heat break block firmly and pull vertically to completely remove the old hotend.
4. Install a new integrated throat tube hotend
Align the throat tube hole and install vertically.
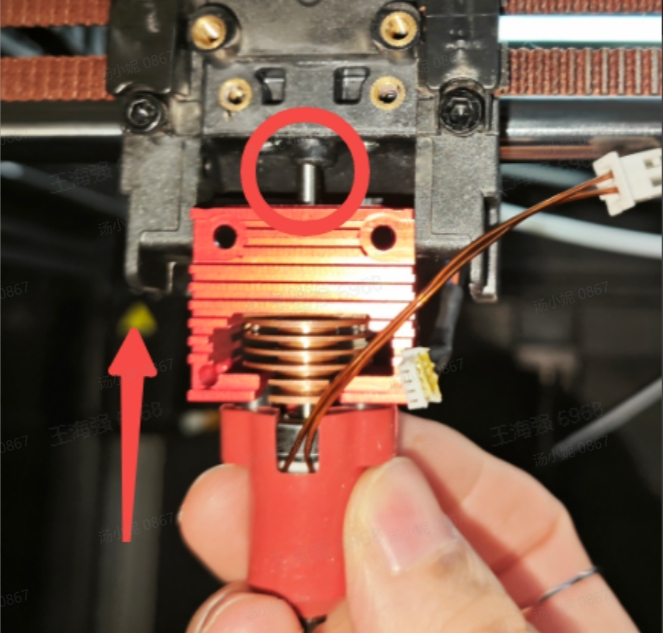
4.1 Tighten the front fixing screw of the heat block
Use an H2.5 hex wrench to tighten the front fixing screw of the heatsink.
4.2 Tighten the screws on both sides of the heat block
Use an H2.0 hex wrench to tighten the screws on both sides of the heat block.
4.3 Attach the hot end terminal
4.4 Install the Extruder Front Circuit Board
Use an H2.0 hex wrench to tighten the three screws, being careful not to over-tighten the bottom screw to avoid damaging the circuit board.
4.5 Connect the extruder terminal
5. Nozzle Cover Restoration
5.1 Insert model fan terminal
5.2 Tighten the fixing screws on both sides
Use an H2.0 hex wrench to tighten the fixing screws on both sides.

Recent News

8 Halloween 3D Print Ideas to Make Before October 31

Ender Series 3D Printers Parameter Comparison

Creality Back-to-School Sale 2026: Save Up to 50% on 3D Printers and More
