


Mastering PLA Smoothing Techniques for 3D Prints
PLA is a popular filament in 3D printing due to its ease of use and eco-friendly properties, but it often results in prints with visible layer lines and rough surfaces. When it comes to the texture of 3D prints, opinions are divided: some people love the distinct look, while others prefer a smoother finish.
There are many reasons you might want to refine a print's surface, whether to enhance its appearance as a display piece or to reduce friction between moving parts. This article offers five effective tips to smooth PLA.
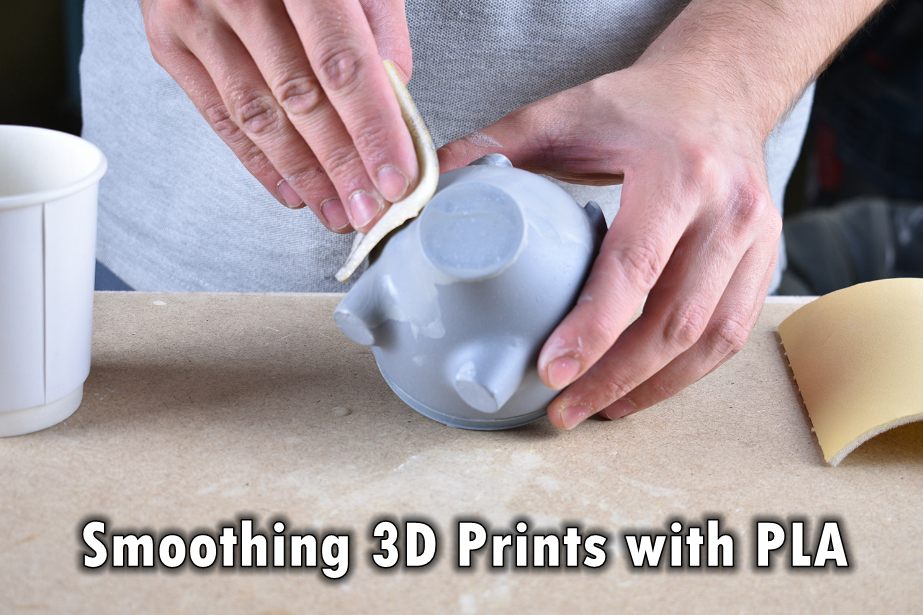
5 Tips to Smooth PLA 3D Prints
Having grasped the significance of smoothing PLA 3D prints for improved aesthetics, durability, and post-processing potential, let's dive into the practical steps. How can you achieve a smoother finish on your PLA 3D prints? Here are the top 5 methods to guide you.
Tip 1: Sanding
Materials Needed:
- Various grits of sandpaper (from 200 to 2000 grit)
- Wet/dry sanding technique supplies
Sanding PLA prints is one of the easiest and most accessible methods to achieve a smooth finish. Start with a lower grit sandpaper (200) to remove the most prominent layer lines and defects. Gradually work your way to higher grits (up to 2000) to refine the appearance.
Steps:
- Start with coarse grit sandpaper (around 100-200) to remove prominent lines, then progressively move to finer grits (400-2000) for a smoother finish. Sand in circular or linear motions, concentrating on areas with visible lines or imperfections.
- Use even finer grits for a polished finish. Wet sanding with water or soapy water helps minimize dust and achieve a smoother surface.
- Keep in mind that sanding can be labor-intensive and time-consuming, and might compromise fine details. To enhance efficiency and achieve a more refined finish, consider combining sanding with other methods such as heat-based techniques or using fillers.
This method requires patience but provides excellent control over the finishing process, allowing you to focus on specific areas as needed.
Tip 2: Heat Gun Application
Materials Needed:
- Heat gun
- Adjustable temperature control
Using a heat gun can help further smooth your PLA prints by melting and leveling out the print layers. However, this method requires a steady hand and careful temperature control to prevent warping.
Steps:
- Set the heat gun to a temperature range between 60-70°C (140-158°F).
- Hold the heat gun approximately 5-10 cm (2-4 inches) away from the print.
- Move back and forth carefully to evenly distribute the heat.
- Continuously monitor the print to avoid excessive melting or warping.
This technique can offer quick results when applied correctly but requires practice to master.
Tip 3: Using a Chemical Smoothing Agent
Materials Needed:
- Ethyl acetate or other PLA-safe solvents
- Protective gloves and eye protection
Using a heat gun can help further smooth your PLA prints by melting and leveling out the print layers. However, this method requires a steady hand and careful temperature control to prevent warping.
Steps:
- Choose the appropriate chemical for PLA smoothing, such as ethyl acetate or THF (Tetrahydrofuran).
- Before applying the chemical, clean the print to remove dust and grease. Equip yourself with safety gear like gloves and goggles, and ensure you're working in a well-ventilated area or under a fume hood to avoid inhaling fumes.
- Use a brush to apply a thin, even coat of the chemical, or submerge the print in a chemical bath for a short, controlled duration. The time needed will depend on the chemical's strength and the desired smoothness.
- After the chemical treatment, thoroughly rinse the print with water to remove any residual chemicals and let it dry completely. The PLA will re-solidify, resulting in a smoother and shinier surface.
This method achieves highly smooth finishes but should be used with care considering the potential health risks associated with solvents.
Tip 4: Filler Primer and Paint
Materials Needed:
- Filler primer
- Spray paint or model paints
- Sandpaper(for pre and post-paint sanding if desired)
This dual-process method combines print strengthening with a surface smooth finish. Filler primers are designed to fill small imperfections which makes the following paint application smoother.
Steps:
- Clean the print’s surface to ensure it is free of any debris or oils.
- Apply filler primer in thin, even coats to avoid dripping.
- Allow the primer to cure as per the manufacturer's instructions.
- Lightly sand the primed surface with high-grit sandpaper (600-1000 grit) as needed between coats.
- Once satisfied with smoothness, paint the print with your preferred color, again in thin even coats.
Using filler primer not only enhances the smooth finish but also gives additional strength to fragile areas of the print.
Tip 5: Polishing Compounds
Materials Needed:
- Polishing compounds for plastics
- Polishing cloths or rotary tools with polishing attachments
After achieving an almost smooth surface with the above techniques, using polishing compounds can bring PLA to a glossy and professional finish.
Steps:
- Ensure the print is clean and dry.
- Apply a small amount of polishing compound to a soft cloth or rotary polish tool.
- Gently buff the surface in circular motions, ensuring consistent pressure and movement.
- Continue until the desired shine and smoothness are achieved.
This final polish not only enhances appearance but provides a glassy smooth feel to the surface.
 People Also Read:
Top 15 Best 3D Printed Pokemon Designs >>
Top 20 3D Printed Toys for Kids >>
Conclusion
In conclusion, PLA smoothing is a great way to enhance the finish of your 3D prints. Whether you choose sanding, chemical smoothing, epoxy coating, or heat treatment, you can achieve impressive results with some practice and care.
By integrating these five tips—sanding, heat application, chemical treatment, filler primer plus paint, and polishing—you can produce impressively smooth and professional 3D printed items.
Recent News

8 Halloween 3D Print Ideas to Make Before October 31

Ender Series 3D Printers Parameter Comparison

Creality Back-to-School Sale 2026: Save Up to 50% on 3D Printers and More
